Posts Tagged ‘remodel’

what happens in the shower

Friday, June 1st, 2012

… stays in the shower. Pretty sure that applies to the fancypants aluminum edging that now divides the tile and the cork ceiling, because I can’t imagine it escaping its new confines…

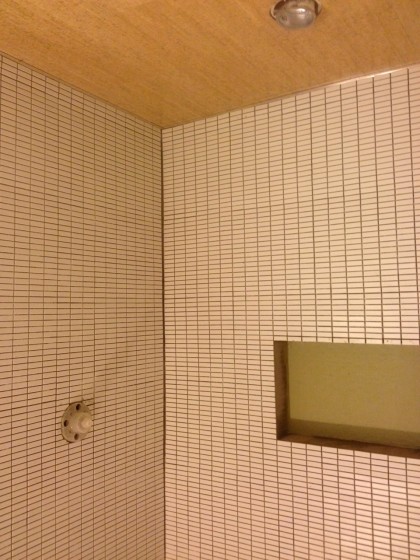
aluminum edge between tile and ceiling


Looks good, no?

aluminum edge in the shower too


There’s still more to be done, so don’t be too judgmental yet. The niche will be tiled soon and there’s more metal edge to come. And grout, of course. But I’m loving how it’s coming together so far!

in the bathroom, again

Thursday, May 31st, 2012

Overdue for a check-in on the tiling progress. Let’s see how it’s going down there…

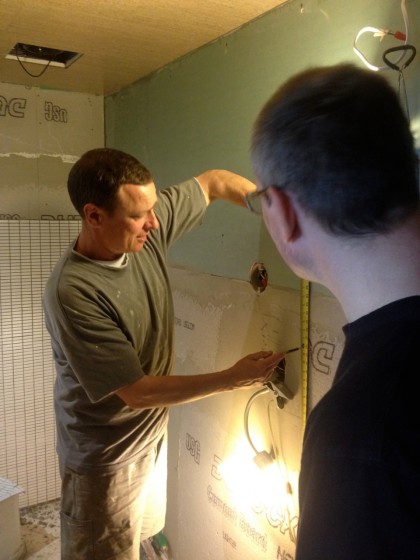
Mark and I figured out the placement of the niche. Actually, the placement of the pipes in the wall figured out the placement of the niche for us…
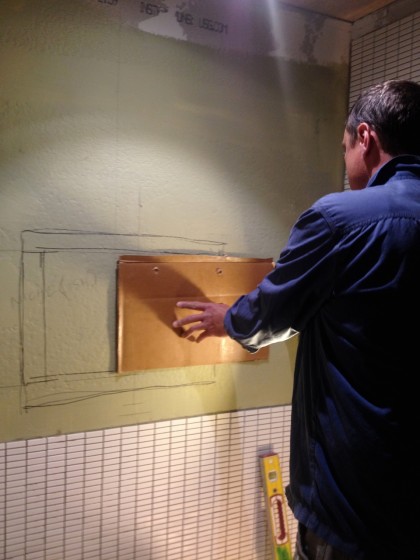
niche placement


I really had my heart set on a long, skinny niche like this one, but the pre-made offerings were laughably short… we would have had to lay our shampoo bottles on their sides. Once again, had to settle. Sigh…
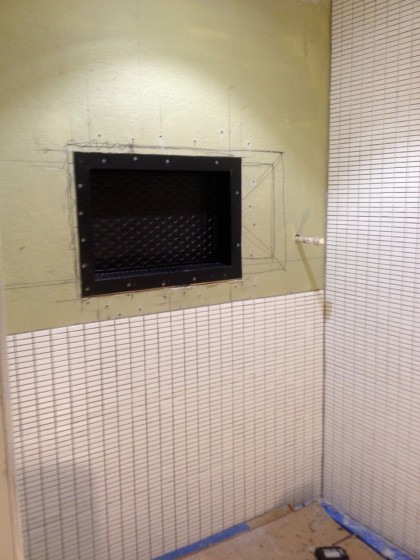
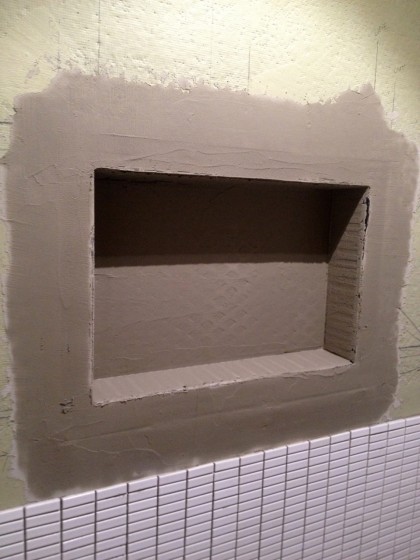
pre-made niche goes in


niche gets mud


However, it is mudded up and ready for tile, so there’s that.

Meanwhile, the tiles on the end wall almost reach the ceiling…
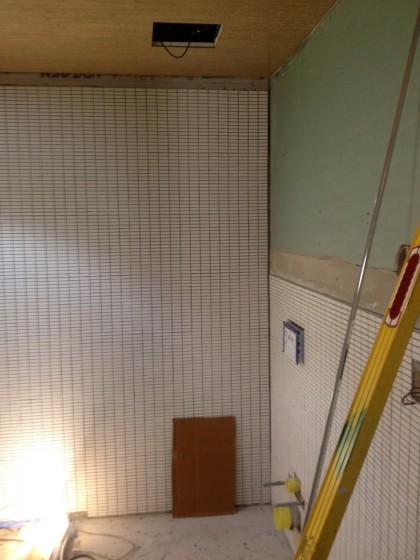
bath is tiled almost all the way to the ceiling now


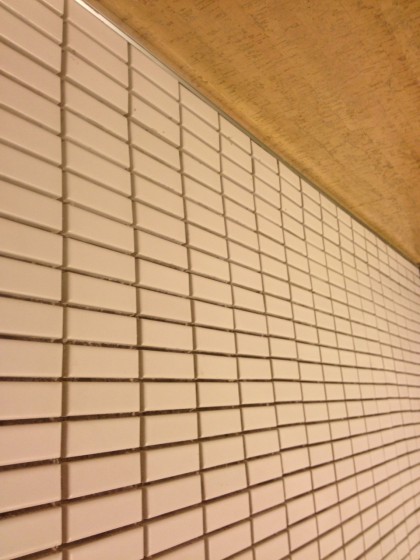
And did you happen to notice the aluminum edging?
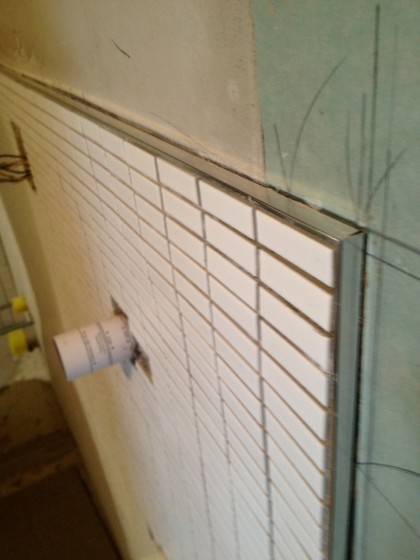
crisp aluminum edge on the white tiles


Will make a nice, crisp line between the tile and the mirror above, and between the tile and the walnut built-in going to the right of the sink.

The sink, if I can remind you, looks like so…
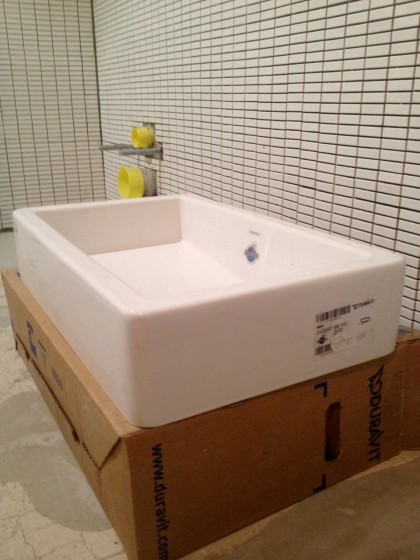
our duravit sink


Speaking of which, I suppose you haven’t seen the rough layout yet…
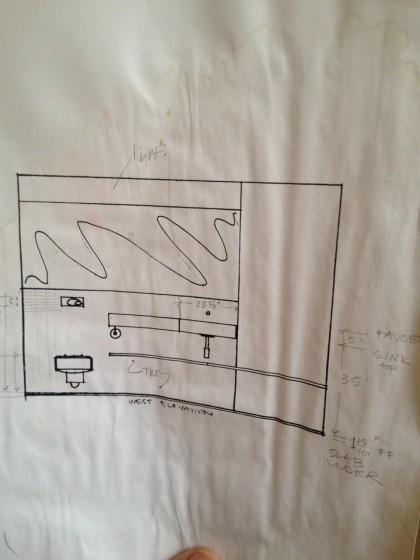
layout of sink area


We probably have a nicer scribble than this somewhere… I’ll see if I can dig one up.

Anyway, the top of the white vessel sink will be on level with a walnut box/countertop — the wood will get a heavy-duty coating of something you’d see used on boats. Green? Unlikely. Impervious to water? Most definitely. The box/countertop will be open on the end next to the toilet, so we can stash magazines and toilet paper rolls where no one has to look at them. (No more toilet paper holder like in the drawing.) A walnut shelf will stretch from underneath the counter to the corner of the room where it will also serve as a bench. Behind the bench is a floor-to-ceiling wall of walnut with a few hooks up high for hanging clothes. Built-in storage is planned for the intersecting wall — details later.

So that’s that. Did I mention that the wood for the bath built-ins arrives TOMORROW? Woot!
so how’s it going?

Monday, May 21st, 2012

With the tile, I mean. Like so…

measuring where the tile will fall


And thusly…

tile now wraps around another wall


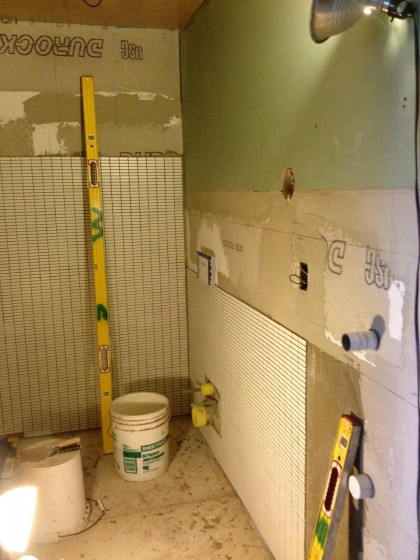
The tile now wraps around another wall — the wall opposite the shower where the wall-hung toilet will be. The yellow bits in the back corner are plumbing related. Above the yellow bits, that square will be the flusher. In the foreground, the pipe is where the wall-mounted faucet will go above the sink. Trying to maximize our space here wherever we can.

tile check-in

Friday, May 18th, 2012

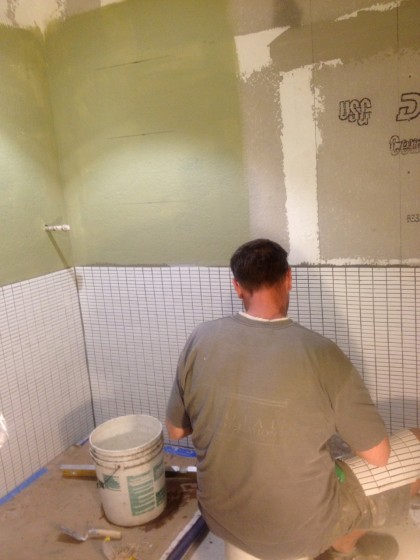
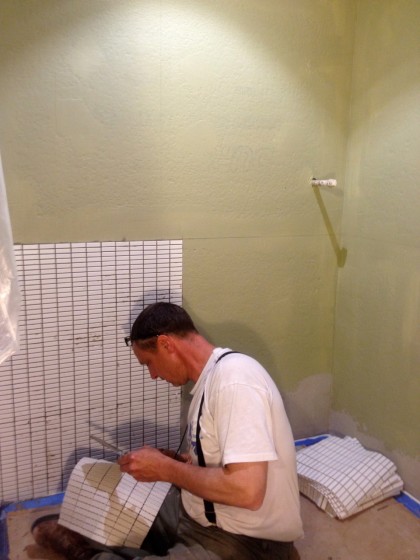
Mark was back at it yesterday, tiling those walls in the bathroom downstairs…

mark at work


That shot doesn’t really show off his handsome side. I apologize for that. By the end of the day, tile stretched across the full width of the room…

tile by the end of the day


Eventually it will meet the ceiling and this will really start to look like a bathroom. Thanks, Mark!

tile time!

Wednesday, May 16th, 2012

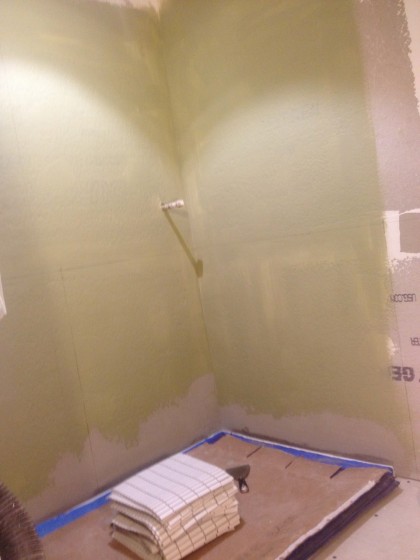
Not too much to show yet but this should give you an idea of how the downstairs bath is coming along since we last checked in. First, Mark “mudded” the walls of the shower — mud is basically a sand and cement mix used for setting our porcelain tiles

walls with just mud


I’m sure there were steps that I didn’t catch on camera through most of this time-consuming and exacting process. It’s a tiny bathroom with tiny tiles that require a bit of concentration… I don’t like to interfere too often.

After the mud dried, the first tiles went on…

walls not too far along yet


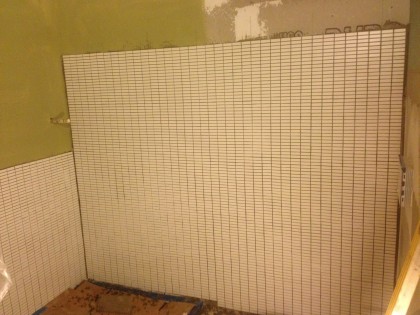
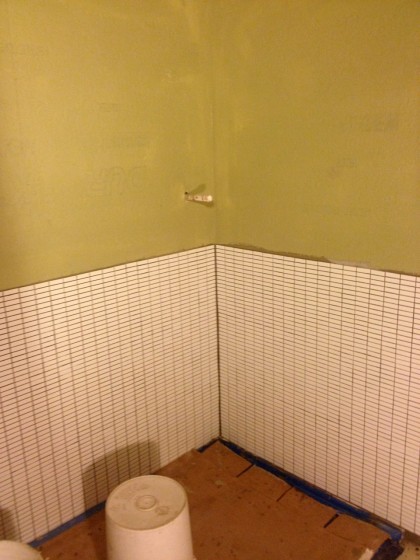
And by the end of the day yesterday, a roughly 3′-band all the way around was set…

walls at the end of the day


Nowhere near finished but it’s well begun. Thanks, Mark!

shower with appreciation

Wednesday, May 9th, 2012

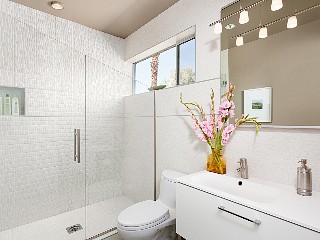
I bring up our recent trip to Palm Springs yet again. Last time it was the use of concrete at our vacation rental. This time it’s the tile in the bathroom of the casita next to the pool. Here, the owner took a better photo than I did…

fabulous casita bathroom, from rental site


Swank, eh?

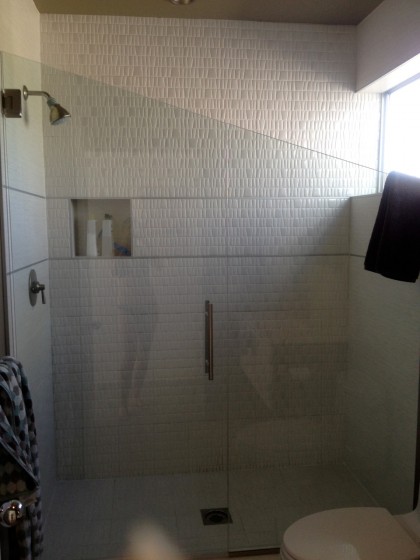
Here’s my shot. A bit dark but you can see the tile better. Don’t let the reflection of me in my swimsuit frighten you… it was 115 degrees by the pool, you know…

lousy shot of a gorgeous shower


I’m sharing this for Mark, our tile superhero, who’s got the downstairs bathroom prepped and has thus far politely entertained our aspirations. By this Friday, the finished cork will have had its full 10 days to dry, and he’ll be back at it again.

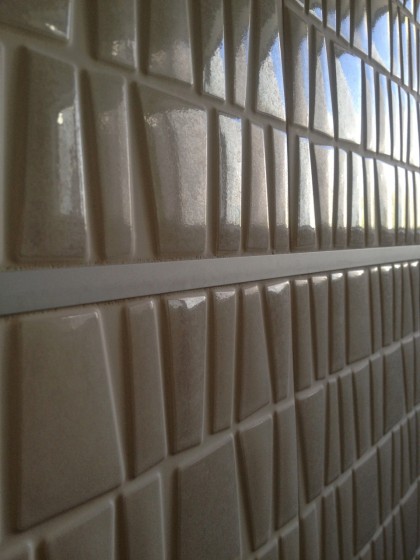
So what do I like about this bathroom? It’s light. It’s minimal. The aluminum strip is a nice detail…

beautiful tile


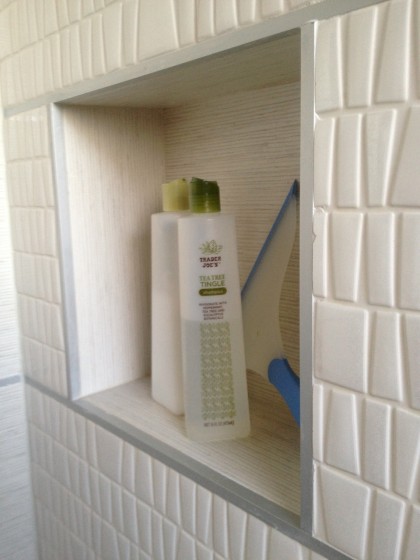
And I like the way they used the aluminum as edging around the shower shelf inset, even if the grout could be a little neater…

aluminum edging on the shower inset


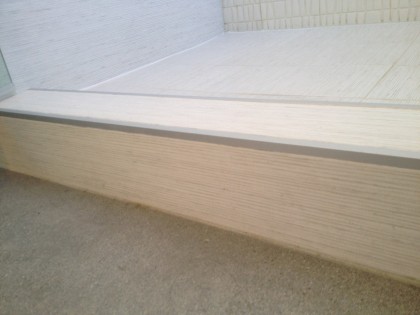
And the edges of the shower stall step…

aluminum edging on the shower base


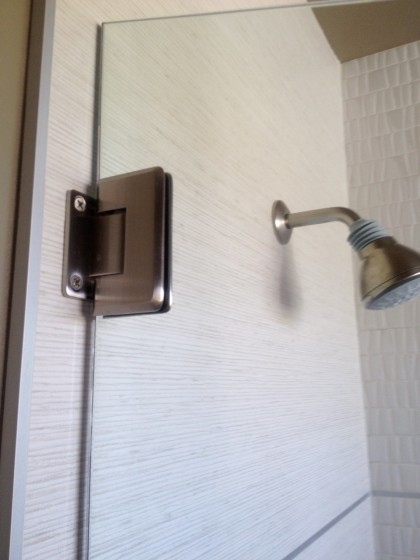
And the edge of the end tiles…

minimal shower glass clip


I’m not suggesting we add an aluminum strip everywhere, no. But I did think this was a nice detail and solved some of the issues about how to deal with the corners around the shower shelf inset. That is all.

That, and nice tile.

re:paint

Wednesday, May 9th, 2012

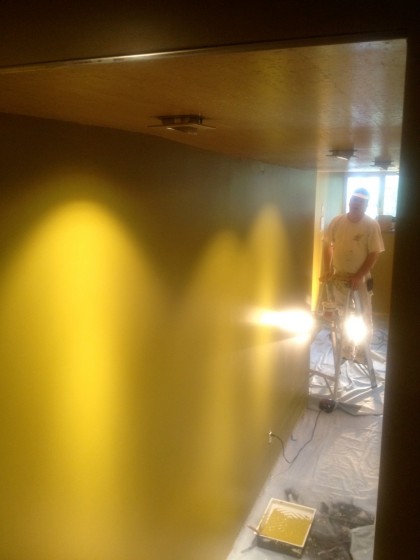
The painters are here again! The painters are here again!

paint in progress


Rejoice! For the problem is being corrected.

the highs, the lows

Friday, May 4th, 2012

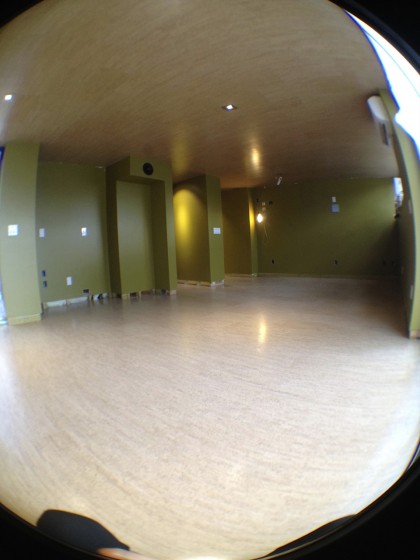
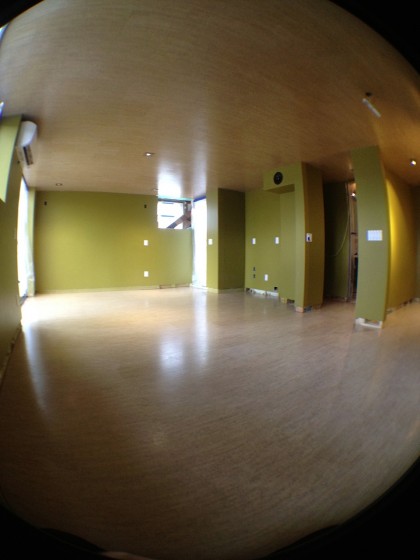
Want to see something that turned out perfect? The floor and ceiling, finished. TA-DAAAA!

the highs: floor and ceiling look fantastic!


the highs: still looks great from this angle


It’s so great when a project turns out the way you hope it would.

And now that that’s out of the way, want to see something that turned out craptastical?

Sure you do…

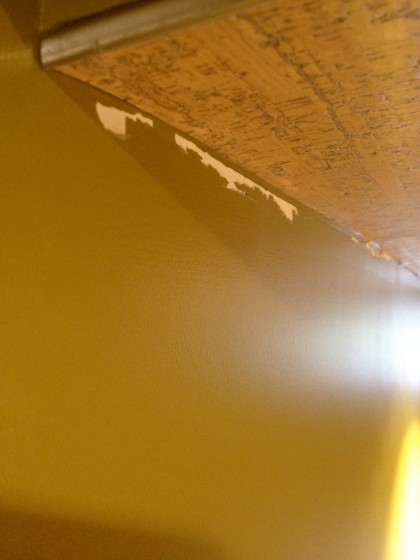
the lows: paint peeled off


Yup, when the plastic held on by the paint-friendly blue tape was pulled down, it took the brand-new paint job with it. All. the. way. around. the. room.

FFFFFFFFFFFFFFF…

Why did the paint fail? Who knows. But one thing is for sure: it’s not a simple fix. It probably means sanding and another full coat. Kill me now.

re-decking

Wednesday, May 2nd, 2012

Finished just yesterday, the floor downstairs has to dry for 10 days, which makes this the perfect time to re-deck the undeck.

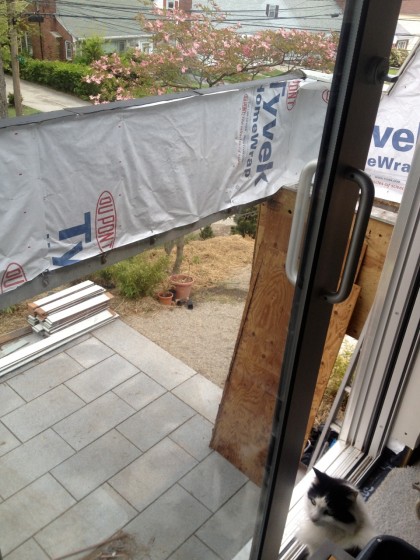
As you may recall, the rotting deck was pulled out on November 15 and its replacement has been on hold since the end of March while we waited for our engineer to get back to us. So we’ve been living with a harrowing two-story step from the upstairs slider for the last 5 and a half months…

that first step’s a doozy!


In all that time, nobody tried to step out onto the deck. Good thing.

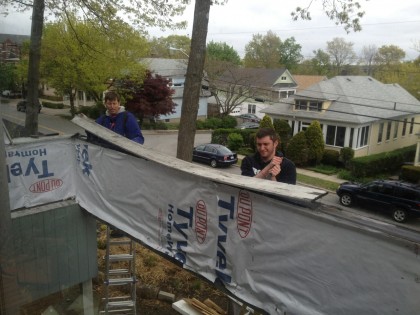
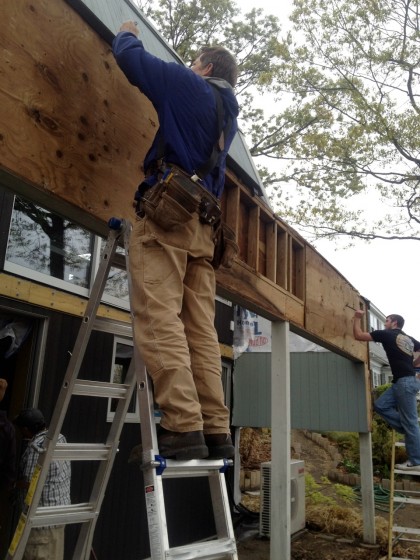
Today Joe and his nephew Josh started dismantling the exterior of the deck…

first boards coming off


coming along nicely


The plan is to do some spelunking on the inside of that wall in order to see what the structure detail is.

The engineer drew up a concept for supporting the deck without the posts, which David says he’ll share with you tomorrow… The question is how much rejiggering will the current structure need in order to accommodate the engineer’s design. A little? Or a lot?

progress report: floor finishing

Tuesday, May 1st, 2012

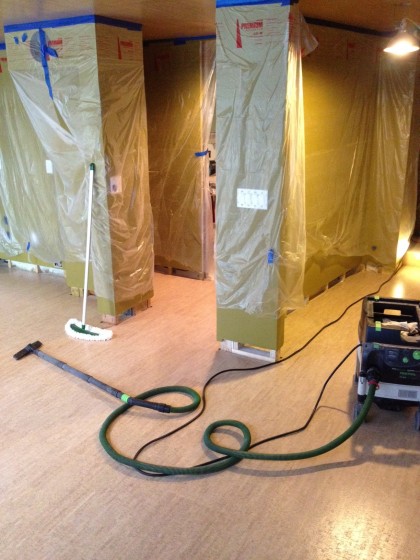
Well this is going quickly! David and Joe are putting four coats of finish on the cork flooring downstairs. The first two coats went down yesterday. This morning there was sanding, vacuuming and dust mopping…

get that dust off the floor!


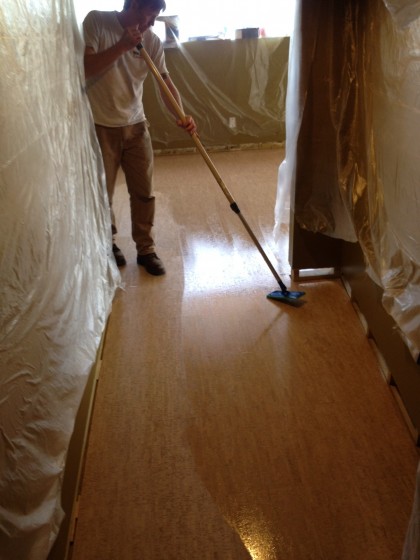
And now the final two coats are going on…

Joe adds a finish coat to the hallway into the downstairs


More later!