I mentioned the other day that it’s time to get back to the deck. Holding true to our ADHD remodel strategy, David and Joe are at it again. David will tell us what’s going on out there.
————————————————————————————————————————————
We finally got going on the deck again. It took a while to get the building permit and then everybody’s schedules had to align. Also, the planets.
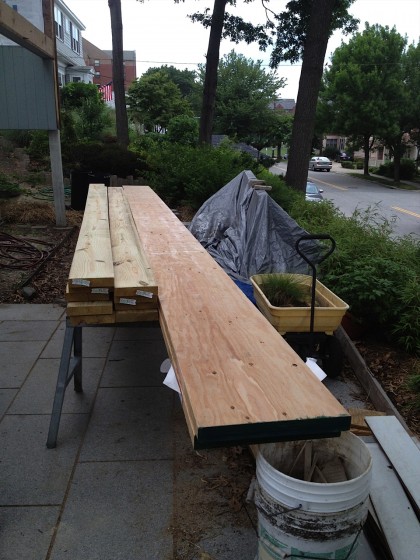
On Monday we took delivery of the pressure-treated 2’ x 8” deck joists and two 16” x 1-¾” LVL beams that will make up the load-bearing portion of the new deck…
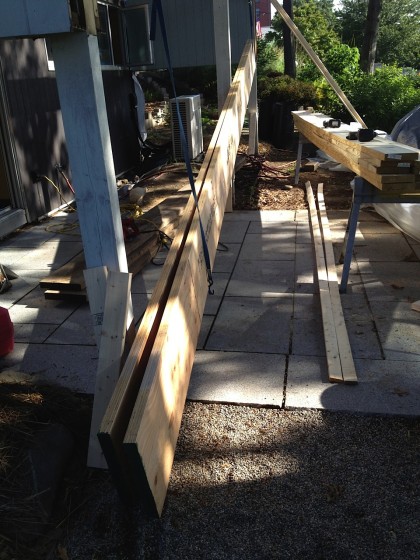
Then we raised up the two LVLs close to where we needed them…
We cut them to length, set them in place, made sure they were level and then screwed them together with #14 x 2-⅜” beamers in rows of three every 16”. That’s a mouthful to say and took a while, but it’s a big, strong beam now…
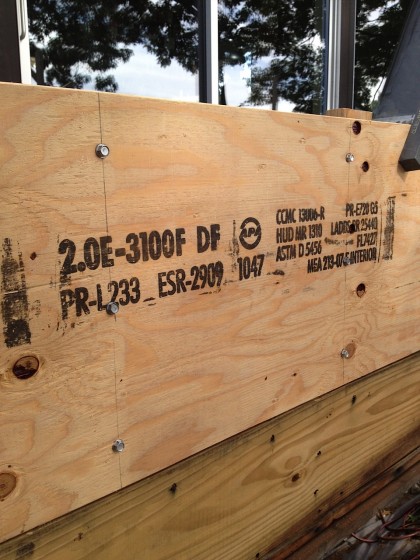
“2.0 E – 3100F DF” means something about how much it will deflect (sag). In other words, strong stuff!
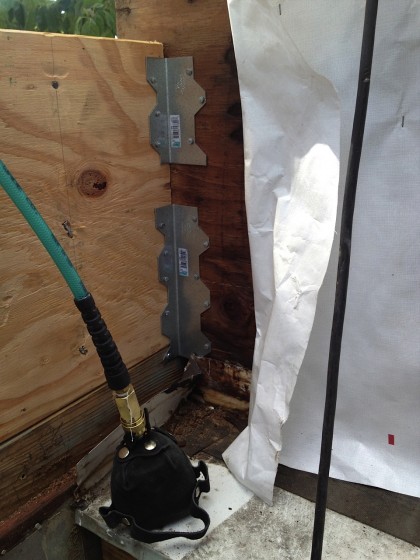
We nailed the inside of the beam with 12d galvanized nails in rows of three offset 8” from the beamers on the other side. Then we set the beam in place and attached it to the existing end walls with these brackets and galvanized joist hanger nails…
This wasn’t part of the engineering design but it only took a couple of minutes and didn’t cost much. You can’t build things too stiff! At least in small residential projects.
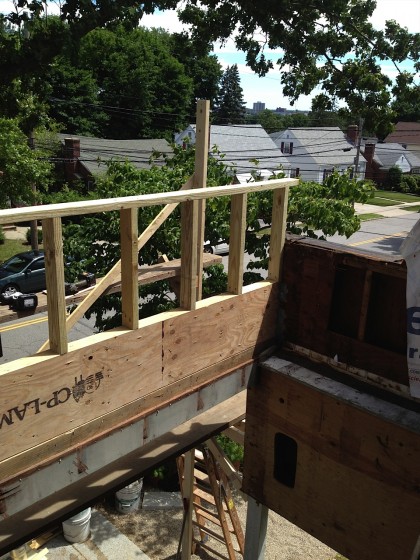
Then we built a wall on top of the beam out of pressure-treated 2” x 4”s…
The new assembly sits on top of the old 2” x 12” beam which is still supported by the three posts. We left all that in place, making the job much simpler. Once the entire deck is done, we’ll jack it up a pinch, install the steel and then remove the posts. [Here’s the engineer’s plan for making it possible to cantilever the deck as the architect originally intended.]
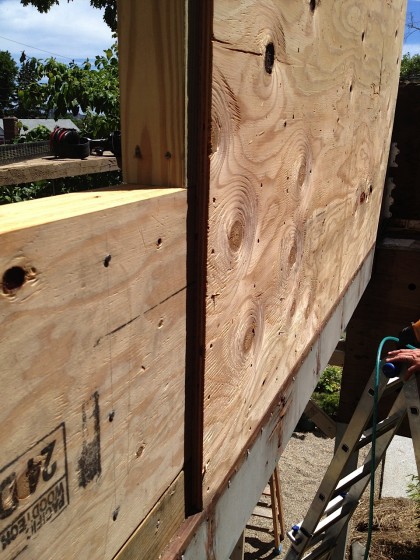
A layer of ¾” CDX plywood, nailed every 6” with 8d galvanized ring-shank nails, ties all the different components together into one monolithic entity…
Plenty more to do out there. Expect another report soon!
Tags: construction, deck, wood

[…] MOD REMOD « redecking revisited […]