Posts Tagged ‘wood’

an idea starts to come together

Friday, January 18th, 2013

It’s been a while since we went to the bathroom together. David and Joe have been making progress on the built-ins in there, so maybe it’s time for a peek — even if it’s not quite done yet.

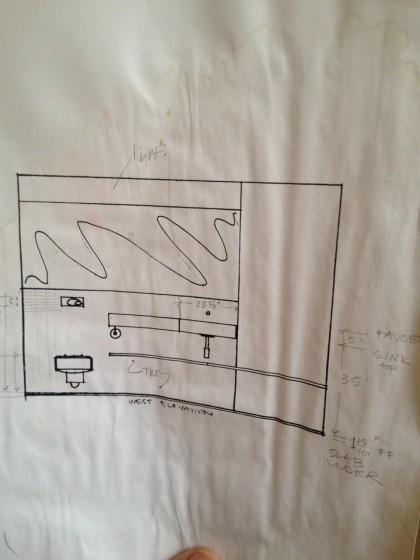
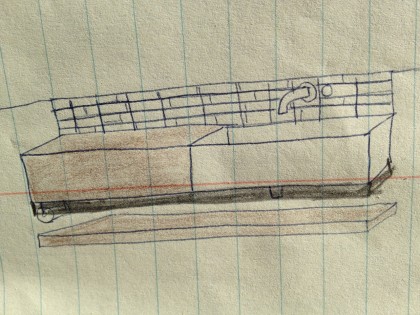
Let’s start at the beginning. A couple of years ago, I handed David a rudimentary scribble of what I pictured for our new bathroom vanity…

my first sink scribble


David drew it mo betta with measurements — I know I’ve shown you this before. This includes the shelf/bench and wall of walnut (to the right of the sink) that I was also hoping for…

layout of sink area


Drawing is SO much easier than building. Here comes the hard part.

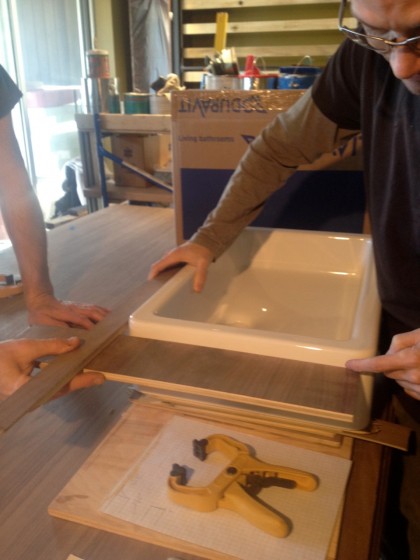
First, there was figuring out the complex, irregular curves of an imperfect  sink — not as right-angled as woodworker might hope — in order to get the wood to mate up with it…

figuring out the curves


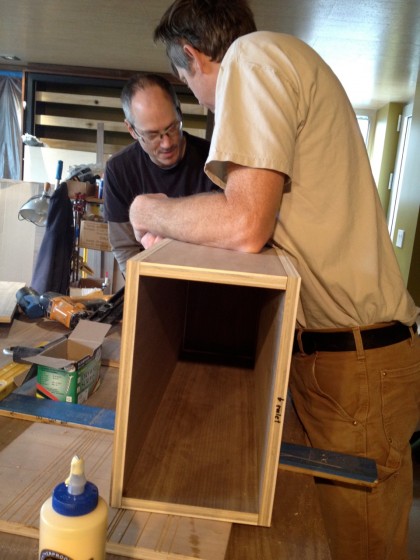
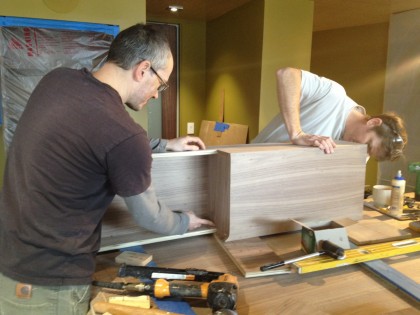
Required some math but they figured it out, as I trusted they would. So they continued on to constructing the vanity box…

building the vanity box


The open end will face the toilet. That’s where the toilet paper and the occasional book or magazine will hide to keep things from getting messy.

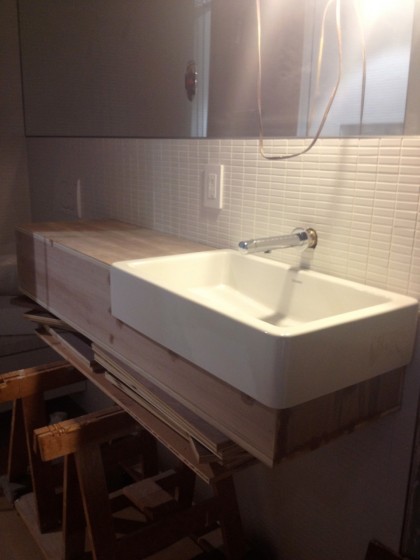
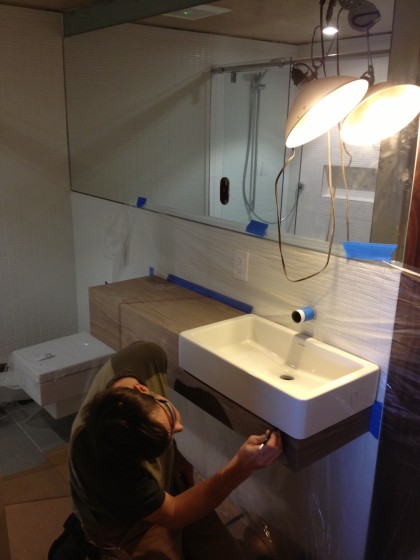
Once that was done, they propped the vanity up on sawhorses and made sure it fit the space as intended with the sink and the faucet roughly in place…

testing the sink on the vanity


There was the tricky veneering stage…

veneering the vanity


And then they secured to the wall and made the necessary tweaks…

making adjustments


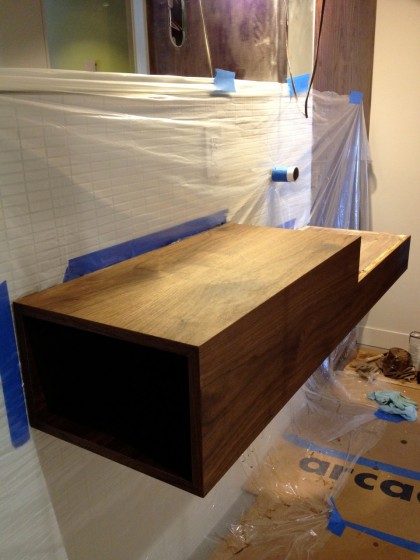
They stained it in place. Here it is with two coats — it still has to be made waterproof (that’s another story)…

hanging the box on the wall


Just to the right of the sink is the walnut panel that will eventually have three hooks on it for hanging up clothes…

walnut panel installed


The bench/shelf that extends from below the sink still needs to be built. But isn’t that gorgeous?!

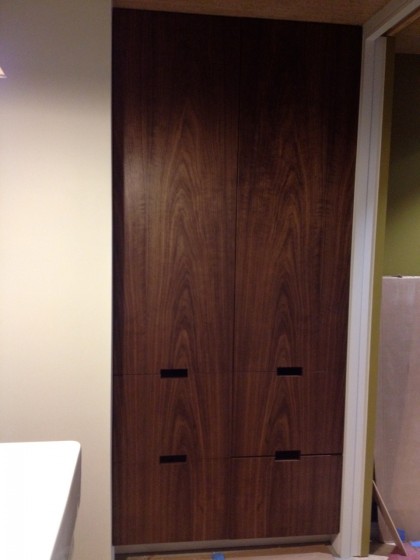
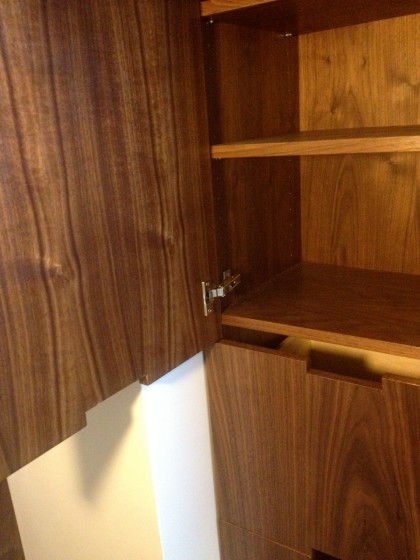
In that same corner there’s now the built-in linen cabinet that David began last June. Just look at that walnut! Love love love.  Just needs a little tweak on that bottom drawer and it’s good to go…

walnut storage wall


Love how the minimal fingerpulls worked out. Perfect…

fingerpulls


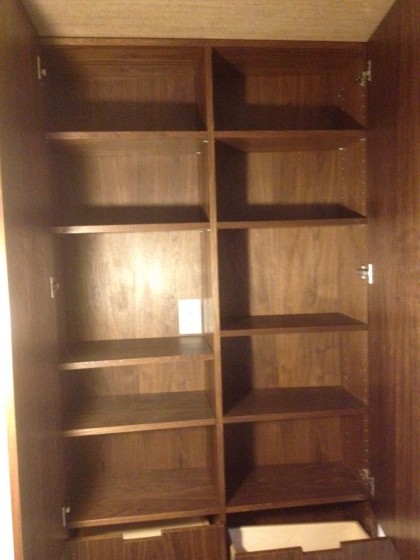
Inside, there’s plenty of room for towels and any bathroom paraphernalia…

a look at the shelves


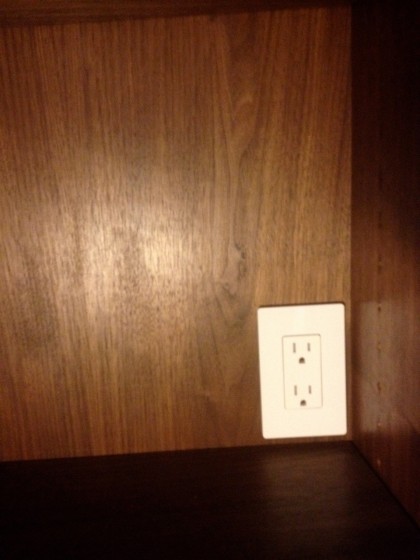
There’s even a recharging station for an electric shaver! So spoiled…

recharging station


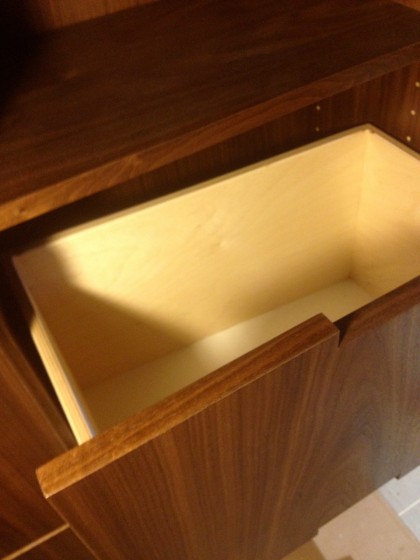
The drawers are nice and deep…

nice deep drawers


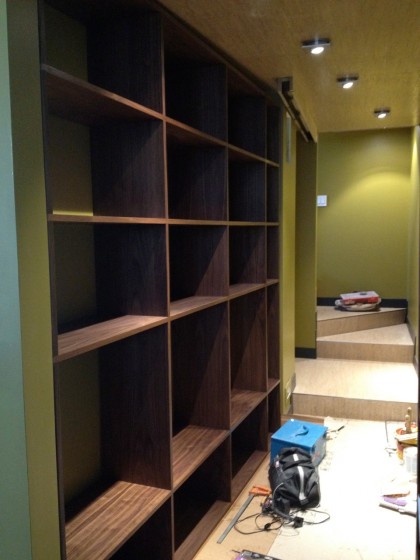
Yes, the back of the cabinet and the drawers are angled to accommodate our angled wall. This should give you a better idea of the wall when you look at the other side. See how the lights are on angle, too?

record storage wall and hallway


Btw, that’s the record storage wall, in progress. More on that another time.

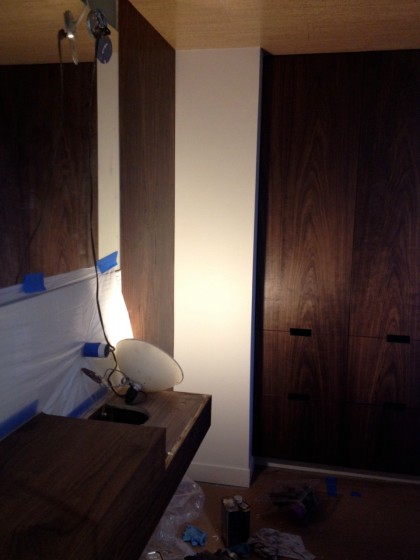
So, back to the bathroom. Here you can begin to get an idea of how the walnut built-ins will look together — in an outage. I need light!

walnut corner


Argh. So impossible to take decent pictures in this tiny bathroom — especially when the lighting isn’t done yet. Oh well.

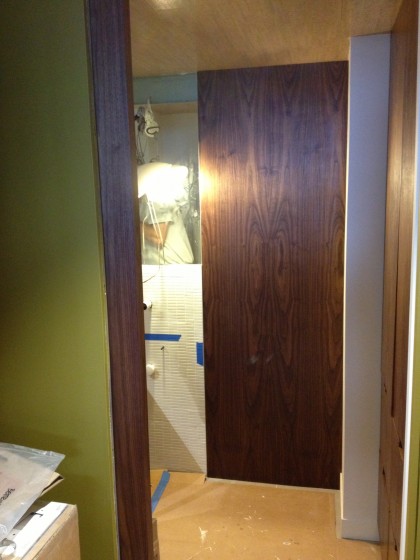
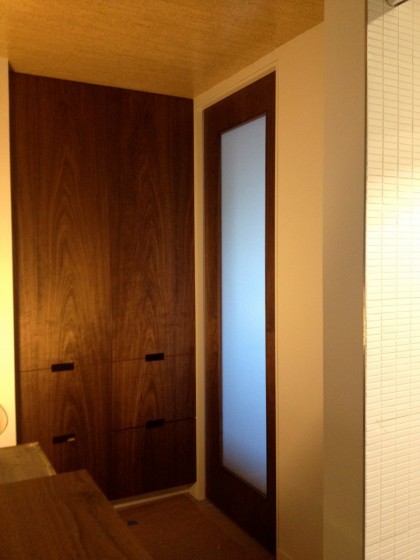
Before I go, take a peek at the fantastic custom pocket door David and Joe designed, built and installed…

custom walnut pocket door


A better look at the door project next week. That’s it for now.
 

re-decking DONE

Wednesday, October 3rd, 2012

I apologize for my lapse in posting. Slammed with work again and it’s playing havoc with the bloggy. Let’s catch up, shall we?

David and Joe just wrapped up work on the deck. We left off with them installing the steel to cantilever the deck. This was the state of things immediately after…

deck walls await


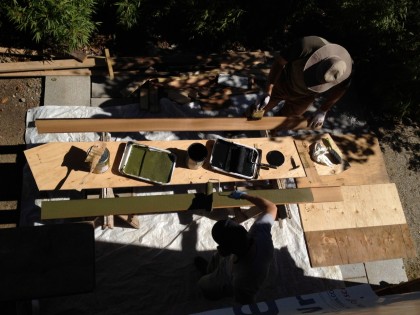
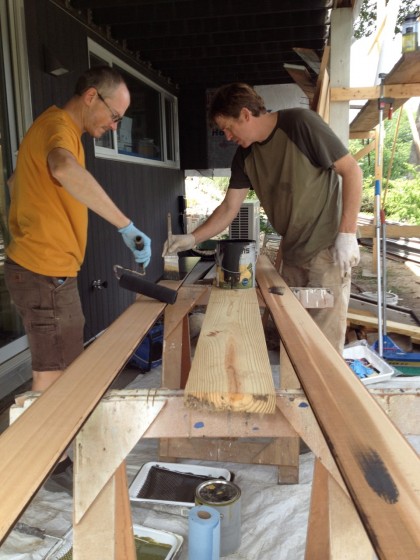
Time to replace the siding on the inside walls of the deck. The boys started by priming and then staining the cedar to match what’s on the walls below

the new replacement boards get primed before they get stained


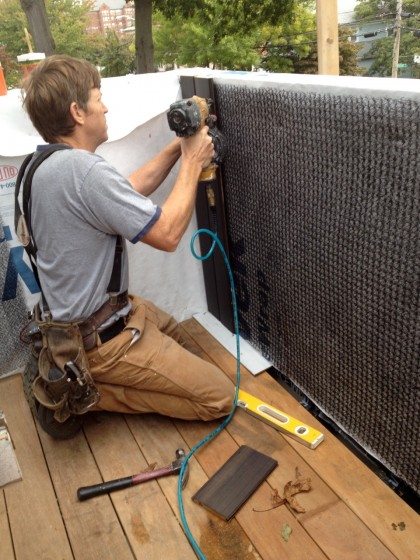
As before, Joe nailed on Cedar Breather, which allows the wood to dry from behind. Then, one by one, the freshly stained boards went on…

the Cedar Breather gets nailed on before the new siding


Before I show you how it all turned out, let me remind you of its former life in a dingy shade of drab.

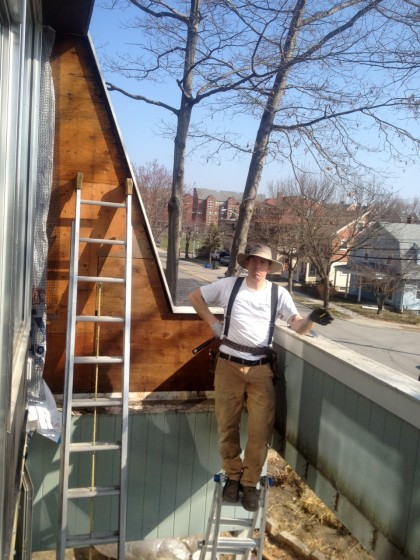
This is what it looked like out there in March as it was being deconstructed…

remember how it used to look? Joe removing the siding in March 2012


Now there’s a chance that powdery sage green looks great on some other house and just not on this one, I’ll grant you that. Having grown up on an Air Force base, I can tell you that this is a shade from my childhood, requisitioned by the military in bulk. It was everywhere. And clearly I am biased against it.

But I blather.

Let me show you how to do justice to this house…

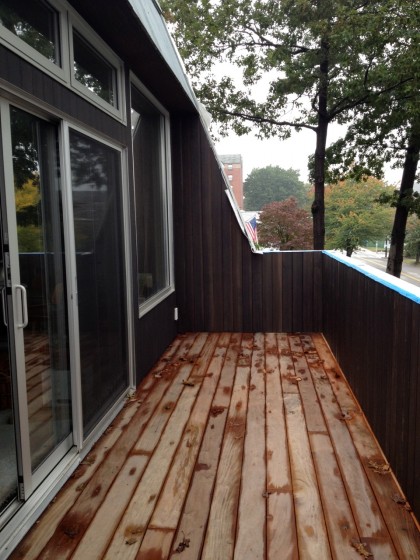
newly stained siding on the wing wall and railing


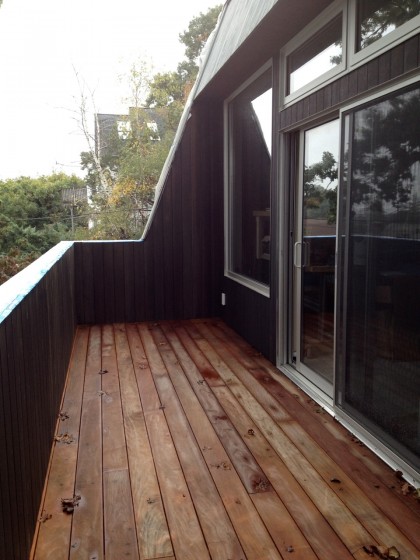
view from the other end


Wow. The beautiful wood now looks like beautiful wood.
Bulky, unnecessary trim is eliminated.

Crazy angular wing walls finally get the emphasis they deserve.

Great job you guys! Looks fantastic — and will look even better once that Garapa Gold decking fades to silver. Psyched. The cap on top of the railing (exact material TBD) will be added after the outside envelope of the house gets re-sided.

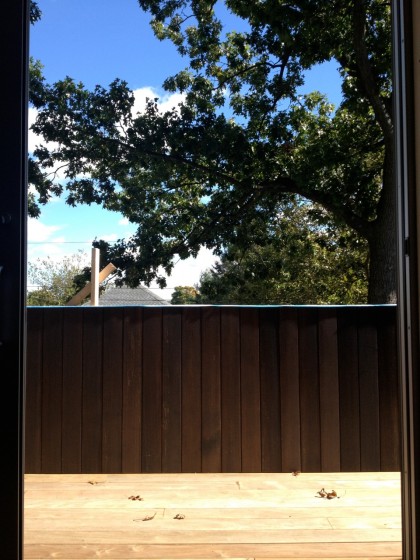
I like how the dark wood really grounds the house and frames the view now…

the new and vastly improved view from inside the house


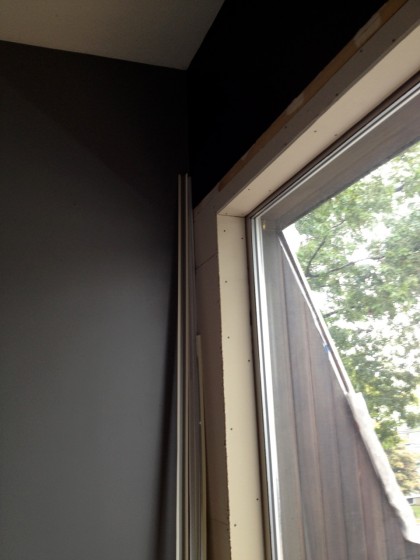
I’ve been picturing a future in which the walls of the living area are lined in dark walnut built-ins that blend (almost) seamlessly into the dark wing walls…

someday the inside wall will blend with the outside wall


I can see it. Can you?

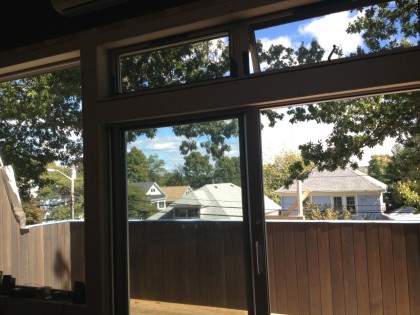
Now… who would like to join me for a toast on the deck?

view through the slider

back in the bathroom

Sunday, September 23rd, 2012

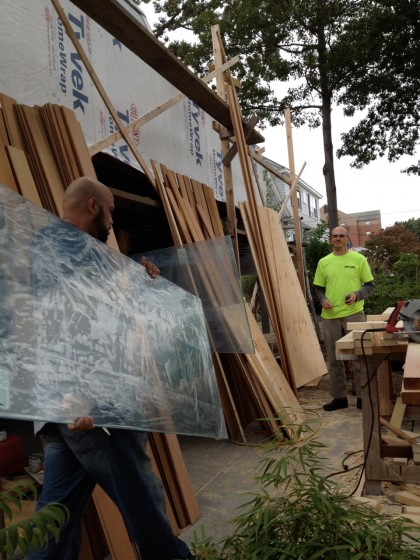
On Friday, RI Glass delivered and installed the shower glass and mirror for the downstairs bathroom…

the shower glass arrives


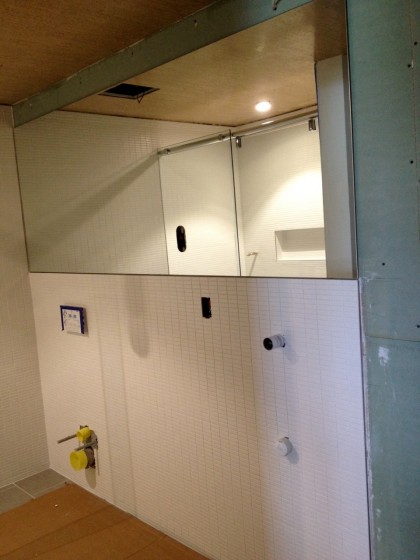
The bathroom mirror was installed atop an electronic mirror defogger. It has a heating element to keep the area above the future vanity from fogging up when you take a shower. That’s my clever boy for ya…

the bathroom mirror is in


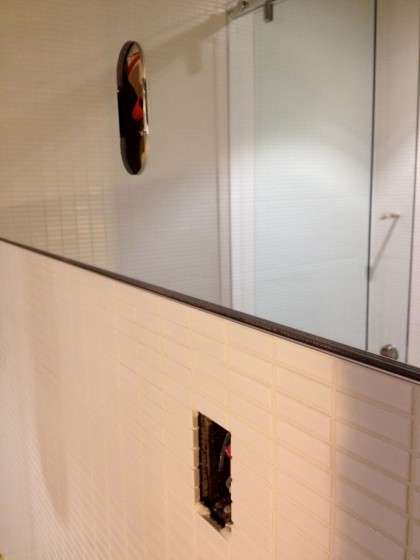
The oval hole in the glass at top is where the lit shaving mirror will go. Below that will be a regular electrical outlet…

electrical: lighted mirror goes above, regular outlet below


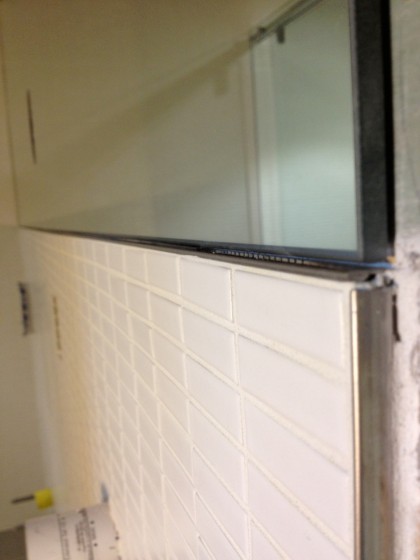
Nice, clean aluminum edge divides the glass from the tile…

aluminum edge between tile and mirror


I think I posted this once before, but here’s a reminder of what this wall will eventually look like…

layout of sink area


At the risk of being repetitive, let me remind you of this:

A walnut box/countertop will be open on the end next to the toilet, so we can stash magazines and toilet paper rolls. (No toilet paper holder like in the drawing.) A walnut shelf will stretch from under the sink to the corner of the room where it becomes a bench. Behind the bench is a floor-to-ceiling wall of walnut with a few hooks up high for hanging clothes.

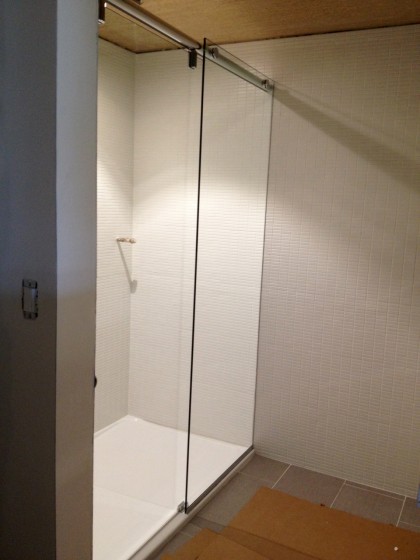
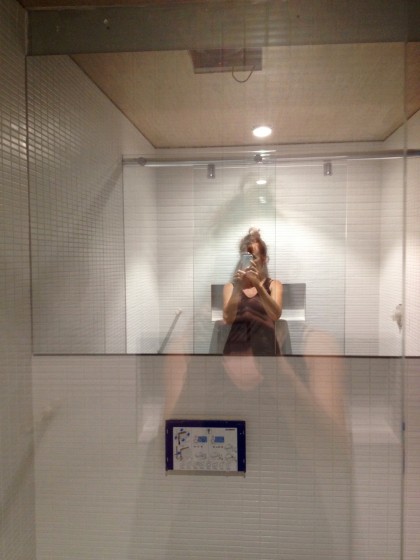
Over on the opposite wall, the shower got its new frameless shower glass. Hard to get a decent shot in this small bathroom but you can see it’s finally looking like a bathroom!

it finally looks like a shower!


The shower base still needs to be topped by a teak slatted shower tray. Actual shower hardware not installed yet.

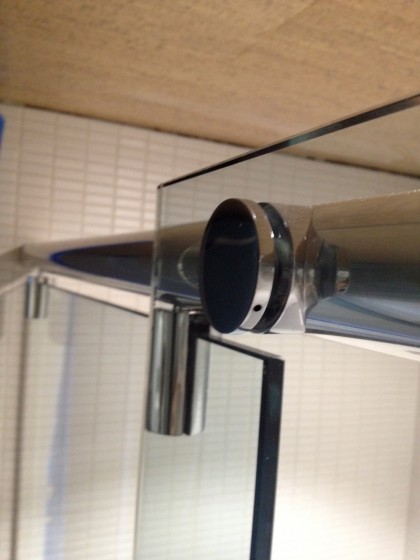
As always, tried to keep it fairly minimal in here, which is why we went with a frameless design. The metal bar is bolted to the header to keep the heavy sliding door setup sturdy. Closeup of the hardware at the top…

closeup of the hardware at the top


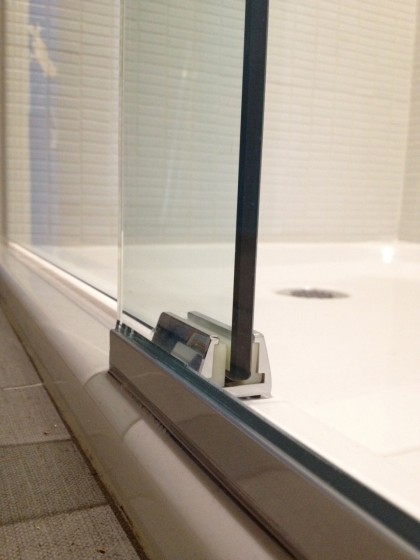
Closeup of the sliding door track at bottom…

closeup of the bottom


The fixed glass is silicone-mounted right to the tile…

shower glass wall siliconed to the tile


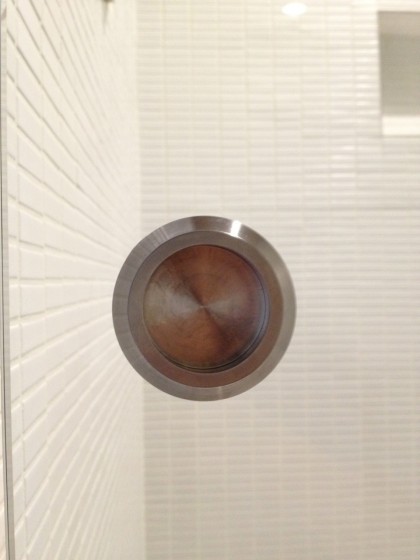
Finger-pull on the sliding glass door. No handle to extend into the skinny room! Have I mentioned lately how much I love this tile?

fingerpull on the sliding glass


The plumber comes next week to make the shower a working thing and install the wall-hung toilet. Woohoo!

hey, look who’s in the shower!


getting ready for steel

Thursday, August 9th, 2012

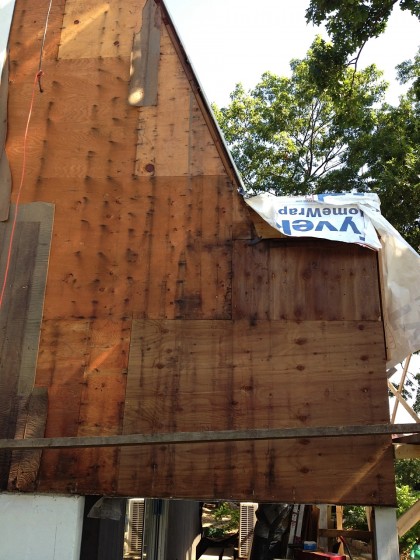
David and Joe have been prepping for the installation of the steel that will cantilever our deck. For the last few days, they’ve been removing the siding on the forward third of the house. David reports: “You can see that the original construction paper didn’t keep out moisture very well. The nails heads all show rust trails…”

getting ready for steel: siding removed


“Above, you can see on the lower right where the deck structure was repaired with pressure treated plywood in the ’80s. However, the object should have been to keep water out, not make a structure that could survive moisture penetration.”

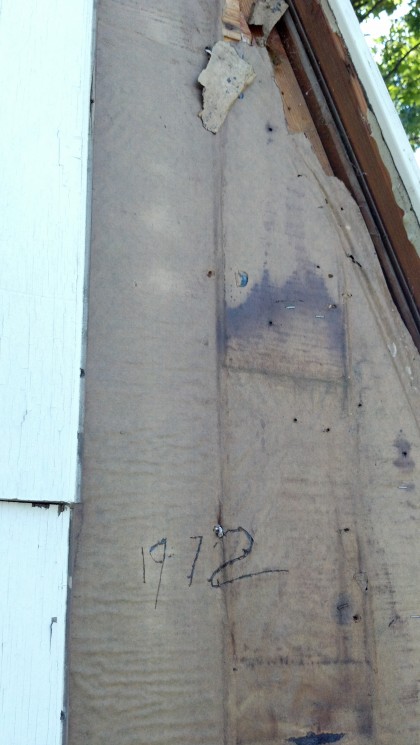
Look what Joe found etched underneath the siding…

getting ready for steel: 1972


Nice.

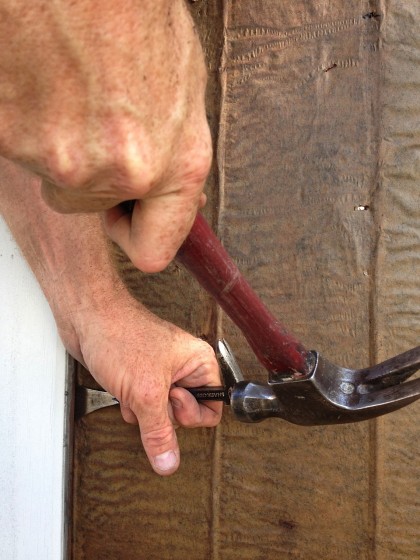
More from David: “Cutting the aluminum nails they used to install the siding in ’72 turned out to be easer than punching them in. I have a lot of respect for the carpenters that used these soft nails!”

getting ready for steel: siding nail removal


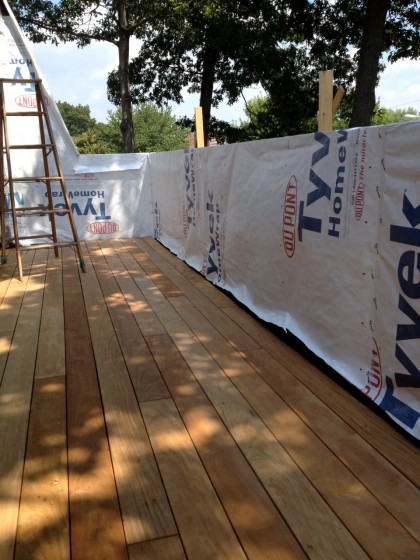
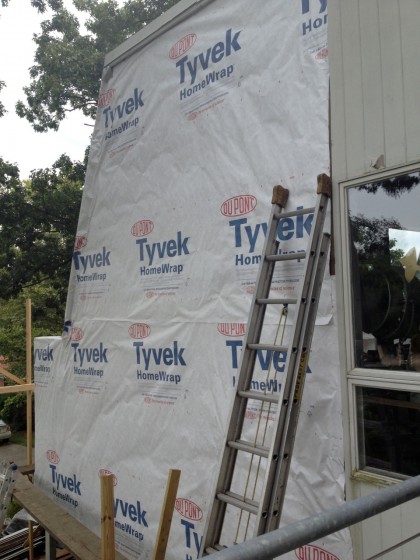
Once the boards were off, the boys added house wrap to keep water out temporarily — eventually all the walls will receive 3″ of foam insulation like the deck-end of the house did…

getting ready for steel: house wrap


With that done, attention turned to the inner walls of the deck…

getting ready for steel: deck walls await


Now that the new LVL beams are in, the deck is rebuilt and the wall height  raised to code, the siding that goes on the inner walls can go up. David and Joe began staining it dark to match the siding below the deck…

getting ready for steel: staining the siding


Looks to me like they’ll be busy…

getting ready for steel: siding in waiting


The saga continues… but not today. Today the boys are taking a break.

redecking almost done did

Thursday, July 12th, 2012

Happy to report that the deck is ALMOST DONE! My handsome contractor shares the redecking details of the last few days…

——————————————————————————————-

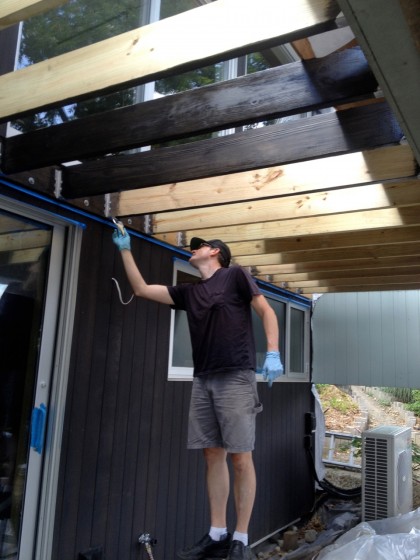
Once the joists were in, I stained them to match the siding

david staining the joists


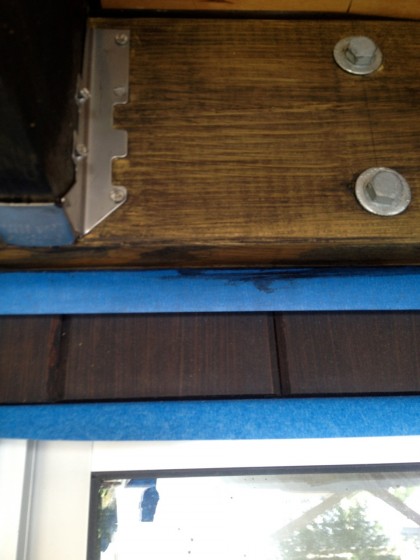
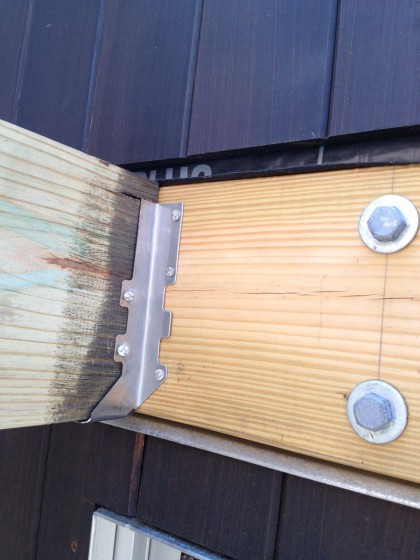
I brushed the same Sikkens we used before on all the exposed, pressure-treated wood. The stainless joist hangers and the lag bolts in the ledger board really pop against the stain, matching the aluminum flashing around the doors and windows…

joist hangers and lagbolts match the flashing


Guess we can remove that paint tape pretty soon, eh?

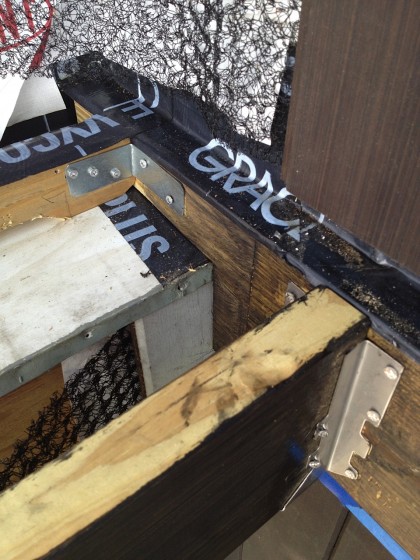
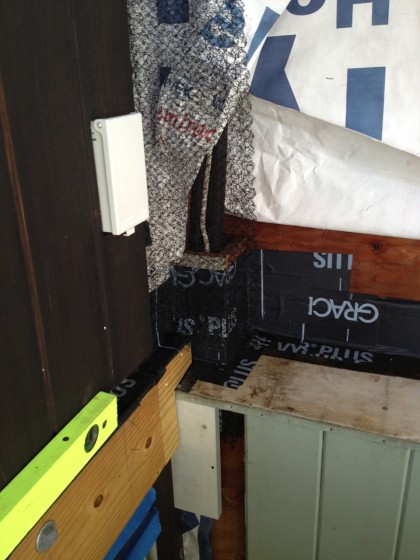
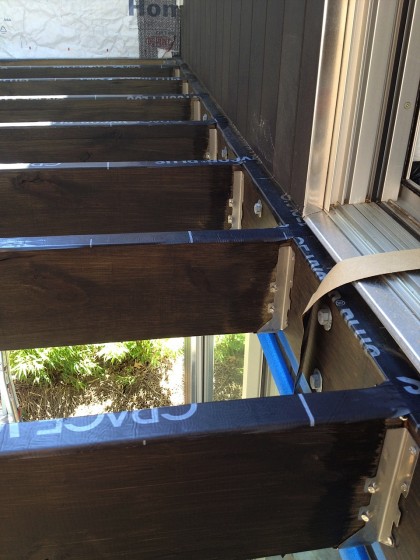
Joe, the  Water Barrier Police, made the magic happen with ice and water tape, aluminum flashing and house wrap to keep water out for years to come…

redecking2


More of the same at the other end of the deck with the added complication of installation around the heating/cooling lines…

more waterproofing around the complicated bits


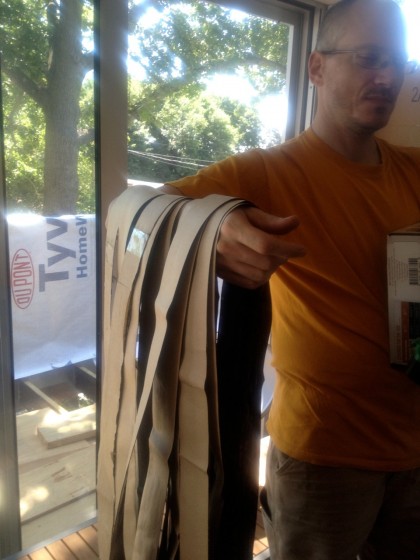
Water sitting on top of the joists, or trapped between the back of the deck boards and the top of the joists can slowly rot the wood. Although we’re using hidden fasteners, they can still provide an avenue for water to enter the joists and rot them. Don’t want that, so Joe cut a bunch of snow and ice tape strips for the top of each joist…

waterproof tape strips


That should keep water off the top of the joists and seal around any fasteners to keep water out…

waterproof tape strips on top of joists


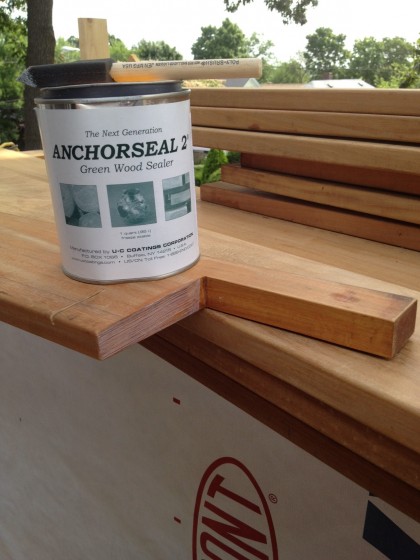
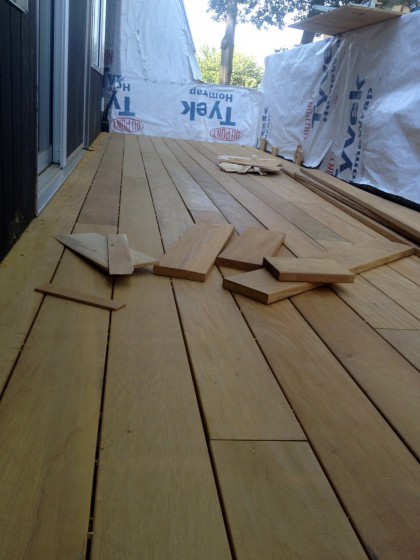
For the deck boards, we chose a wood called Garapa Gold, which is 30% heavier than mahogany and twice as hard. Sort of a poor man’s ipé or teak. It weathers to a nice silvery grey with no maintenance needed — my kind of deck. That means we’ll leave it untreated except for sealing all cuts against moisture penetration…

anchorseal sealer for the freshly cut ends of the deck boards


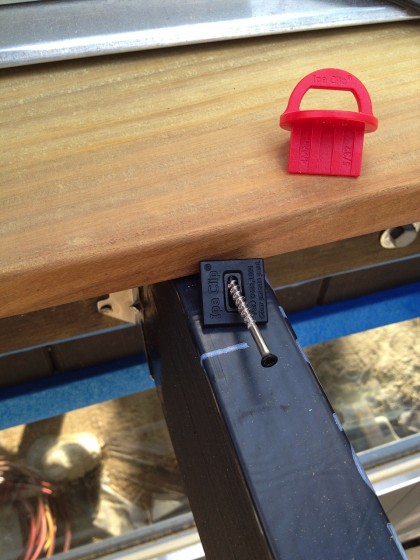
After all that moisture-blocking prep, the deck board installation could finally begin. I mentioned hidden deck fasteners earlier — Ipe Clip makes them. That black clip slips in a slot you cut into the edge of the deck board with a biscuit joiner (sorry I didn’t capture an image for you)…

ipe clip closeup


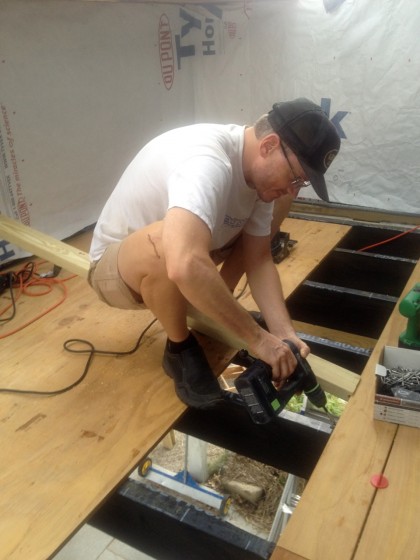
Then the screw (head conveniently painted black for us already) goes through the little metal insert in the clip at a 45 deg. angle like so…

installing the boards


That round red thing is a spacer that keeps the boards evenly apart as we go. The next board gets slots cut in the edge and slips onto the first row of clips, then stuff happens to the new edge, same clips and stuff junk and whatnot. If you’re interested in the installation details, the whole process is here:


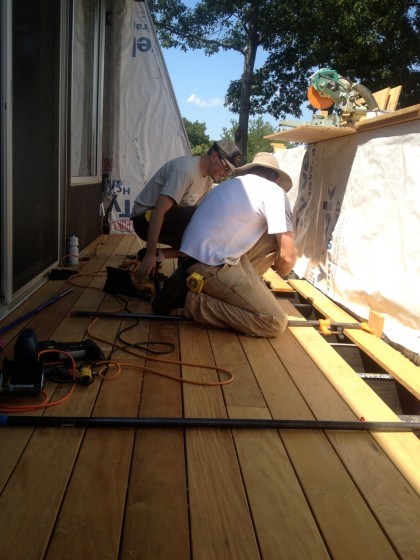
Needless to say, we powered through the deck board installation today in spite of the sweaty 90-degree heat…

david and joe nearing the end


A few bits left to make it DONE done but it looks pretty fantastic, right?

almost done done


And 100% more usable than it has been for the last six months!

redecking: joist and merriment

Monday, July 2nd, 2012

On Friday, shenanigans and the deck rebuild continued. The man with the plan fills us in on what he and Joe are up to out there…

——————————————————————————————-

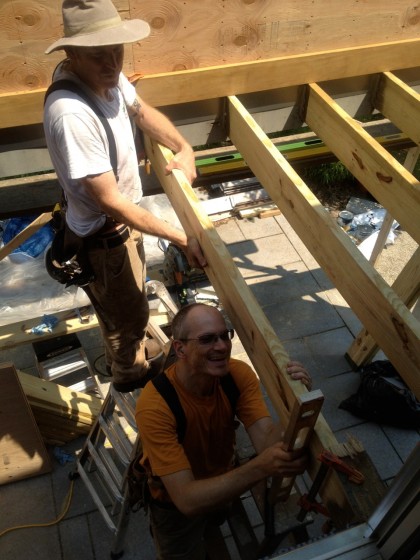
redecking: squaring and leveling joists


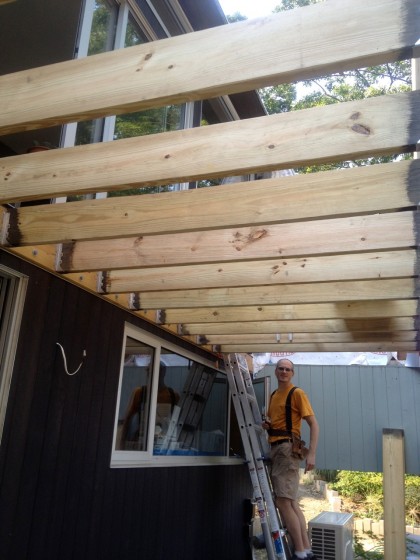
Next up on the deck is the installation of the 2″ x 8″ joists. Joe and I angled them 1/4″ away from the house to ensure that water will drain away rather than sit on the deck boards.

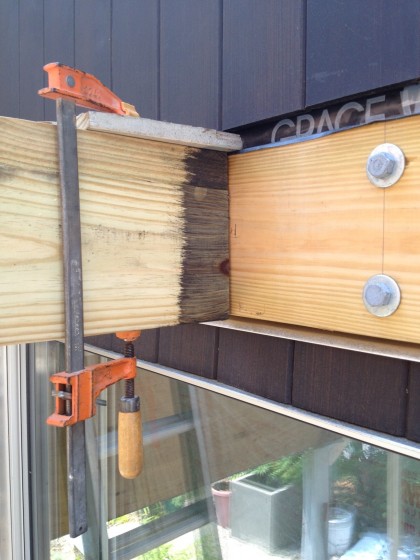
A scrap of wood clamped to the top holds one in place so a joist hanger can be nailed…

redecking: joists getting nailed


The joist hangers are made of 316 stainless steel, as are the nails. Designed for use near salt water, they’ll never rust. We’ll stain the joists to match the stain on the siding and to cover their pressure-treated green. You can see we already stained the ends so that we don’t have to cut in around the hangers…

redecking: steel joist hangers


We installed aluminum flashing to cover the joint between the new plywood and the old cedar…

redecking: metal strip


Flashing tape will be added at the top to ensure that water stays out of the joint.

With the joists all up we can do a little weather proofing and then start applying the decking. The deck material we’ll be using is Garapa Gold, installing it with a system of clips which will leave no visible fasteners and no pathway for water to enter and rot the decking or framing. Cool stuff.

Well, that was a full day’s work. Joists all in! And it’s beginning to look like a deck again…

redecking: joists all done


redecking revisited

Thursday, June 28th, 2012

I mentioned the other day that it’s time to get back to the deck. Holding true to our ADHD remodel strategy, David and Joe are at it again. David will tell us what’s going on out there.

————————————————————————————————————————————

We finally got going on the deck again. It took a while to get the building permit and then everybody’s schedules had to align. Also, the planets.

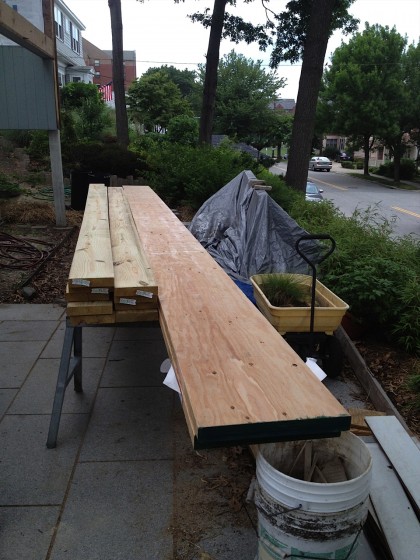
On Monday we took delivery of the pressure-treated 2’ x 8” deck joists and two 16” x 1-¾” LVL beams that will make up the load-bearing portion of the new deck…

redecking1


Then we raised up the two LVLs close to where we needed them…

redecking2


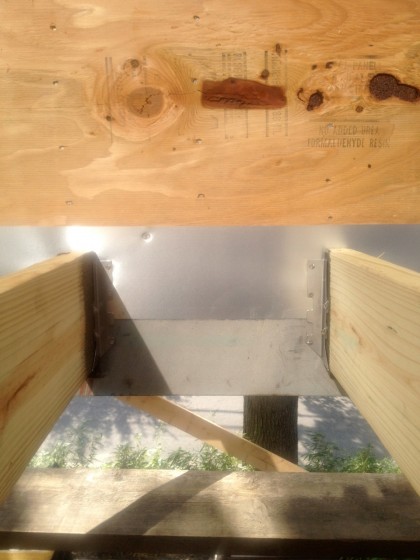
We cut them to length, set them in place, made sure they were level and then screwed them together with #14 x 2-⅜” beamers in rows of three every 16”. That’s a mouthful to say and took a while, but it’s a big, strong beam now…

redecking3


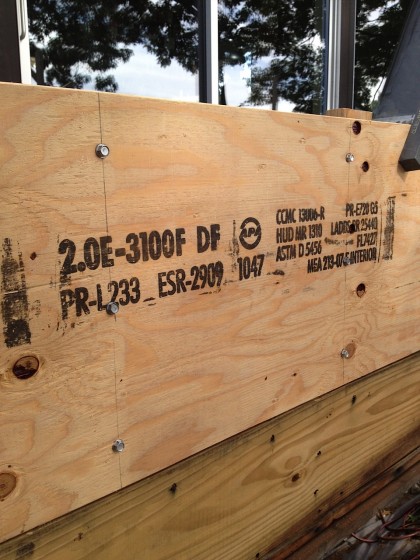
“2.0 E – 3100F DF” means something about how much it will deflect (sag). In other words, strong stuff!

redecking4


We nailed the inside of the beam with 12d galvanized nails in rows of three offset 8” from the beamers on the other side. Then we set the beam in place and attached it to the existing end walls with these brackets and galvanized joist hanger nails…

redecking5


This wasn’t part of the engineering design but it only took a couple of minutes and didn’t cost much. You can’t build things too stiff! At least in small residential projects.

Then we built a wall on top of the beam out of pressure-treated 2” x 4”s…

redecking6


The new assembly sits on top of the old 2” x 12” beam which is still supported by the three posts. We left all that in place, making the job much simpler. Once the entire deck is done, we’ll jack it up a pinch, install the steel and then remove the posts. [Here’s the engineer’s plan for making it possible to cantilever the deck as the architect originally intended.]

A layer of ¾” CDX plywood, nailed every 6” with 8d galvanized ring-shank nails, ties all the different components together into one monolithic entity…

redecking7


Plenty more to do out there. Expect another report soon!

scenes from the woodshop

Tuesday, June 26th, 2012

I met up with David at Tim’s graciously provided woodshop yesterday to figure out the size and location of fingerpulls for the bathroom cabinet doors and drawer fronts. It’s a small detail but one we want to repeat on built-ins that will go upstairs as well.

We explored several design options (you can see a few on my no-hardware cabs Pinterest page, if you like) and settled on a slim rectangular notch. David mocked them up in paper…

fingerpulls laid out on the cabinet doors and drawer fronts


Minimal. Nothing to jut out into the small space. Echoes the slim rectangular tiles in the bathroom. So there you go, one more decision down.

In other news, David and Joe started setting up the scaffolding in anticipation of rebuilding the deck…

david and joe about to set up the scaffolding


The deck rebuild has been on hold since March. Excitement ensues.

scenes from the woodshop

Tuesday, June 19th, 2012

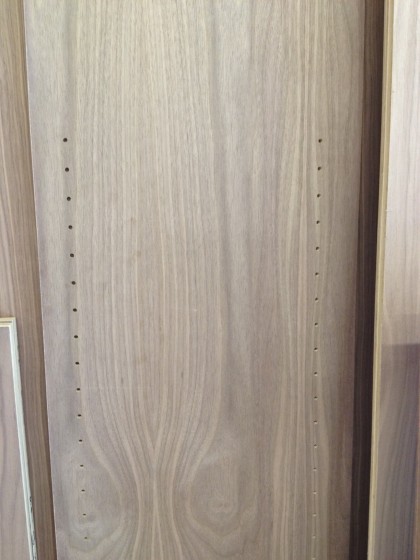
David says the bathroom cabinet has been drilled for future usefulness…

cabinet being drilled for shelf holes


The man himself explains:
“Those wacky Europeans, they came up with this 32mm system. A series of 5mm holes are drilled 32mm apart a set distance from the front edge of the sides of the cabinet. A parallel row is drilled some multiple of 32mm back from the first row at the back of the cabinet. The holes can be used for door hinges, drawer slides or shelf pins. An ingenious way to make easily customizable cabinetry!”

cabinet drilled for shelves


That is all.

scenes from the woodshop

Wednesday, June 13th, 2012

David reports in again from Tim’s remote Smithfield woodshop with visual proof of progress. Right now, it’s all about edge taping the walnut cabinet parts.

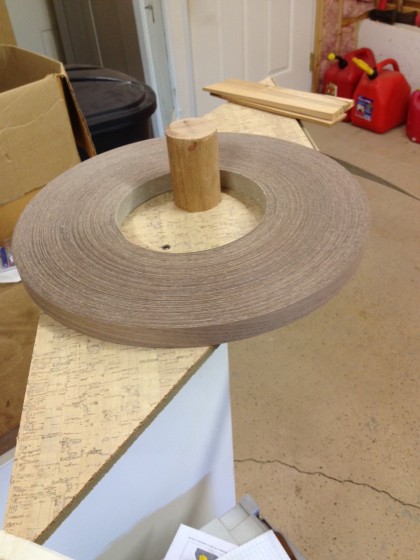
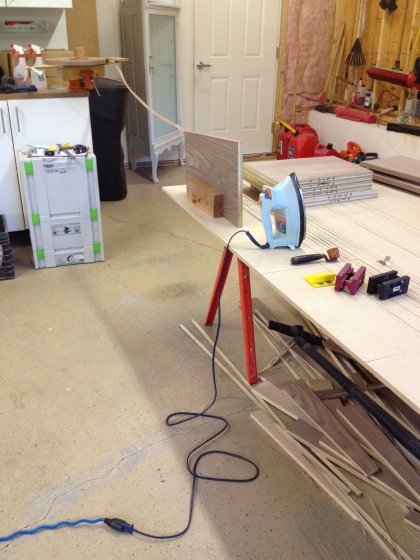
First, he rigged up an edge-taping management system…

David’s DIY edge tape dispenser


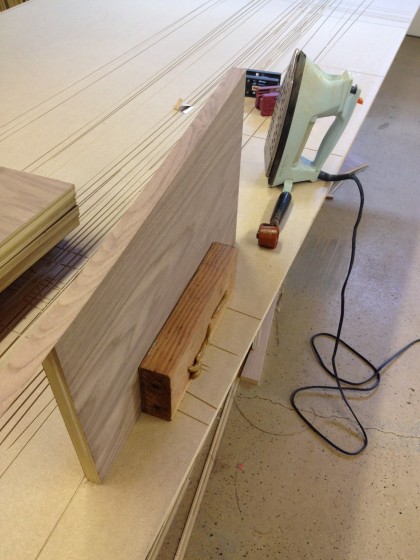
Then he whipped up a way to hold the cab parts steady…

let the edge taping begin!


Then he applied heat…

and the edge tape goes on


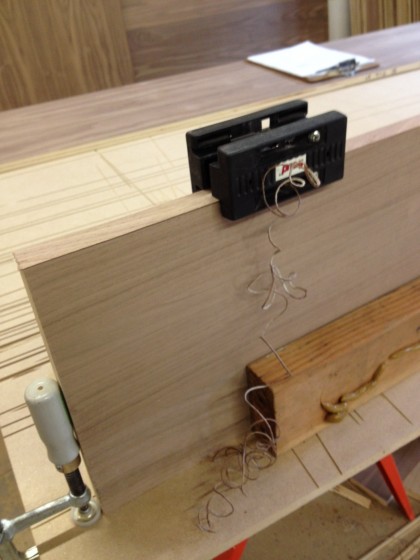
Trimmed off the excess…

trim off the excess


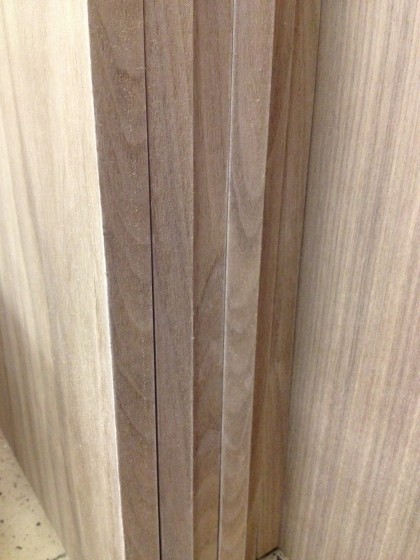
And VIOLA! Edge taped.

finished panel edges