Archive for the ‘green’ Category

new year, new roof

Tuesday, January 15th, 2013

WE’RE BACK!

Where the heck have we been? Maybe we’ve been stuck in a time loop and just barely made it back to the present. Yeah, that’s it, time loop. That sounds so much better than man are things going slowly and we just don’t have anything to share with you.

But things are picking up again! What better way to start the New Year than with a sexy new rubber roof? David was up there when it all went down during the first couple of days of the year, so he can share the deets…

—————————————————————————————————–

Our old rubber roof was failing — not in a catastrophic way just yet, but who wants to tempt fate? Installed in ’85, it was past the end of its life and due to be replaced, plus it was leaking.

Just days after the New Year, I was surprised to hear from the roofers who said they were ready to roll. Talk about hardcore. The forecast called for  7 degrees the next morning and they showed up at dawn ready to rock. Removal of the recently fallen 8″ of snow was the first order of the day. The sun hadn’t even made it over the horizon…

8 degrees, 8" of snow to shovel off the roof.8 degrees, 8" of snow to shovel off the roof.


That was quickly followed by removing the gravel stop around the perimeter of the roof…

roof_2


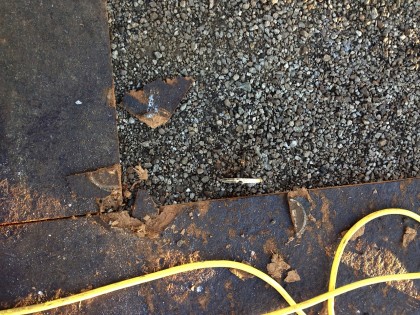
Next, cutting the aging rubber roof and exposing what lay underneath…

roof_3


The original roof was pitch and gravel. Then in the mid-’80s, fiberboard with fully adhered rubber was installed directly over the top of it…

roof_4


Once they had the roof clean down to the original plywood sheathing, the crane started hoisting up materials…

hoisting the EPS foam to insulate the roof.


The 3” EPS foam was then ready to be installed in two layers with overlapping joints…

roof_5


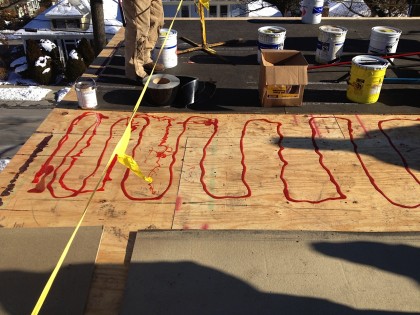
New fiber board was glued down onto new plywood…

roof_6


Fancy two-part polyurethane glue was applied to bond the new fiberboard to the new plywood, so there are no fasteners to telegraph through the rubber…

roof_7


Day 2 dawned with half the roof left to do…

roof_8


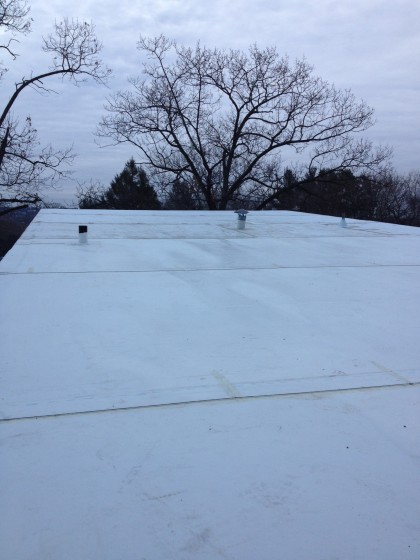
Second verse same as the first, and then it was done!

new rubber — white to reflect the sun and save energy.


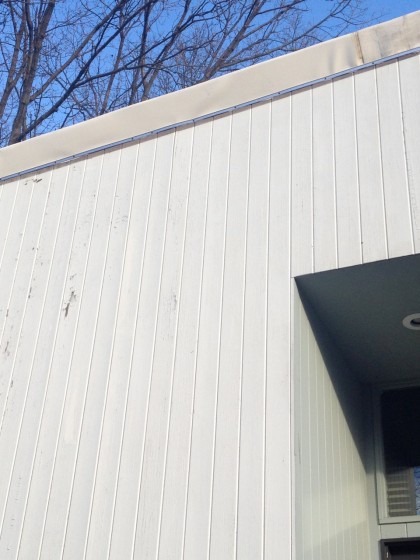
Well, almost done. We still have 3/4 of the sheathing to remove so we can finish insulating the exterior walls, which means the final edging detail will have to wait. What you see here is temporary. In fact, when Joe and I are done, you won’t even see the edge…

temporary roof edge.


One of the big goals of our remodel is energy efficiency, which is why we chose a white rubber roof rather than black. A lighter roof reflects the sun, which in turn reduces heat gain and lowers energy bills. In other words, white is the new black, and that makes it green.

We’ve also topped the house with 6″ of rigid EPS foam which, at R4.7 per inch = R28.2, increases our R-value and reduces our heat loss. That’s in addition to the existing 6″ of fiberglass (somewhere around R20) over which we layered the new roof.

Suffice it to say that we should be much cozier this winter.


winter composting

Saturday, January 14th, 2012

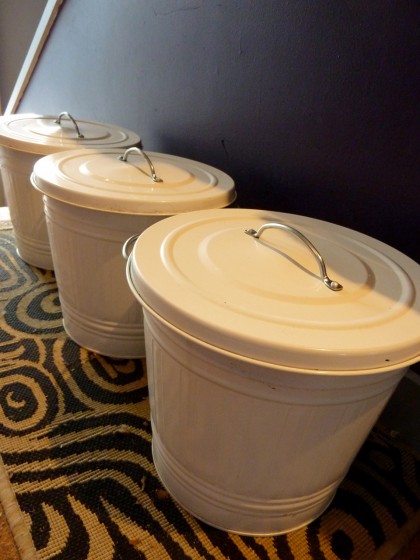
We go through a lot of fruits and veggies in this house. But just because it’ll be 7 degrees tonite doesn’t mean I’m going to toss my scraps in the trash. I make compost all winter, in fact, using these three cans I picked up at Ikea last year…

my composting cans


My food scraps don’t stay in the cans — they just get a good start at breaking down into compost indoors where it’s warm before they get added to the pile outside in the freezing cold. I got the idea from Fine Gardening last winter. Check it out if you compost. This method worked well for me last winter so I’m doing it again.
The basic idea is to create a compost lasagna: chopped up leaves on the bottom, a layer of scraps, a layer of sawdust and soil (I usually use leaves and soil), a layer of scraps, and so on. As one can fills up you move to the next. The third can is for storing your sawdust-soil mixture (or in my case, chopped leaves) so it’s handy. By the time spring rolls around, you’ll have a healthy pile of compost to work into your soil.

winter prep

Monday, December 12th, 2011

It’s 28 degrees this morning. Brrrrrrr. We’ve been trying to wrap things up outside for the season.

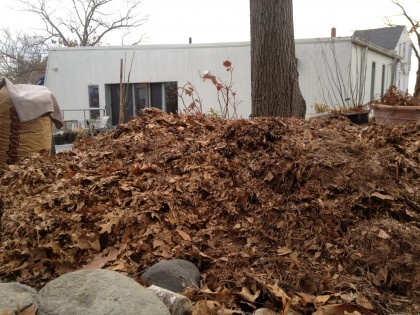
Like last year, that means chopping up our bagged leaves instead of dragging them out to the curb…


shreddingpile


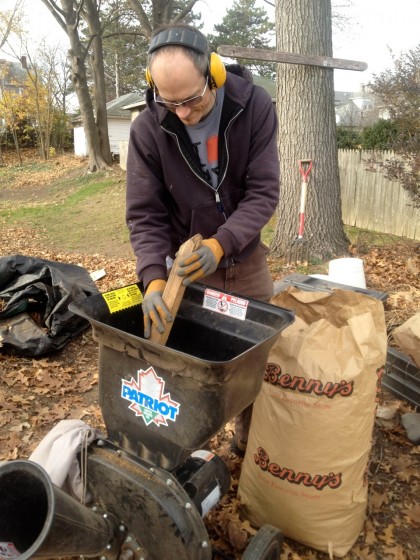
However, unlike last year, we now have an electric chipper…

shredding1


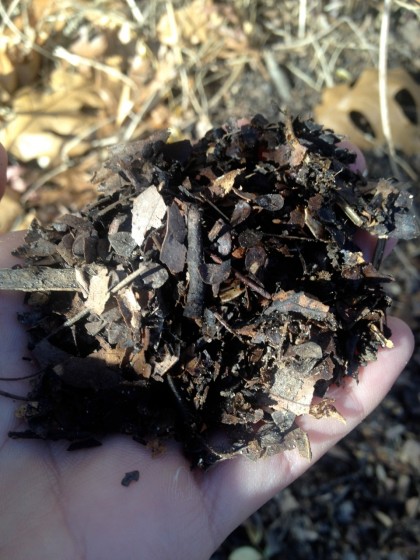
Chops the leaves finer than the reel mower — better yet, it lets us chip all the oak branches that fall throughout the year and add them to the pile. Especially handy after a hurricane, lemme tell ya. We spread out the pile where it will remain under a tarp until late summer, when I’ll start using it around the plants…

shredder2


I have to water less and the worms love it, so it must be working.

What else? Well, I sunk the pots of hardy lotus and waterlilies, then pulled all the water hyacinth and water lettuce out of the koi pond…

winterprep1


Those will be added to the compost pile. No need to waste them.

Now that the water temp is in the low 30s, we’re not supposed to feed the fish. Sorry, guys…

coldfishies


(Leaf net still up to keep debris out.) They get high-protein food in the warm season, but when the temperature drops below 50 they get low-protein food because their metabolism slows down. Guess that’s why they move more slowly, too. We’re not supposed to feed them again until the spring when the temperature goes back up again.

Have also been making hay — when the sun shines, of course…

hay1


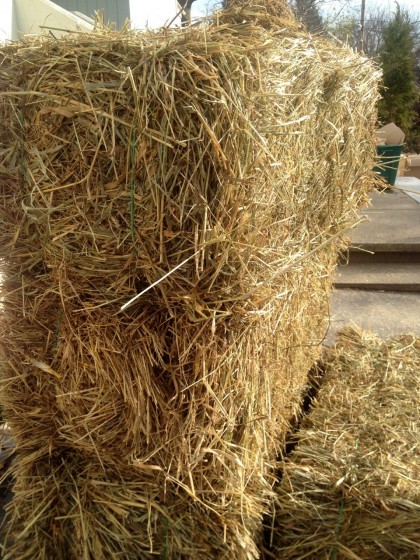
Okay, we didn’t make it — and it’s not hay, it’s straw (no seeds). Picked up from Allie’s in North Kingstown. Which means we can now put the plants to bed. Like the hardy banana (Musa basjoo)…

banana1


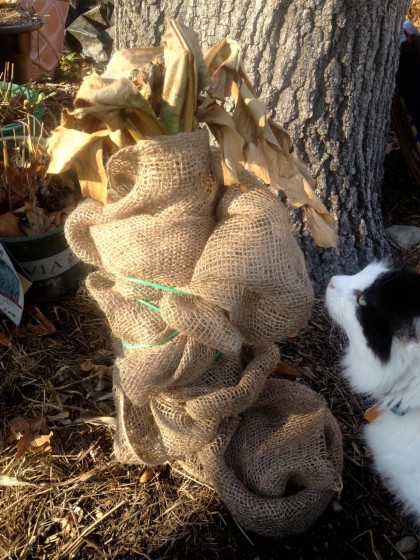
Dare I leave it outside in New England all winter? Well, yes. Should be fine with some preparation. I wrapped it in burlap…

banana2


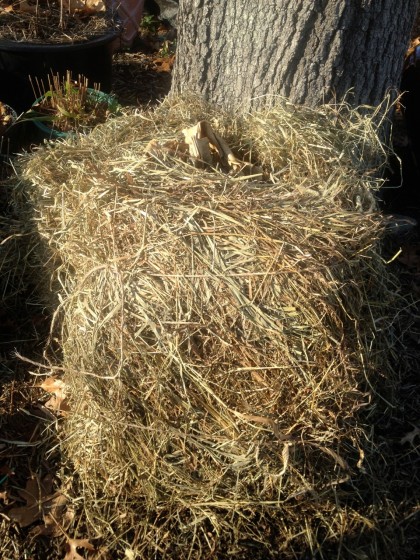
Then I padded it thickly with straw and tied it up tight…

banana3


I will wrap the whole thing up like a burrito to keep it dry for the winter as soon as my white tarp arrives. (White won’t heat up when the sun hits it, unlike green or black.)

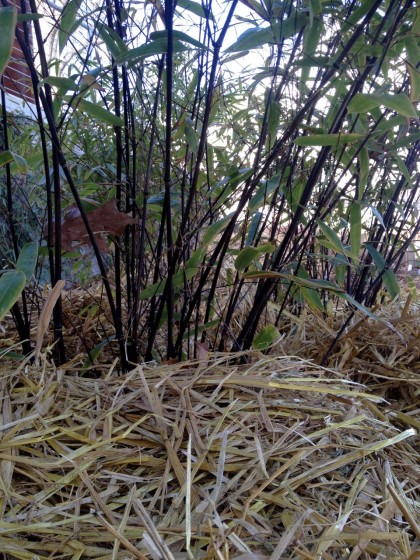
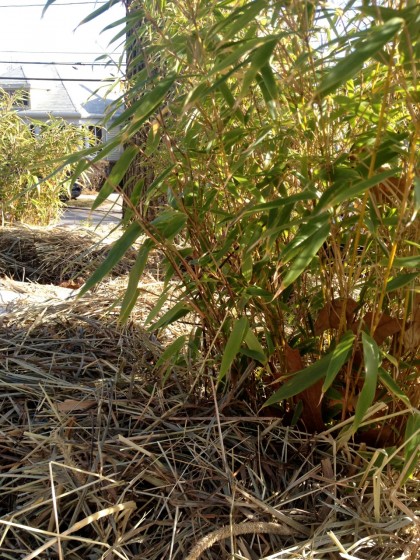
I gave the bamboo a thick blanket of straw. The three Phyllostachys nigra (black bamboo)…

bamboo_phyllostachysnigrahale


And all fifteen of my Fargesia rufa…

bamboo_fargesiarufa


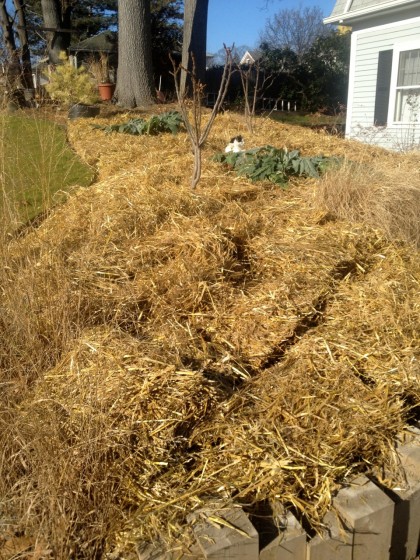
There are only a few spots around the yard that are still pretty barren looking. I covered this bed with straw to keep the bare soil from sliding downhill next spring when the rains hit…

hayhayhaystraw


Hopefully this will be grown in by this time next year and will not require prophylactic measures.

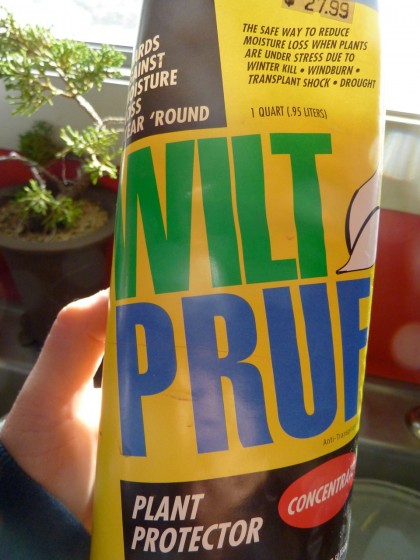
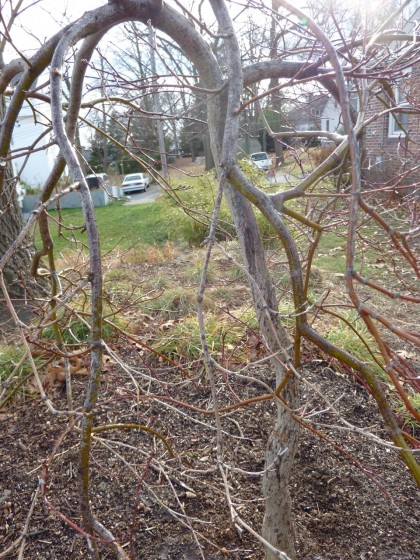
Last of all, I gave each of my five Japanese maples a little protection from the cold, drying winds that are on their way…

wiltpruf1


Wilt-Pruf is organic and biodegradable. Just mix it with water…

wiltpruf2


Then spray it on and it coats the branches to hold in moisture. Good for azaleas and rhodos, too, if you have them…

acerpalmatumcrimsonqueenmaple


You probably can’t tell the difference, but the Acer Palmatum ‘Crimson Queen’ can. She says thank you and see you in the spring.

crimsonqueenfallcolor


fish goo and molasses

Sunday, November 20th, 2011

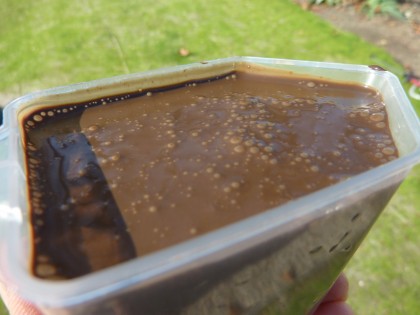
What do you suppose that smells like, fish goo and molasses? It doesn’t smell great, I can assure you of that. However, your lawn and your soil love it. So today, I opened up this container (*engage gag reflex*)…

fish goo container


Initially I was going to mix up my own compost tea to give the baby lawn a much-needed end-of-season feeding. Don’t worry, URI horticulturists tell me it’s okay to feed the lawn until around Thanksgiving. (Do you think I do anything without researching it to death first?)

But in the interest of getting it done at the last minute, I hunted down this Aggrand Natural Based Fertilizer. Already made. Cost just $8.95 for a 32 oz bottle (covers 5000 sq ft). 100% natural! Between the koi pond and the kid, I’m not about to add chemicals.

Yum…

fish goo in a cup


The best news: the recipe is almost exactly what I’d use to make my own compost tea. So what’s in it? Hydrolized fish solubles (menhaden salt water fish, to be exact), kelp, bloodmeal, sulfate of potash — oh, and molasses to help create a literal microbe orgy in your soil. Apparently this will lead to better soil structure, which leads to deeper, denser roots and healthier grass.

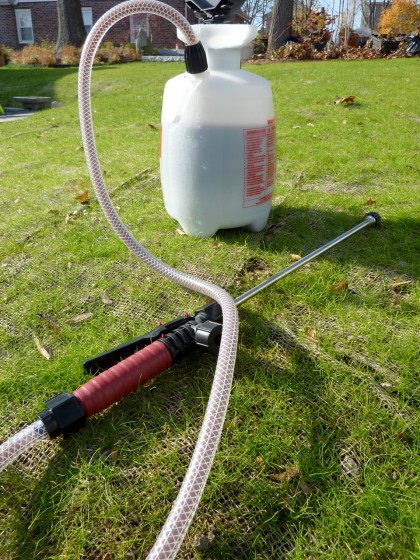
There’s nothing much to it. Measure it out. Add water. Spray…
fish goo in the sprayer


And then, good gawd, smell the stank. It’s the stank of green.

————————————————————————————-

Handy bookmarks:

– Harvard’s landscaping is now organic, yours can be, too. Build your own tea brewer to feed your lawn at home.

– And create your own compost tea for your lawn or trees.

– Need a visual? How about a video.

Yes, I’ve posted these before. These links still rock.


rockin’ the double-denim ceiling

Wednesday, October 12th, 2011

This week, David Bettridge will catch us up on the downstairs progress. Drumroll, please…

———————————————————————————————————

When we moved in to this house, we noticed right away that sound travelled pretty well between the upstairs and downstairs. One of our goals is to fix that during the downstairs renovation. If you remember your physics, you know that sound travels as vibration. Usually we think of it as traveling through air but it can also be transmitted through other materials.

Working with Acoustical Supplies in Providence, we came up with a three-pronged attack on noise:

1. Insulation to absorb air-borne sound
2. Sealing to keep airborne sound from leaking through
3. Mass (weight) and mechanical separation to slow sound vibrating through the structure

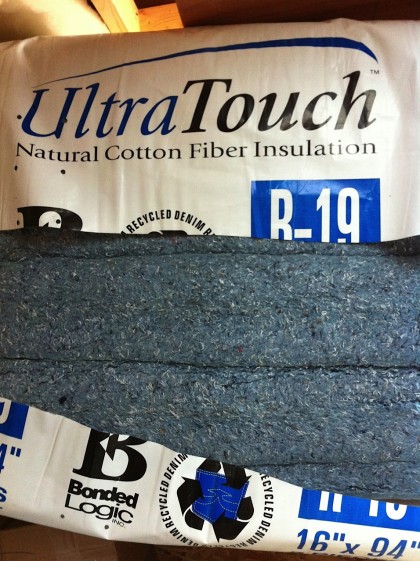
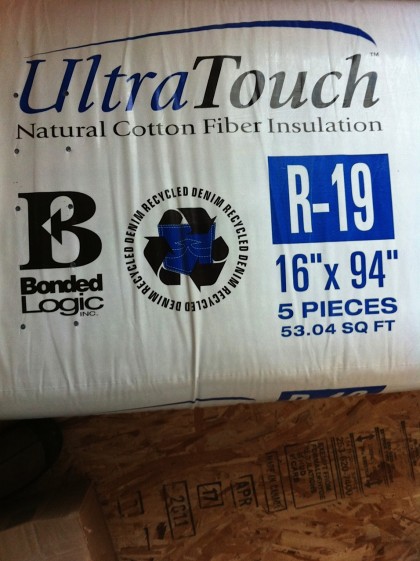
UltraTouch Demin Insulation batts have the same R-19 insulating rating as fiberglass but have a higher STC (sound transmission control) rating…

ultratouch denim insulation


Being made of 80% post-consumer cotton, they also have several planet-friendly benefits — they don’t cause itching like fiberglass insulation, they don’t outgas formaldehyde or any other nasties and they qualify for LEED points. Plus it’s denim. How sexy American is that?

ultratouch insulation double denim ohyeahbaby


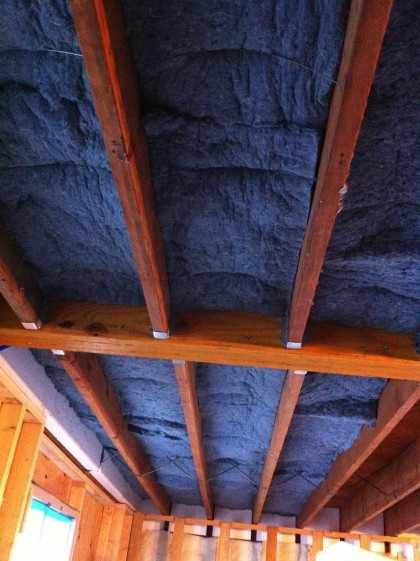
Once cut to the proper size the batts are pressed into place and fluffed so they aren’t too tight or too loose. Special wires are sprung into place to hold the batts so they don’t slip out of place…

ultratouch insulation in place


UltraTouch is slightly heavier than fiberglass. But the main difference between the two is the prodigious amount of dust generated when handling the cotton and the difficulty in cutting it. Fiberglass is easy to cut with a utility knife, even while installed in a stud or rafter bay. The UltraTouch requires fairly careful measuring because it doesn’t compress nearly as much as fiberglass. Actually, this is a good thing because over-compressed insulation doesn’t work as well.

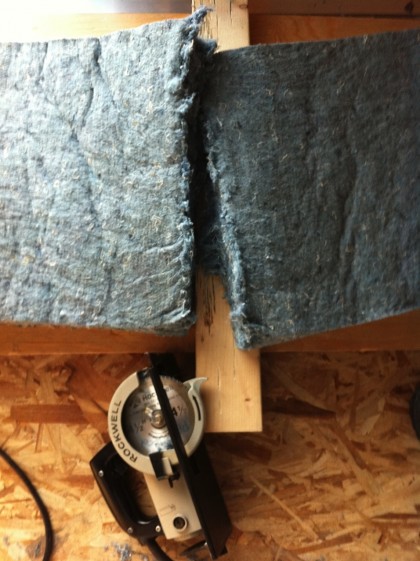
Bonded Logic, UltraTouch’s manufacturer, recommends several specialty tools for cutting it, but I didn’t plan ahead so was left trying their recommendation of a reversed fine-toothed blade in a circular saw. My grandfather’s old worm-drive trim saw fitted with a backwards plexiglass cutting blade works perfectly…

ultratouch and granddad’s circular saw


As the ceiling installation progresses, I’ll show two more methods we’ll use to control sound. In the meantime, my wife wants to know if this double-denim ceiling makes her butt look big?

what’s in your walls?

Wednesday, June 8th, 2011

So back to the downstairs, which is now in motion. David will tell you what he’s up to…

—————————————————————————————————-

One of the aims of these renovations is to cut our energy use, ideally by 60% or better. How will we achieve that lofty goal? By making the house air-tight and by adding insulation. Lots of insulation.
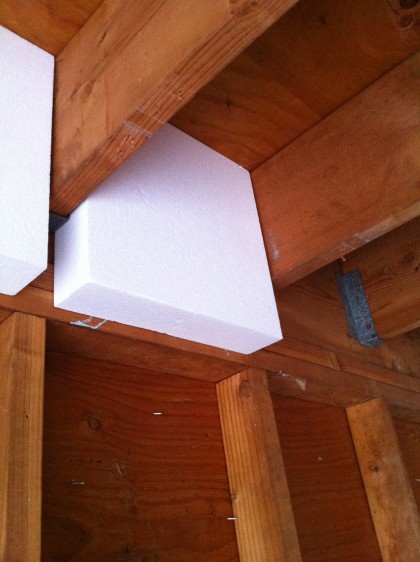
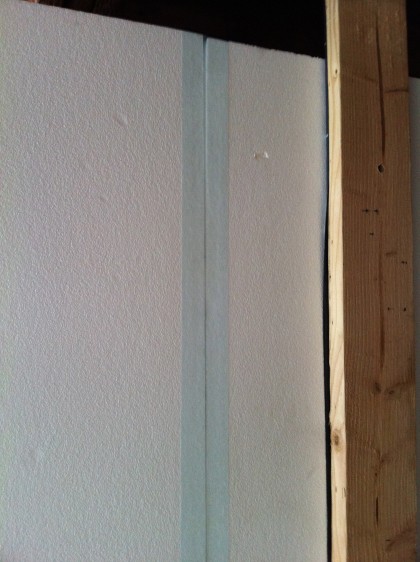
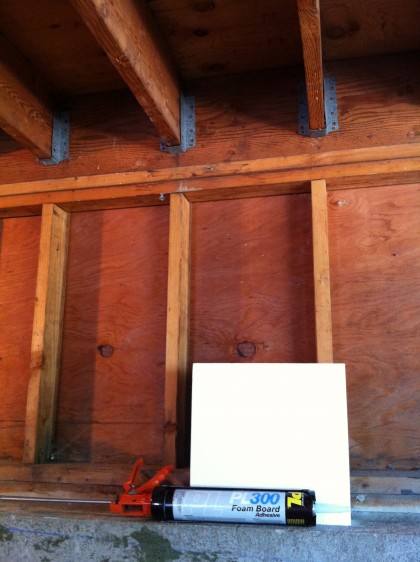
We ordered 3” of EPS (fancy name for styrofoam) made right here in Rhode Island by Branch River Plastics. Not only did it not have to ship from China, they make their foam in any size you like and they put boric acid in it to keep insects out  — which is handy seeing as we discovered there used to be termites in the walls. It weighs 2 pounds per cubic foot, so it’s denser than the shipping foam you’re used to. It is made with air instead of HCFCs so it’s better for the environment and holds its R-value over time unlike most other rigid foam insulation that slowly loses its effectiveness.

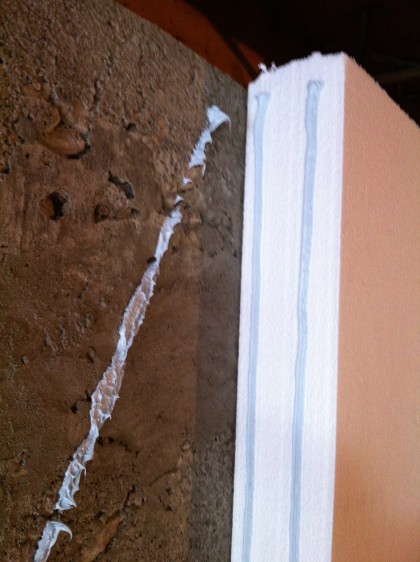
PL-300 adhesive holds it in place without dissolving it, don’t use anything that isn’t labelled specifically for foam…

foam glue


We had them cut pieces to fit between the floor joists…

rim joist foam

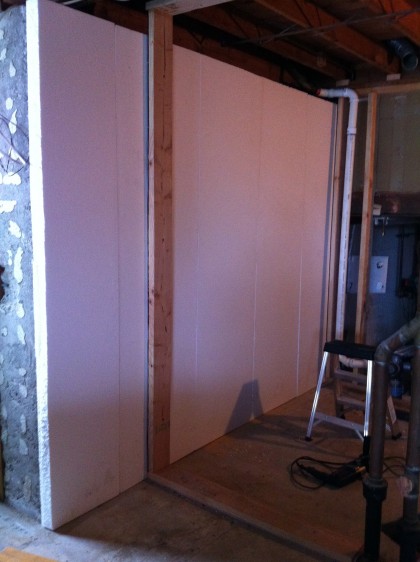
I wrapped it around the short walls on either end of the main space…

short wall before

short wall during

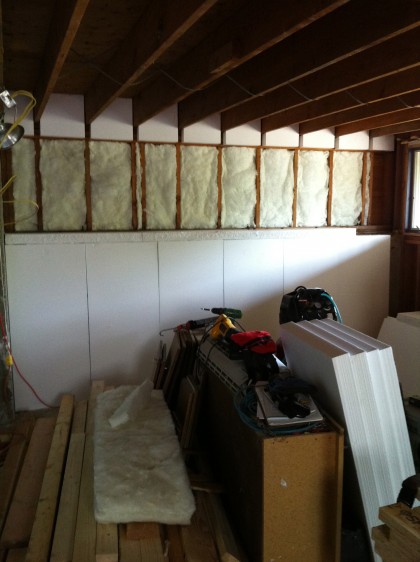
The wood-framed walls on top of the foundation receive two layers of un-faced fiberglass, here’s the first…

short wall after


When it’s done, the bathroom should be warm and cozy…

bath wall foam


I ran beads of the foam glue between the pieces to make them one big layer…

foam glue 2


Special tape seals the deal…

foam tape


I’ll be adding 3/4” furring strips screwed to the concrete. They’ll give us something to attach the sheetrock to, create a bit of air space to allow moisture to get out and give the electrician a place to run his wires. All that coming soon!


worth the wait

Thursday, May 19th, 2011

space in waiting

I mentioned the other day that not much sawdust has been made downstairs while we’ve been awaiting input from an expert. David now explains why the short delay is going to pay off…

—————————————————————

Although our house is a simple shape on the exterior, the construction details make modifying it on the interior rather difficult. We’ve needed planning help along the way from architects, structural engineers, plumbers, electricians and now an energy expert.

So Paul Eldrenkamp, our ‘house scientist’, came by Monday morning and we got down to the nitty gritty of what goes on top of what, how do we keep energy where we want it and how do we keep water out of where we don’t. Paul is the owner of Byggmeister, a Newton, MA-based firm that specializes in designing and building sustainable, environmentally responsible homes.

Paul is what you’d call wicked smaht in our neck of the woods. He’s one of only 14 passive house consultants in the country — and the only one in New England. He brings 28 years of experience to our project, so we were lucky to find him and convince him to help us.

Paul has come up with a plan to heat and cool our house comfortably but economically — even integrating the wood stove we want. He’s figured out how to insulate the house to a reasonably high level, seal the house against air leaks and maintain healthy air quality.

As in many endeavours, doing a 95% job on insulation can result in only a 30% increase in effectiveness. A couple of loose or missing pieces of the puzzle can negate some or all of the benefits achieved elsewhere. This is also true of air-sealing a house. The details that we came up with on Monday and Paul’s continuing support will get us where we’d like to end up.

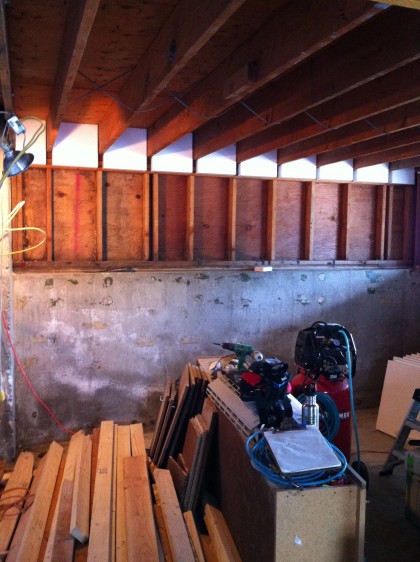
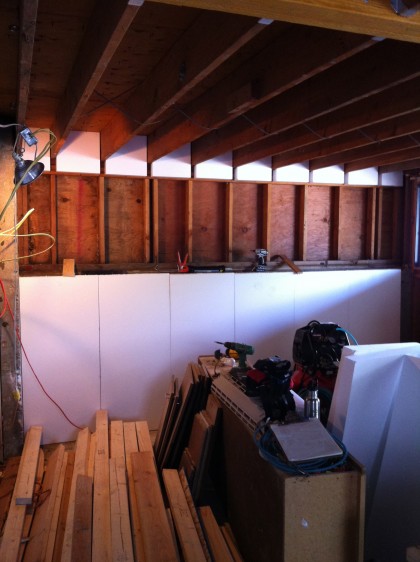
Yesterday I ordered the insulating foam board that will be the first step in putting the downstairs back together. I’ll post the details as I go.
 

about those termites

Friday, March 4th, 2011

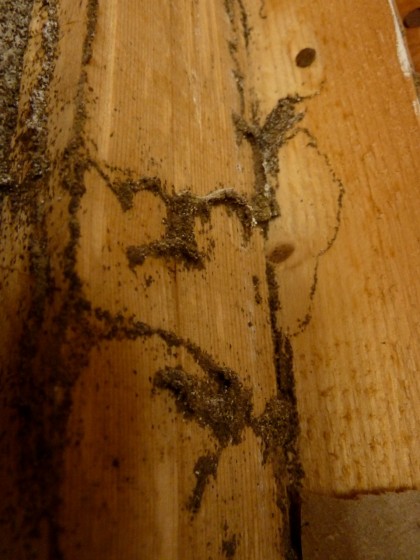
Okay, I’ve put this off long enough. Time to address the termites. Last week, tearing off the drywall downstairs revealed this…

signs of termites inside the wall

A sign that we’ve had some subterranean termite activity. Are they active now? Unclear. Here’s what we do know: Subterranean termites live, as the name implies, in the soil. They require moist soil to survive and build mud tubes to travel through the ground to their food sources. When exposed to the air, they die.

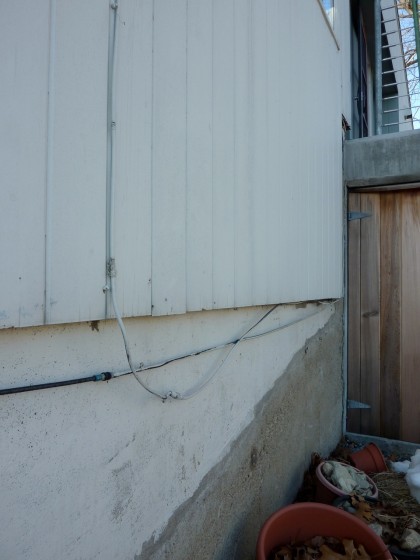
How did they get in? Through the soil that, until last spring, led them to a gap between the foundation and the wood cladding…

where we regraded the soil on the other side of the wall

You can see where we regraded and flattened out the slope just below the upper patio — this is just on the other side of the wall from where we found signs of termites. No more termite tunnels here. In fact, with all of last year’s retaining wall building, rainwater collection tank hole digging and patio construction, we’ve completely disturbed the soil around three sides of the house (as well as the entire yard). Although this doesn’t mean we’re done with the pests forever, this definitely helps.

New England Pest Control stopped by to give their assessment. They recommend a chemical barrier, of course. Pumping chemicals 2′ into the ground all around the house is the standard approach. A typical termite treatment can require that well over 100 gallons of insecticide be injected into the soil — and additional annual treatments may be necessary.

From what I can ascertain (and I am no expert), pyrethroids are commonly used for this kind of treatment. Are they toxic? Duh. This is just a smattering pulled from this article on pyrethroids at beyondpesticide.org:

… linked to disruption of the endocrine system, which can adversely affect reproduction and sexual development, interfere with the immune system and increase chances of breast cancer. Pyrethroids contain human-made, or xenoestrogens, which can increase the amount of estrogen in the body…

… extremely toxic to aquatic organisms…

… moderately toxic to birds…

Both pyrethroids and pyrethrins are often formulated with oils or petroleum distillates and packaged in combination with synergists, such as piperonyl butoxide (PBO) and n-octyl bicycloheptene dicarboximide… PBO inhibits important liver enzymes responsible for breakdown of some toxins, including the active ingredients of pesticides. Symptoms of PBO poisoning include anorexia, vomiting, diarrhea, intestinal inflammation, pulmonary hemorrhage and perhaps mild central nervous system depression. Chronic toxicity studies have shown increased liver weights, even at the lowest doses…

And so on. Feel free to read it for yourself.

Now I’ve said from the beginning that David and I are struggling to be as environmentally friendly as we can in this remodel — and in life in general. The idea of pumping hundreds of gallons of toxic chemicals into the ground just goes against the grain. Although we want to be rid of termites forever, let’s be reasonable. Termites are a fact in New England. There has to be a non-toxic way to manage them, right?

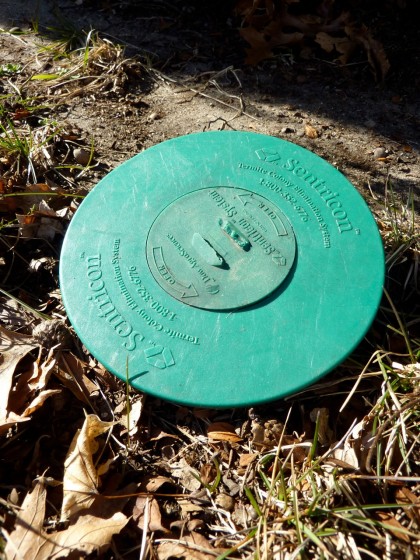
The answer is yes. It looks like destroying any tubes that lead to the house is a good start. Pretty sure we’ve done that but we’ll need to do more than that. I’ll whip up another post next week on our non-toxic alternatives. Let me preface that post with this: Less than 20′ away, our neighbor opted for a termite baiting system over chemicals injected into the soil…

termites at our neighbor’s house

Those ring his entire house at about 7′ intervals. This is more along the lines of what we’re hoping for. More on that later!


recycling our old carpet

Thursday, February 17th, 2011

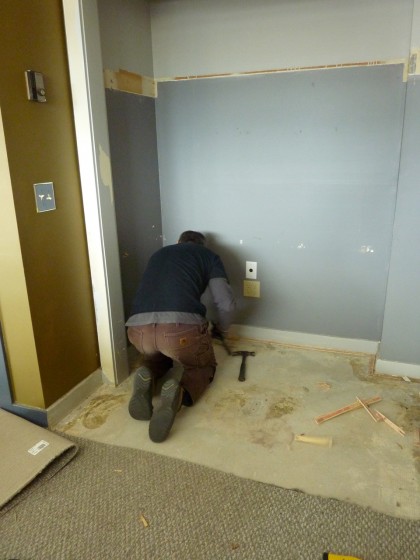
I’ve mentioned more than once how icky our ancient carpet is. But since David pulled up the carpet downstairs today, perhaps I should clarify. I’m not talking about the weave or the shade…

carpet removal

Unless it’s made of an untreated natural fiber, carpet is a cushy layer of toxic chemicals right under your feet — and every time you walk on it, you release them into the air. Have you ever thought about how creepy that is?

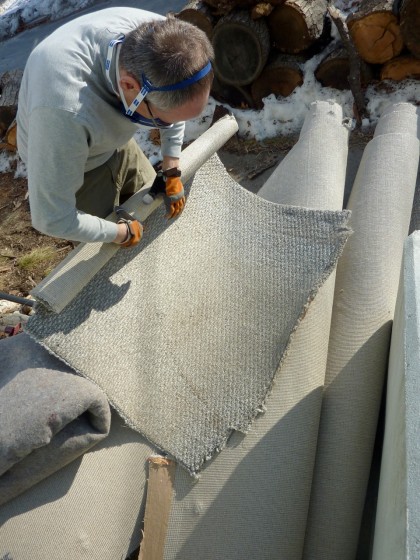
david rolls up the old carpet

The most common carpet fibers are woven from petrochemical compounds. They’re full of bleaches, dyes, stain fighters, flame retardants, antimicrobial agents and horrific carcinogenic things you don’t want to know about but should. The backing usually contains latex and PVC. Very, very bad. There are nasty industrial adhesives involved. They’re in your air. You breathe them. You swallow them. And so does your child if you have one like I do.

I won’t go into it here but honestly, you should read more:

  • The Body Toxic by Nena Baker, investigative journalist. Highly recommended. Will scare the bejeezus out of you, but you should get an idea of the chemicals in your everyday household items, including carpeting.
  • Is Your Carpet Toxic? “Older carpets are so toxic that your chances of being exposed to hazardous chemicals are 10-50 times higher in a carpeted room than outdoors.”
  • The Toxic Dangers of Carpeting “In America, we love wall-to-wall carpeting — in fact, according to the Carpet and Rug Institute more than two-thirds of American floors have them — despite the fact that they contain toxic byproducts that are released into our homes and even inhaled and absorbed into our bodies.”
  • Chemicals in New Carpet “Longterm effects of VOCs can include damage to the liver, kidney and central nervous system. Concentrations of VOCs found indoors, such as in new carpeting, can be as much as 10 times higher than those found outdoors, according to the Environmental Protection Agency.”
  • Toxic Carpet: Dangerous Toxins that Live in Your Carpeting “Numerous studies have shown that there are over 200 chemicals in the mixtures of gases which are released by new carpets.”

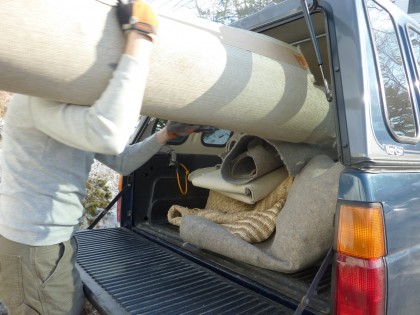
carpet rolls bound for the recycler

My goal from the moment I stepped into this house has been to go as green as possible, starting with removing our chemical-laden carpet. But it’s the kind of thing you shouldn’t in good conscience just throw away. According to the Carpet America Recovery Effort, 5 billion lbs of carpeting ends up in the landfill every year. Do the right thing, people — keep this toxic disaster out of your local dump.

With a little research, I was able to locate a carpet recycling center within 40 minutes of our house — Conigliaro Industries. They recycle just about everything (they even took our electronics). Carpet can be broken down into components used to make roofing tiles, furniture, soundproofing and more. Did you know that? I didn’t.

*          *          *          *          *

Before I go, I must say this: please never tear up carpet without wearing a really, really good dust mask. And vacuum like mad before you take a breath without it.

all that’s left

blower door whuh?

Wednesday, January 5th, 2011

What’s a really awesome thing to do on New Years Eve? Have a blower door test done, of course. A who, you say? And “Blower? I hardly know ’er!”

So a blower door test is basically an innuendo-loaded way to find out how airtight your home is. It’s the only way to measure air infiltration into your house. You get a certified, professional energy auditor to conduct one. For a minimal investment, you could potentially save thousands in energy costs. I’ll let David tell you more…

*          *          *          *          *

An energy audit is a survey of existing conditions in the home — a walk-around to locate and identify specific problem areas and a plan of action that takes into account the homeowner’s budget and energy savings goal. Some elements of the plan of action will be based on past experience and not on actual quantified testing. For example, big air leaks are easy to locate, but air can take a circuitous route which makes blocking leaks difficult. Lots of small leaks can add up quickly and small leaks are VERY hard to locate and rectify.

That’s where the blower door test comes in. It makes small leaks big and big leaks huge, thereby making them much easier to locate and fix. The extent of the renovations we plan for our house include all the things that a regular energy survey would recommend: energy-efficient doors and windows, additional insulation, etc,. so an audit would be a waste of time and money for us at this stage. Instead, we wanted to quantify how well our house performs before, during and after all our renovations. To help us, we turned to Matt Banoub, owner of Aten Energy Conservation.

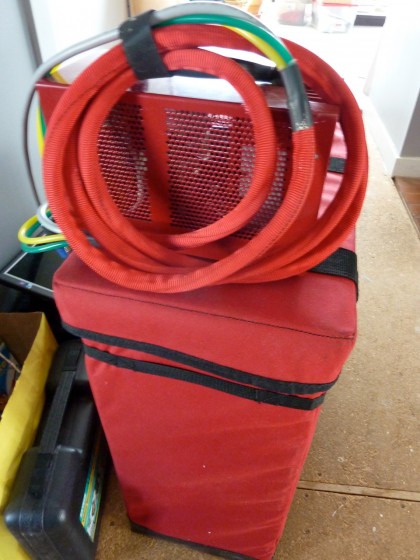
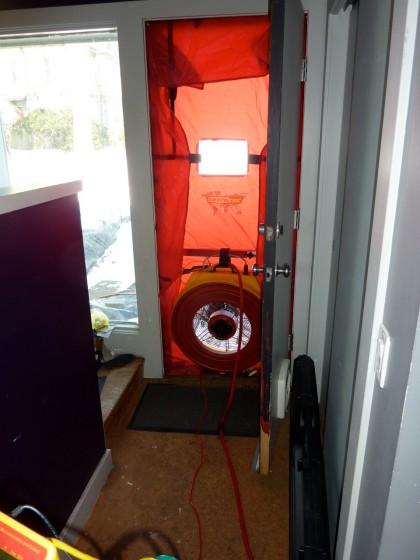
Matt showed up last week and lugged his big red blower door test apparatus up the stairs…

blower setup

Before he started, I double checked all the doors and windows around the house to make sure everything was closed up tight. (Why wouldn’t it be? It was 20° outside!) Matt set up in our open back doorway…

getting the door prepped

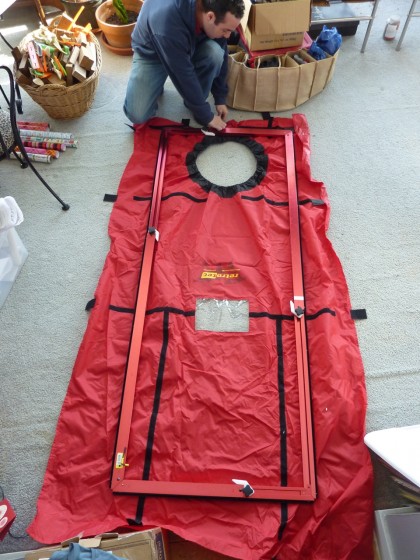
After sizing the setup, he made a few tweaks to make sure everything would fit…

blower door cover

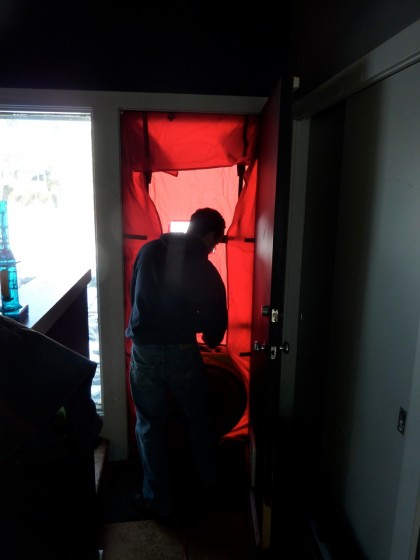
The result was a nice, tight seal on the door frame…

blower getting fitted into doorway

Then he inserted a very special fan into position…

blower test fan in place

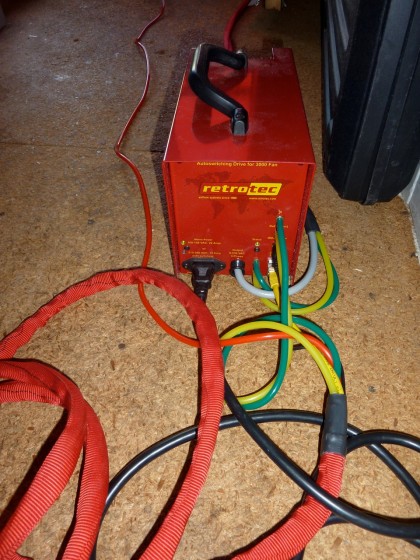
The fan controller takes air pressure readings from three sensors, comparing the one outside the house to the one inside the house, and uses a sensor inside the fan itself to measure the volume of air passing through the blower door…

blower drive for the fan

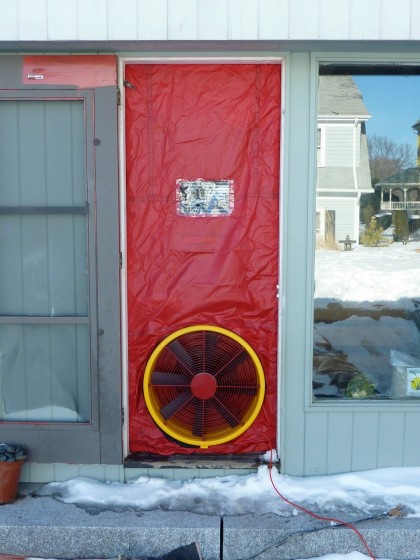
It also controls fan speed in order to achieve the desired pressure differential between the inside and the outside…

blower from the outside

Once the sensors had stabilized, Matt started up the fan which sucked air out of the house until the pressure inside was 50 pascals lower then the pressure outside the house…

blower readings

The pressure differential meant air was now trying very hard to get into the house any way it could. At that point he measured how much air was blowing out. As you can see, we were blowing 2,560 cubic feet per minute (CFM) out the door at 50 pascals. That number doesn’t mean anything until you take into account the volume of the house. I figure our house has a volume of 15,320 cubic feet. That means at 2,560 CFM/50 we have 10 air changes every hour (expressed as 10 ACH/50). That puts us between moderate and leaky which isn’t bad in a country of mostly poorly performing homes.

Matt says we can seal all the way down to 1,814 CFM/50, which would be 7 ACH/50. That sounds like a lot but remember that’s with the house pressurized. Actual air changes per hour right now are probably about 1 — we’d like to get that down to . 35. Air change is important in a house for the health and safety of the occupants. As you know, we breathe in oxygen and breathe out carbon dioxide, plus any appliances (stove, water heater, furnace, wood stove, etc.) that burn fuel (gas, oil, wood) are also using up oxygen and emitting carbon dioxide. That makes it essential to replace used up oxygen and vent carbon dioxide. Luckily, our house has all electric appliances, including baseboard heat and water heaters, so we don’t need to take them into account.

Excess moisture in the air can be another problem. It comes from our breath and sweat, cooking, bathing, clothes dryer, etc. If we were to get our house to the point where it has fewer than .25 ACH, we would need mechanical ventilation. If that becomes necessary, we’ll definitely get one with a heat exchanger that’s about 80% efficient at transferring energy from the hot air to the cold air in whichever direction makes sense (ie, in the summer we want it to keep heat out and in the winter keep heat in).

So what did we learn? That our 1970s house is pretty well sealed. We’ve arranged for Matt to come back to measure the difference our updates make as we remodel both the interior and envelope of the house.

Want to know more?

Ways to save on your energy costs:

  • In RI, National Grid offers free energy audits that can earn you sizable deals on everything you need to weather-proof your home.
  • Nationwide, take advantage of state incentives ( tax credits and rebates) on making energy improvements.
  • The federal government also offers money-saving programs for making your home more energy-efficient.