Posts Tagged ‘windows and doors’

let there be sun!

Monday, March 12th, 2012

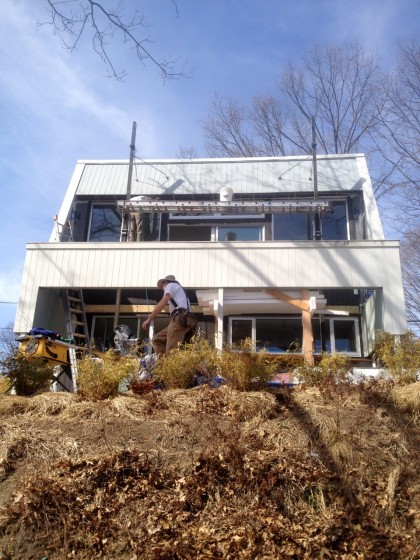
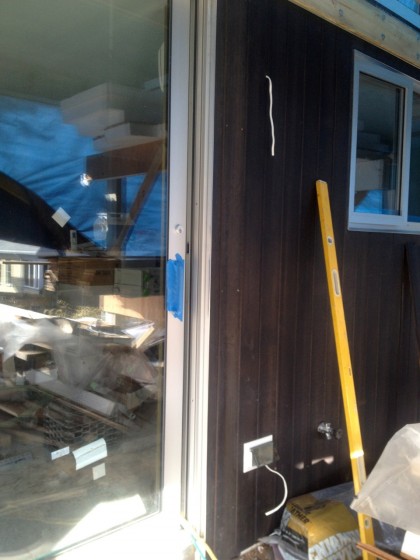
Progress, people! On the front of the house, Joe and David made and added the flashing to the upstairs windows and slider to match what they did on the lower level…

new flashing around upstairs windows and slider


And now the siding is done, top to bottom…

siding finished


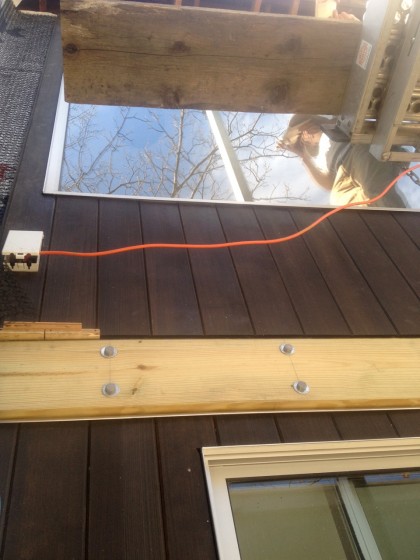
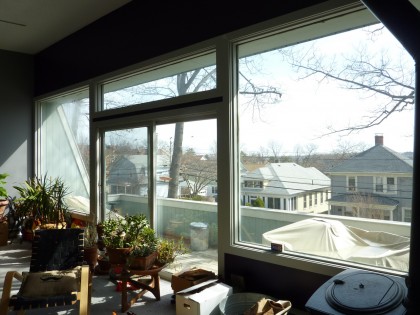
Wait, is that SUNSHINE reflected in the upstairs window? IT IS!

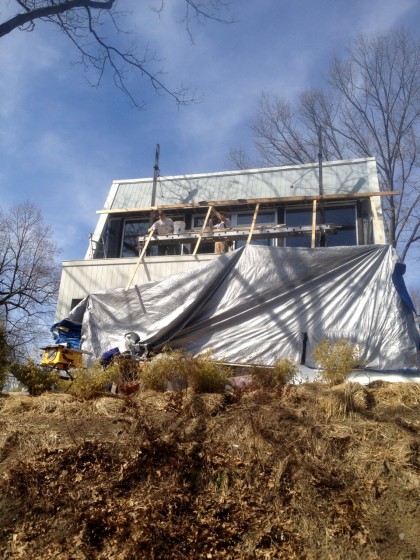
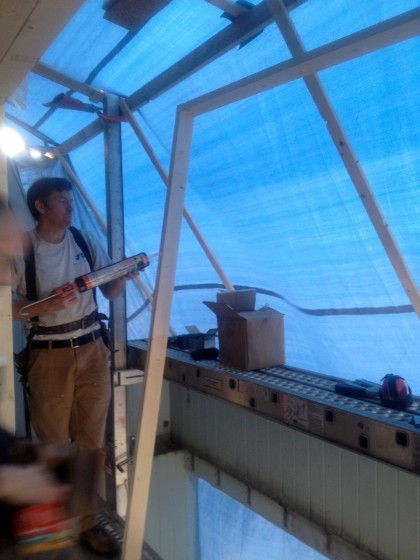
The blue tarp that’s been up since well before Thanksgiving finally came down!

One…

blue tarp being removed


Two…

blue tarp coming off


Three! No more tarp!

no more tarp


I can’t tell you how happy I am to no longer be in the abyss!

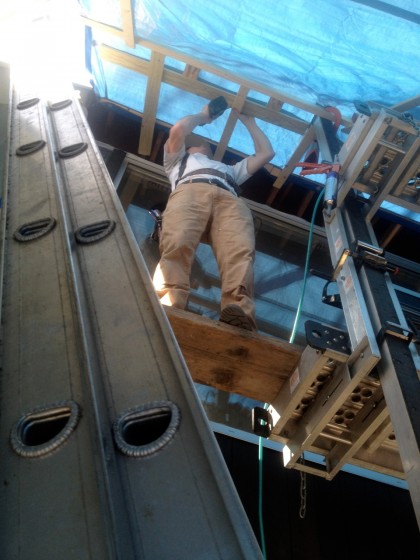
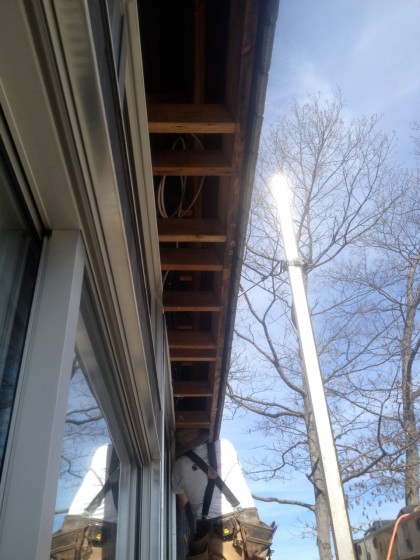
Next: the soffit will get closed up…

getting ready to close up the soffit


After that, David and Joe will turn their attention back to the downstairs. They’re going to install the cork on the floor and ceiling. Then it will be time to rebuild the deck.

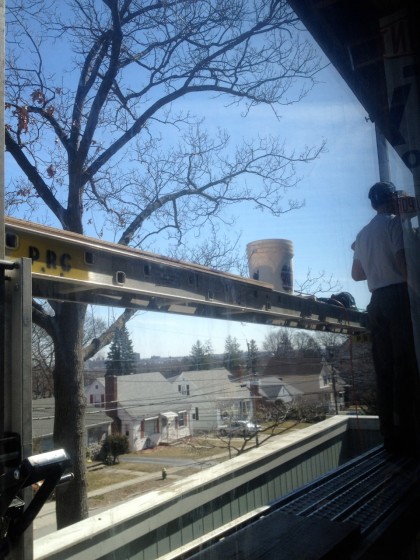
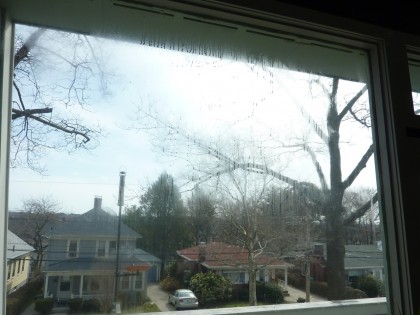
I still can’t get over being able to see the view…


hey look, the sky!


Just in time for spring!


and the siding?

Thursday, March 8th, 2012

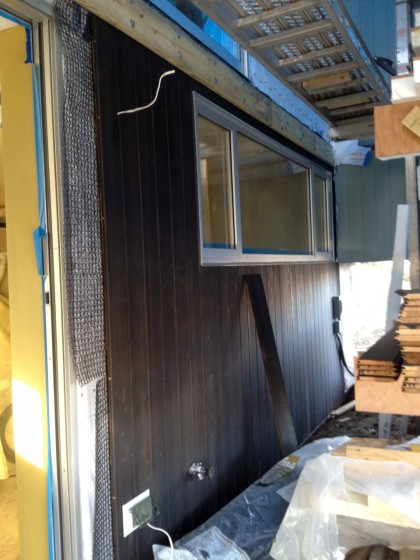
Painting is done — shall attempt better shots. Siding is still in progress but the bottom floor is just about done. Yay!…

siding in progress


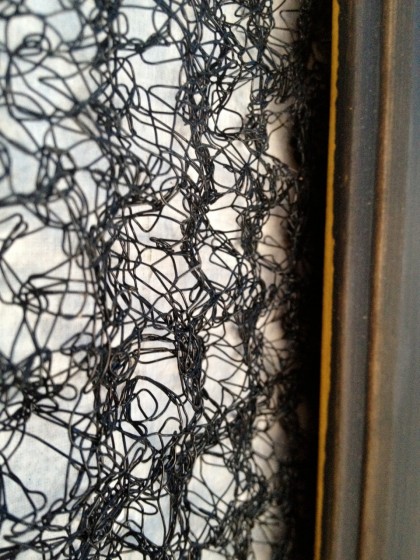
That black mesh in the shot above goes beneath the siding…

closeup of cedar breather


Called Cedar Breather, it creates a 1/4″ air space between the house wrap and the back of the siding so that moisture can’t build up there. After all, it’s water that encourages paint and stain peel off the wood, causes rot and mold, and invites insects to dine. Better not to give it a chance.

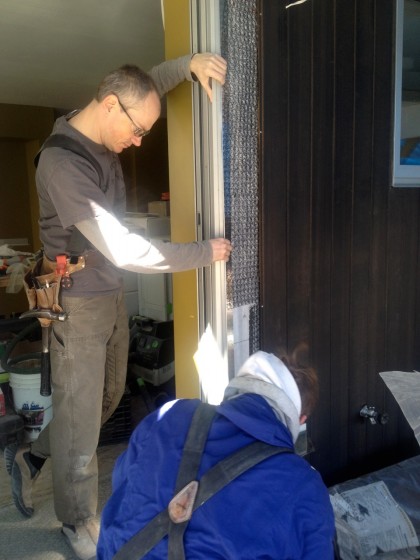
Around the slider, Joe and David created and installed aluminum flashing to match what they did around the window

installing the flashing


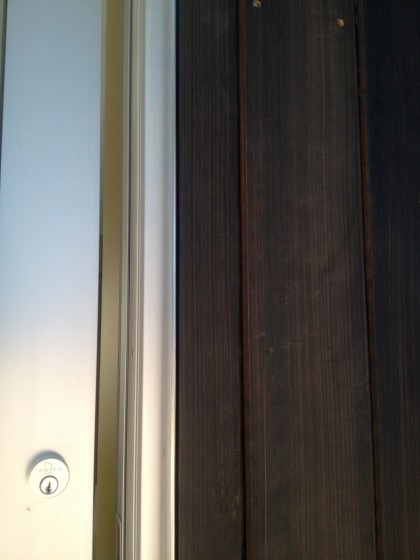
So instead of the bulkier wood trim that used to surround the windows and doors, now we have a nice, clean metal edge…

closeup of flashing


Looks fantastic, boys!

finished wall of siding


Really loving how the dark stain worked out!


every time a window closes

Monday, December 26th, 2011

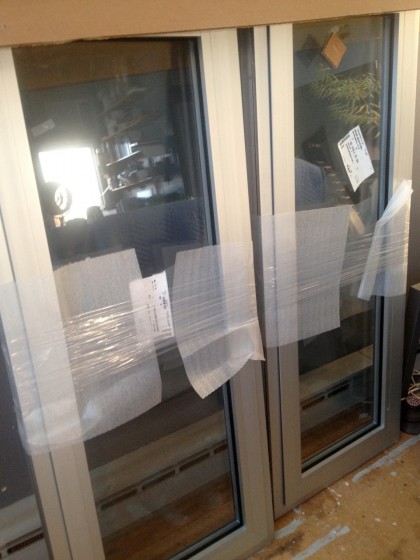
… a door opens. That’s what they say, right? So a few weeks back, it may have looked like all the windows were in and we were set for the winter. But no. These two hopper windows have been waiting in a corner…

window1


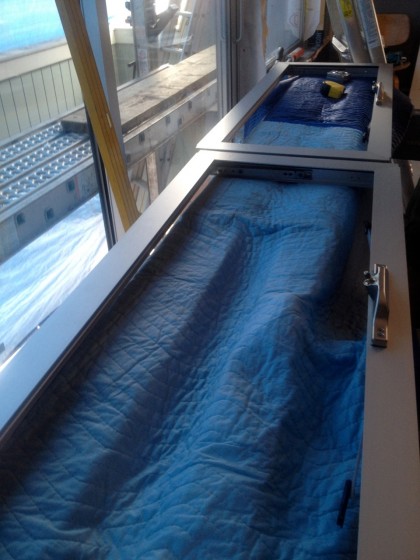
Christmas week, David and Joe finally unwrapped them (Thank you, Santa)…

windows


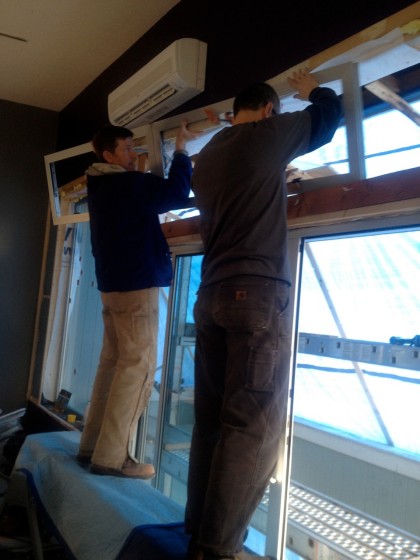
… and fitted them in over the upstairs sliders where they belong.

windows2


Now the living area is much, much warmer. Bonus: we no longer hear the constant flap flap flapping of the blue tarp. I can’t wait until said tarp is gone and a trip to the livingroom no longer feels like a visit to the bottom of the deep blue sea.

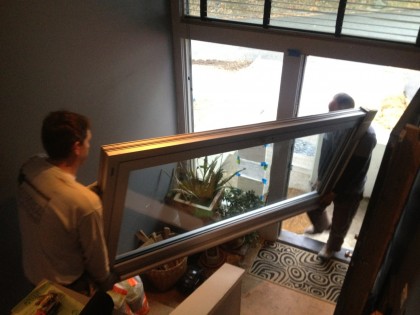
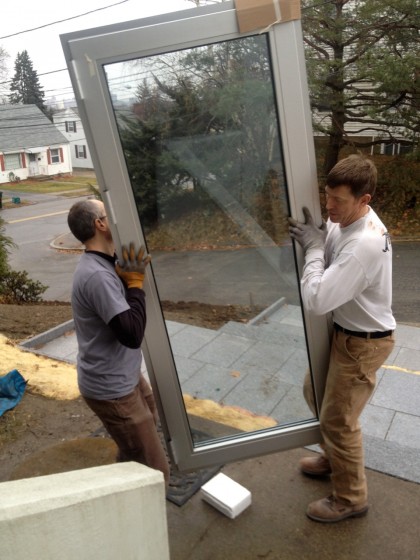
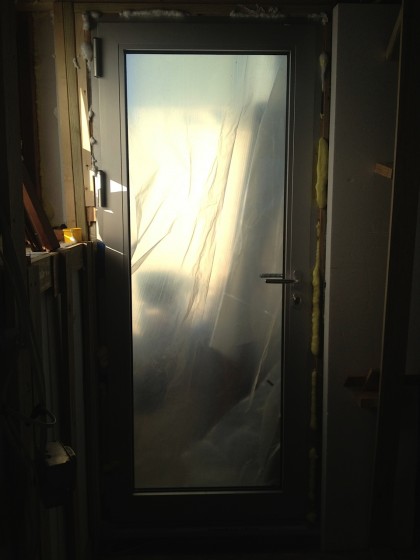
While the boys were at it, they also tackled installing the new and incredibly heavy aluminum door downstairs. But first they had to get it there…

door1


door2


Here’s where David takes over:

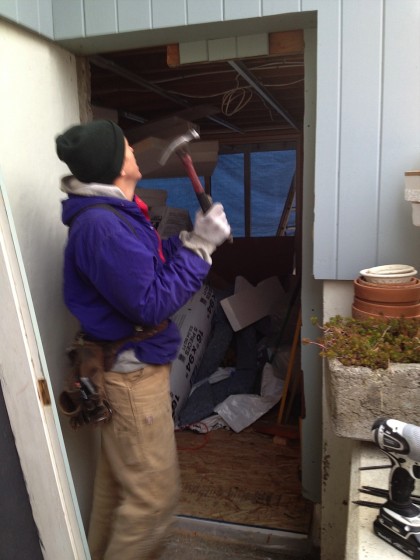
First we had to remove the old door and its associated framing (which was pretty funky, it must have been installed at 4:20 on a Friday). Once we had that corner of the house open we realized the beam was sitting on just two 2x4s, one of which was split. They missed an opportunity to land the beam on that foundation wall on the left side of the opening here…

door4


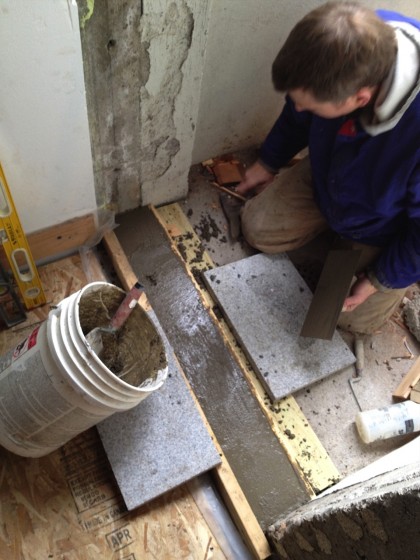
The concrete under the door was packed in under the old door in a haphazard way, so we replaced that too — remembering to use a bonding agent between old and new concrete so they’d stick together…

door5


We put super tape between the new door framing and the foundation walls, and used treated lumber for good measure…

door6


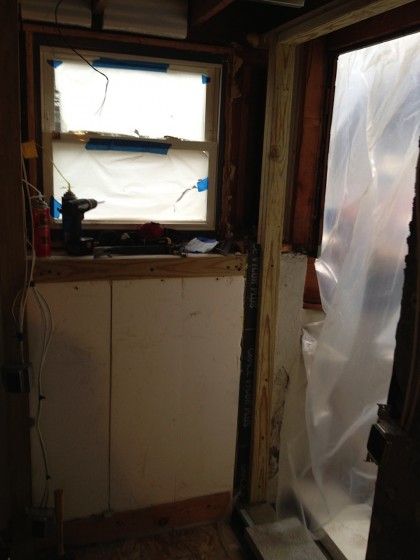
The old concrete work is pretty funky, so it took some serious shimming to get the door plumb and square. Then I filled the remaining spaces with low-expanding foam. That will look much cleaner when the walls get finished…

door7


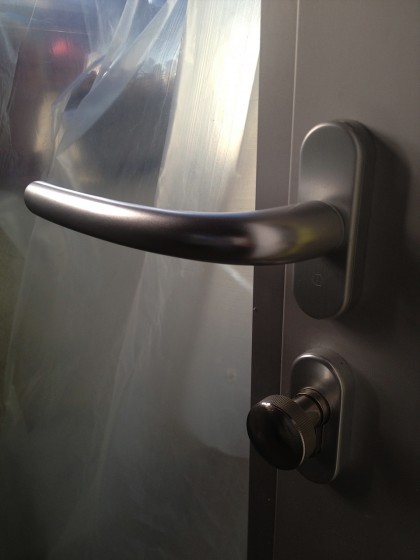
The door hardware is German and super smooth…

door8


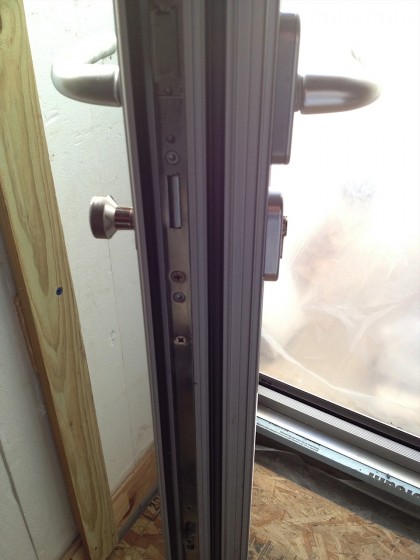
The locking system will take some getting used to. The lever throws the bolt and also four pins that lock the door along its whole length. …

door9


Supposed to be storm proof or something — with the right glass, which we didn’t opt for since we don’t live in Florida.

Looks hot, doesn’t it? Our front door will be replaced, too. In the fullness of time, of course.


window time: day 2

Friday, December 2nd, 2011

This is where we left off with windows. Now here’s where we pick up… The problem with just-in-time construction is it doesn’t allow for falling behind.

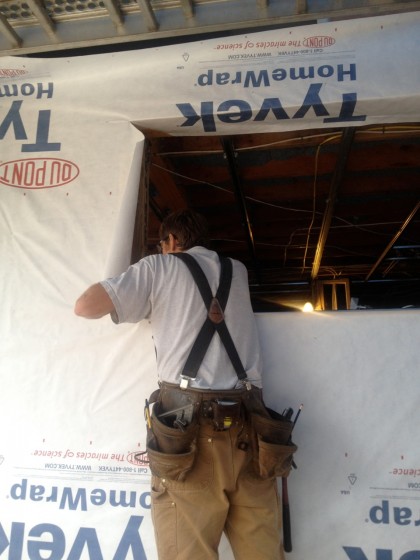
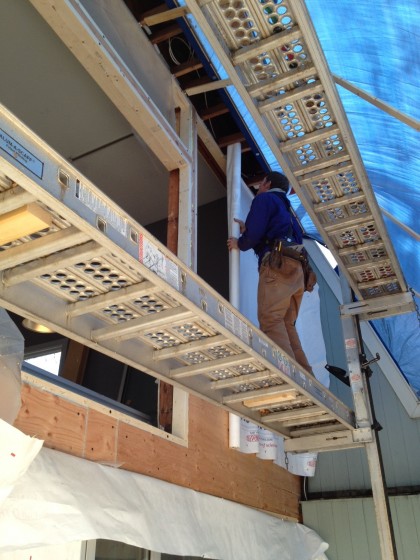
Tuesday we tried to stay ahead of the window and door installers by at least one opening. Here’s Joe applying house-wrap over the new foam+plywood and frames on the upstairs portion of the back wall…
window2_3


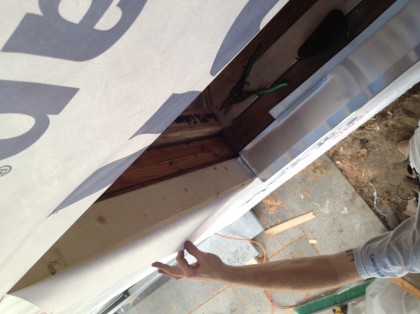
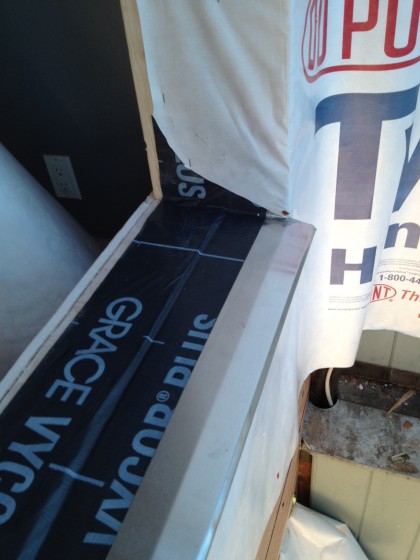
Joe installed the custom flashing, bending it up at the inside corners and then sealing it down with super-duper tape…
window2_4


Tape? For obvious reasons, you don’t want to put any fasteners through flashing — water has a way of getting into places you thought it couldn’t. The trick to keeping it out is to seal everything from the bottom up in order to shed the water back out. Bad flashing details can trap water and then it’s perfectly happy to cause  mold, mildew and rot — not something we want.

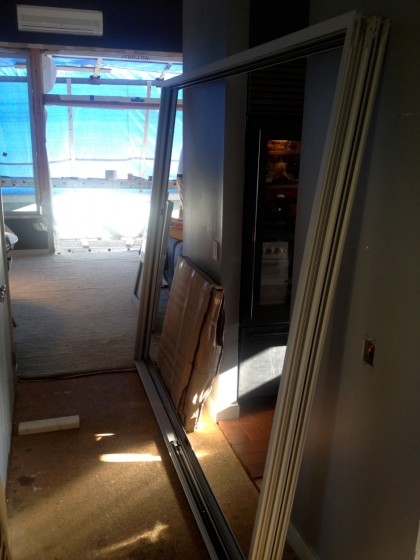
Next up: the two big fixed window frames. Waiting to go in, no glass in them yet…
window2_7


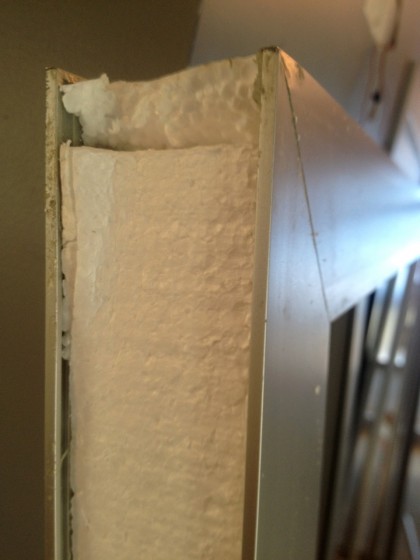
The aluminum window frames are thermally broken (they have a non-metallic connector between the inside and outside faces to limit heat transfer) but are ordinarily installed hollow. Joe and I decided leaving them hollow was a missed opportunity to be more energy-efficient, so I ripped 3/4″ EPS on the table saw to fit and we jammed it in there…
window2_8


Once the window frames were installed level and square (which was easy because we made the extension frames level and square), butyl rubber got applied to the inside face of the frame…
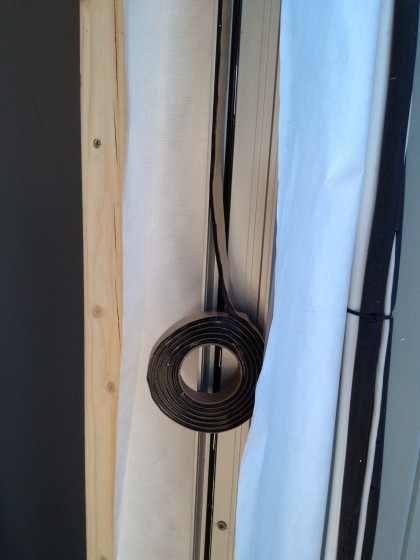
window2_14


Close-up of the frame almost ready for the glass…
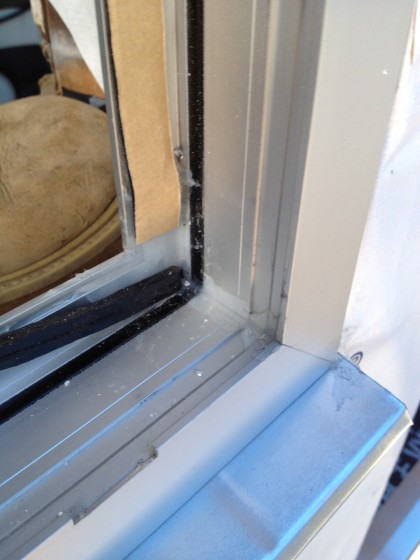
window2_15


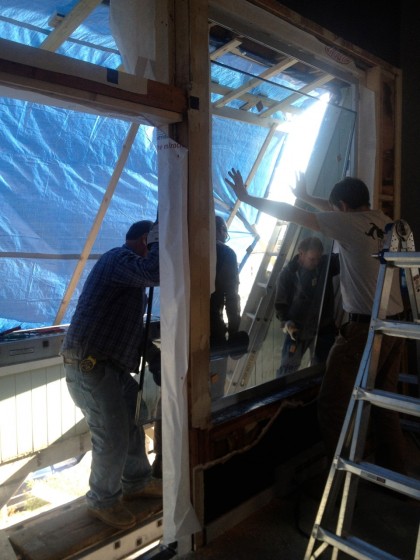
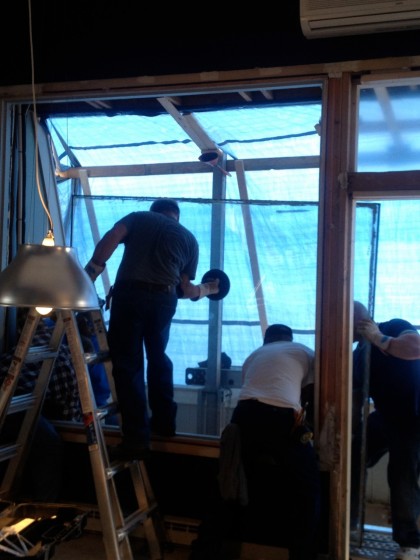
I was an honorary glass man for the day, helping hoist the new panels into place with a fancy suction cup handle. Those suckers were HEHVEE….
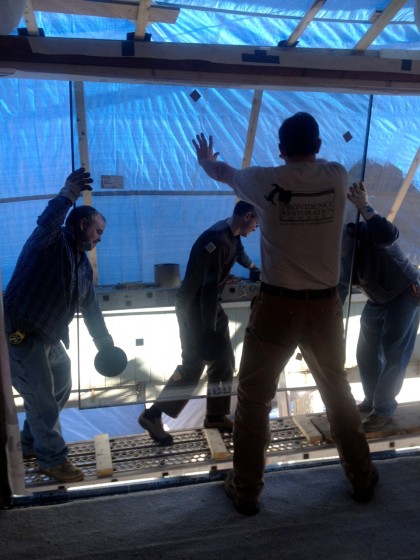
window2_1


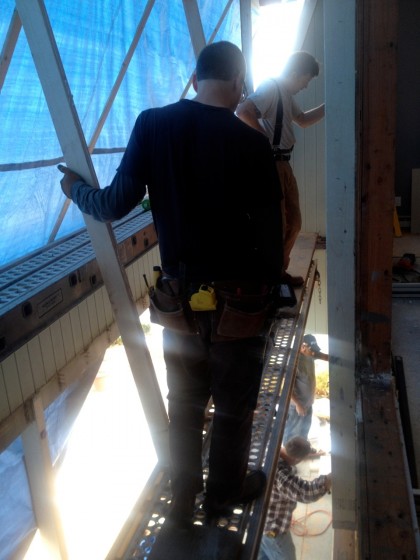
Joe was the balance man…

window2_2


Once the glass was in against the butyl rubber, aluminum stops were snapped in on the outside and a rubber gasket was driven in-between the stops and the glass. No fasteners show so there’s a nice clean look.

That slot in the aluminum stop is a weep hole to let water out in case the wind drives it in there…
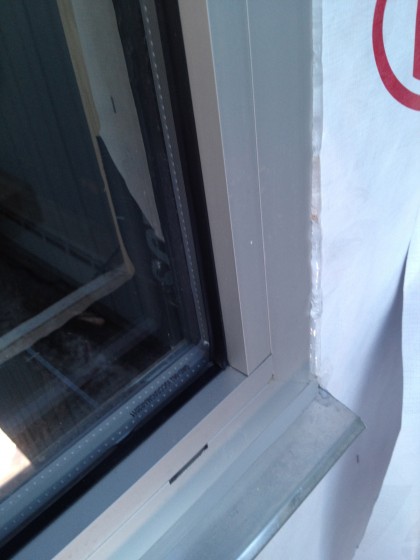
Glass panel installed.


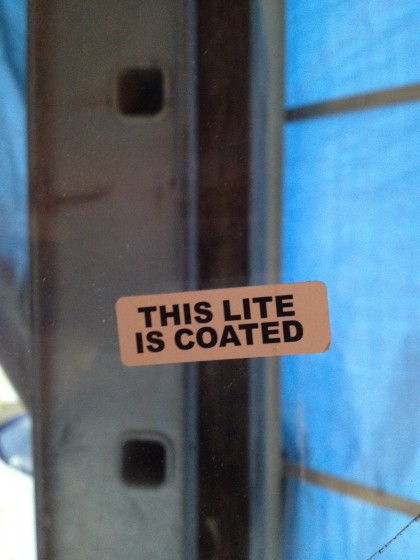
Each glass panel has a low-e coating on the inner piece of glass (“lite” in technical jargon). It acts as sort of a one-way system for radiant heat — heat from the sun can come in but can’t get back out…
window2_6


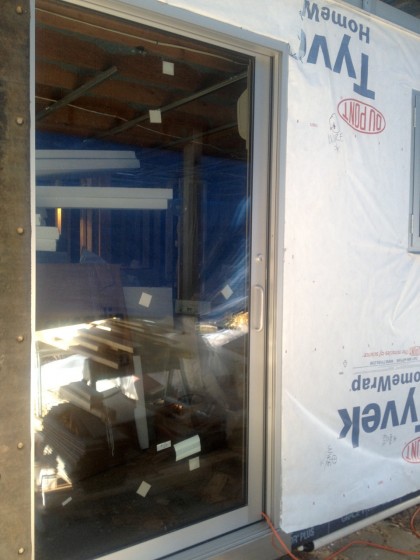
The new sliders look great, perform great and slide like butter on a hot pan…
window2_9


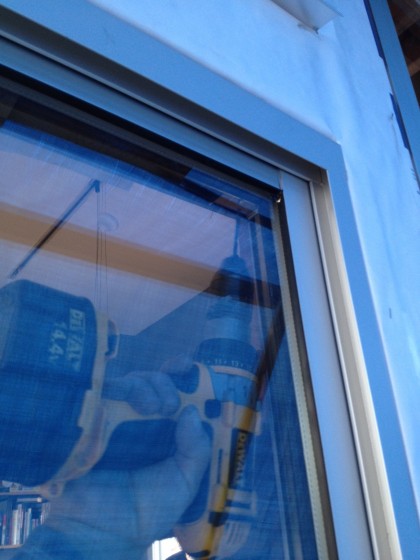
A bump stop goes in at the top of the slider to keep fingers from being crushed…
window2_5


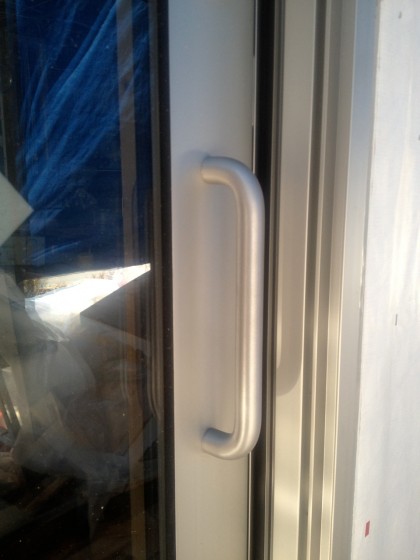
Digging the nice, clean look of the door hardware…
window2_10


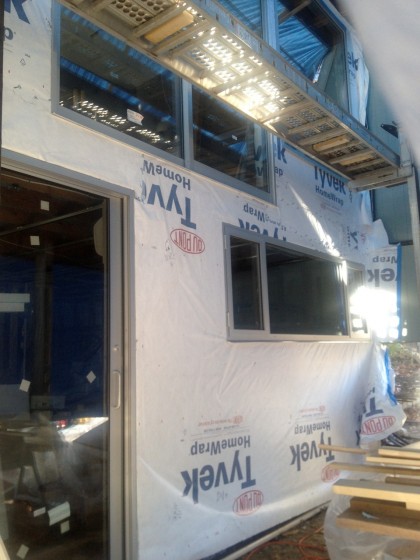
All in all, looking great from the outside…
window2_12


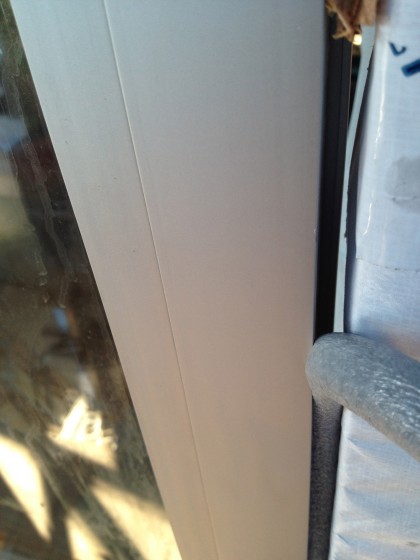
But wait — not done yet! The gaps between the window and door frames and the house need to be filled. Caulk can bridge small gaps just fine but bigger gaps require that foam backer rod stuffed in. This stops the caulk from falling in to the gap…
Backer rod saves caulk!


Joe picked up a tube of this at Home Depot…
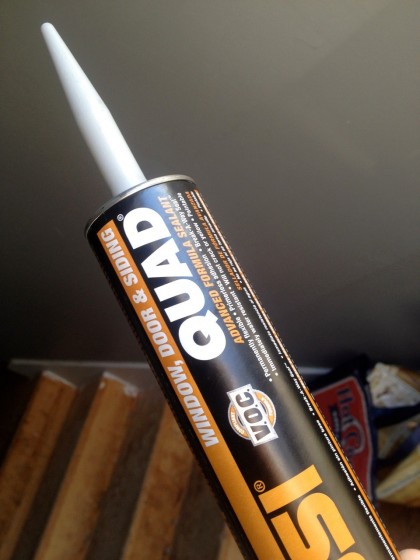
voccompliantmyass


DO NOT use this. It stank to high heaven and smelled up the whole house even though it clearly says “V.O.C. compliant.” Not good. I’ll find something braincell-friendlier for the rest of the project.

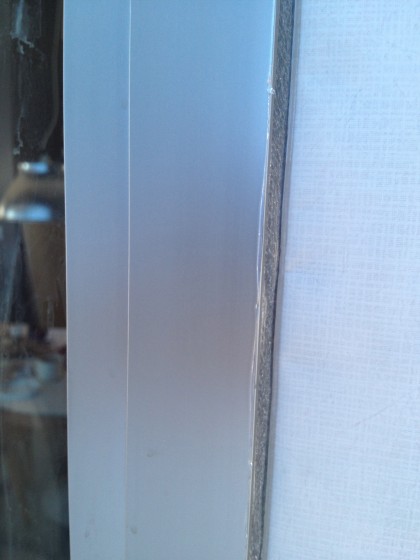
So here’s the finished caulking job. The caulk is clear so it’s hard to tell what’s happening but I promise it’s in there. You can clearly see the backer rod!
Clear caulk is freaky.


Backer rod didn’t fill the really big gaps at the tops of the two big windows so I put blue tape across them, pushed in a bit to leave room for caulk…
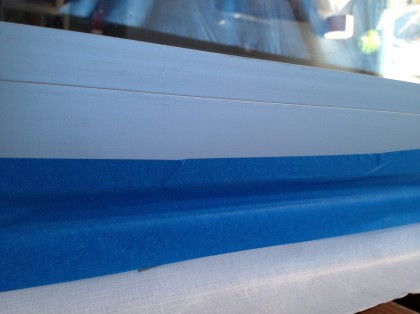
Blue tape has SO many uses.


Then I filled all the gaps with expanding foam from the inside. The smaller gaps now have caulk or backer rod and caulk to stop the foam. The big gaps have the blue tape for the foam to expand up against. Soon I’ll strip the tape and caulk them from the outside, easy peasy.
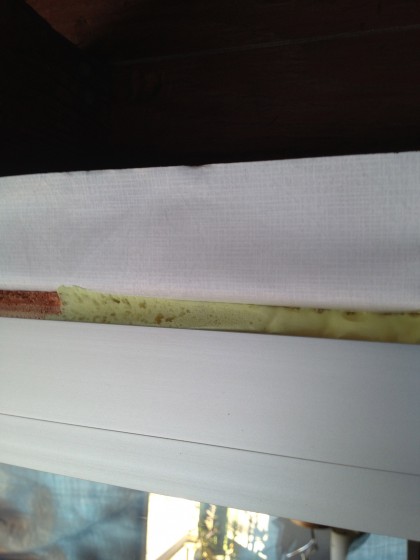
What did we do before expanding foam?


And that, my friends, was a long day.
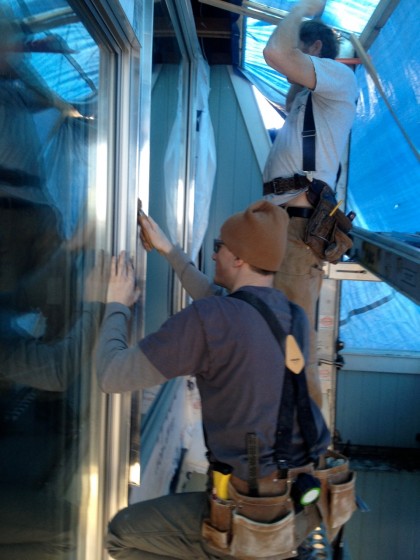
window time: day 1

Wednesday, November 30th, 2011

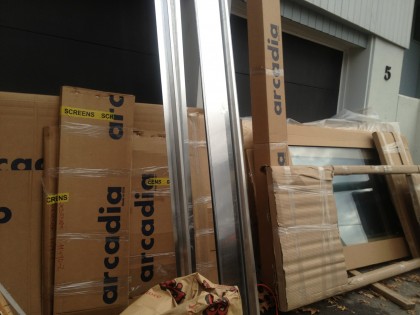
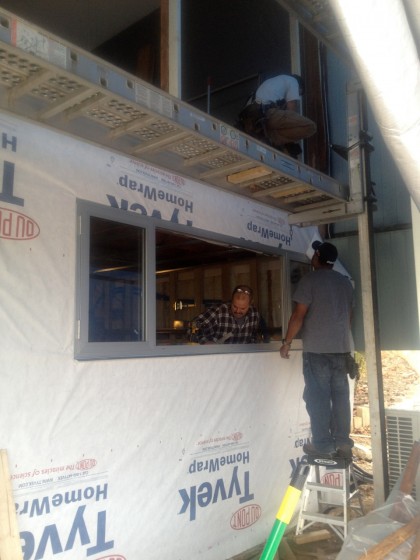
Back in the spring we started looking at manufacturers of aluminum windows and ultimately chose Arcadia. About three months ago, we put in our order for the first round of windows. As of yesterday morning, replacement of the windows and sliders on just the deck-end of the house finally kicked off.

Did I say “just”? It took four people from Rhode Island Glass to unload it all…

windows1


While the shiny new goods were unloaded, Joe and David got the window wall ready to go by removing the moldings holding in the old wood frames…

windows2


Goodbye, moldings. I will not miss you. You make no sense in an MCM house that wants a cleaner, simpler look…

windows3


The crew from Rhode Island Glass carefully removed the old glass. Mind you, they’re standing on scaffolding one flight off the ground and the glass weighs a gazillion pounds…

window4


Like that’s not hard enough, the two panes started to separate from each other. Nice. Somehow they lowered it to the ground and carted the whole business up-slope without injuring themselves. Goodbye, cloudy old glass…

window5


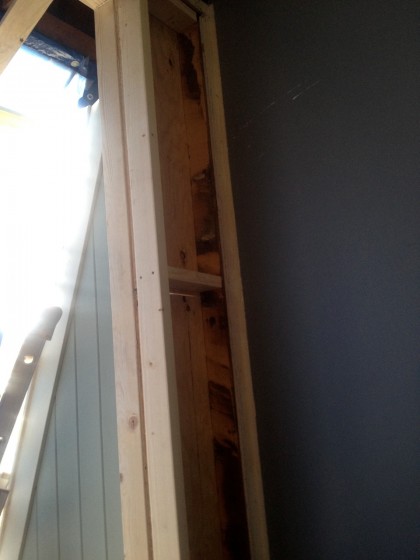
David and Joe worked upstairs, installing the wood frames to extend the openings out flush with the face of the 3″ foam+plywood, while the crew worked downstairs…

window6


Newly fitted window box complete. The giant windows on both sides of the central slider were resized about 12″ narrower in width…

window7


… to accommodate future built-ins planned to run along the walls of the upstairs livingroom. The cabinetry needs a solid wall to die into…

window8


Over the foam+plywood went a layer of house-wrap to keep out the elements. Joe carefully detailed the openings prior to windows…

window9


The house-wrap was then topped off by custom-made aluminum flashing…

window10


[The flashing deserves its own post — it’s pretty special.]

The downstairs slider went in and then the window. Full pics tomorrow…

window11


Before the day came to a close, Joe and David had all four of the upper window and door extensions fully adhered, leveled and screwed into place…

window11.5


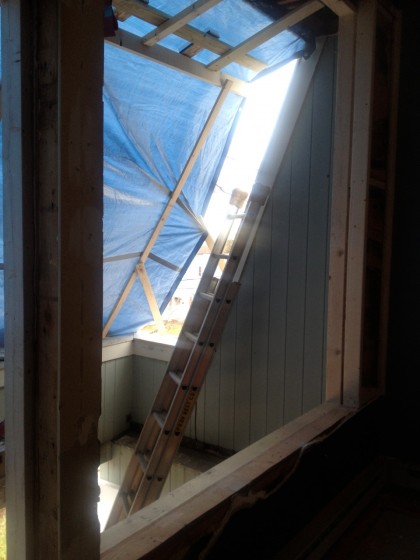
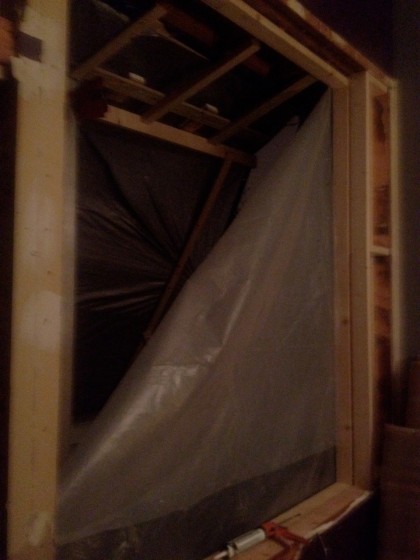
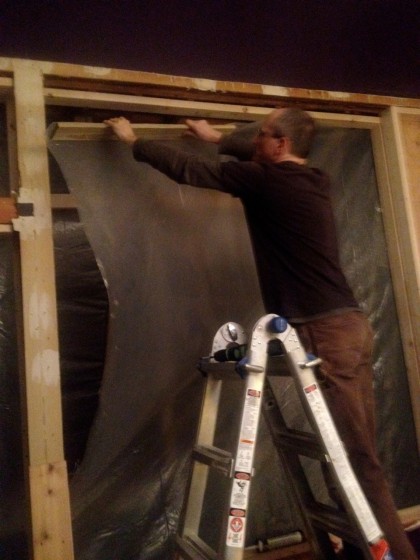
But there just wasn’t enough time to get windows and sliders in upstairs. Although David wrapped the openings in anticipation of last night’s storminess, at 1:30 the gusts, how you say, compromised the plastic…

window12


… and the storm found its way in. Nothing like fixing things in the middle of the night to make you tired for round two the next day…

window13


You can hardly wait to find out how it all ends, right?


window gazing: arcadia

Wednesday, March 9th, 2011

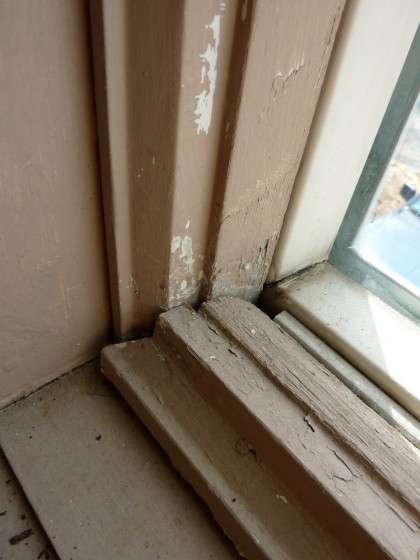
One of the sad realities of our ’70s house is that the original Andersen casement windows are pretty much shot. The vinyl has cracked on many of them, water has gotten in and rotted the wood frames to the point where they barely function. Actually, a few of them don’t open at all anymore…

andersen rot

And then there are the fixed windows on that grandiose window wall in our living area. Looks pretty nice, right? Look closer…

remod wants | window wall

Water trapped between the panes. Ugh. Not good…

remod wants | leaky windows

Since this whole setup needs replacing, we’ll also replace the 40-year-old sliding glass doors with something to match the new windows.

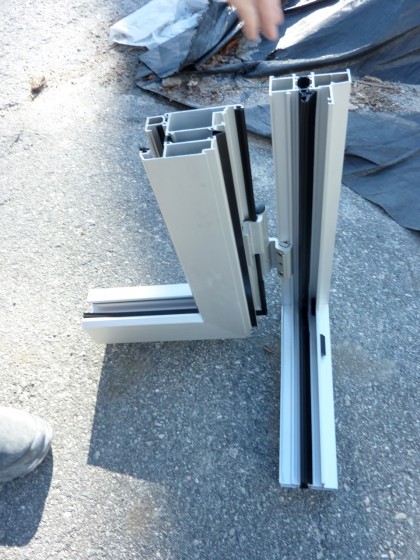
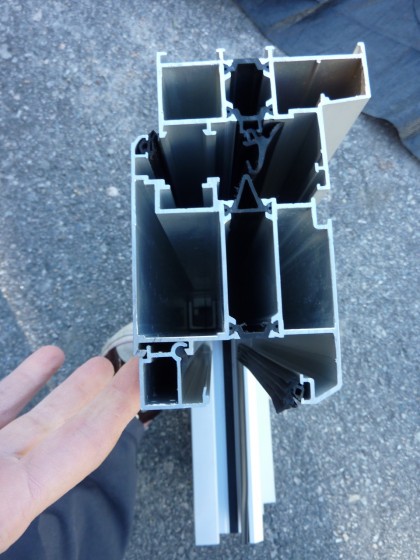
Our first choice is clear, anodized aluminum. The modern, minimal profile would fit in perfectly with the house and allow us to eliminate interior mouldings, a cause close to my heart. Aluminum is an infamous heat conductor, so we want all the frames to be thermally broken to keep the indoor heat from traveling out in the winter and the summer heat from traveling in in the summer. Obviously we’ll also want energy-efficient glass (more on that in another post).

So far, we have rough quotes from Arcadia, Lockheed and Solar Innovations. (Just to be fair, we also got a quote from Andersen for the new gen of windows we already have.) It just so happens that the Arcadia rep made his way through Providence last week and he stopped by with samples for us to look at.

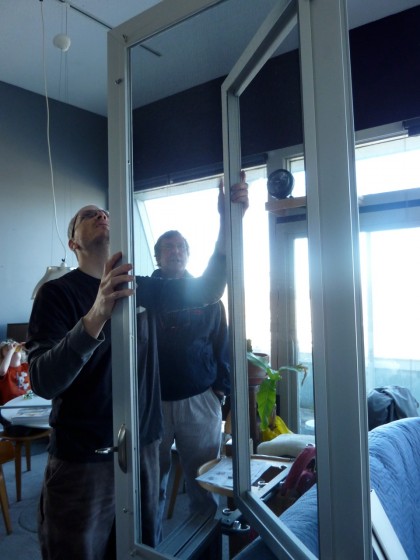
First up: the hinged terrace-garden door. Would definitely take our front entryway up a notch. Besides the good looks, we like the two separate gaskets to keep wind and weather out…

arcadia swing door

Mmmmm, perty. That central black core between the two aluminum extrusions is the thermal break…

arcadia extrusion detail

Similar construction in the casement window…

arcadia window

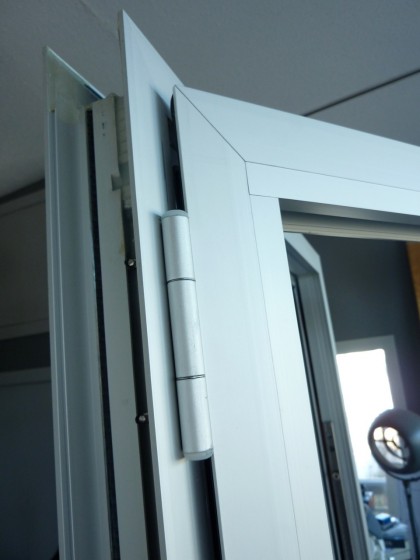
Lovely butt hinge. Yeah, I said butt hinge…

arcadia hinge

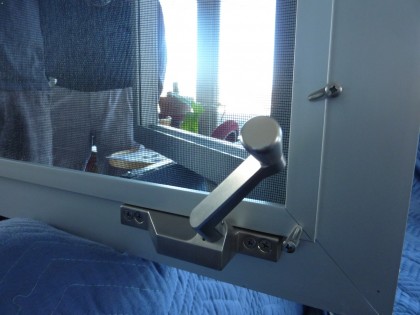
Handle and screen…

arcadia handle

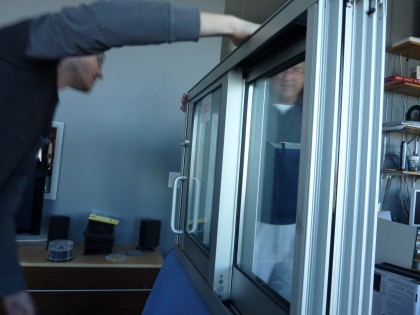
Unfortunately, to use their sliding glass door you can be no taller than a schnauzer…

arcadia slider

Ha. This baby rolled down the track so smoove we could hardly believe it. Like butta. Screen goes on the inside where it can stay clean. Smart.

The goods from Arcadia are more than just the right style. They qualify for LEED points – we think that’s important, even if we don’t pursue it. No decisions yet. We should see a few other contenders in person first. Did someone say field trip?