Posts Tagged ‘rainwater collection’

washing away

Wednesday, July 14th, 2010

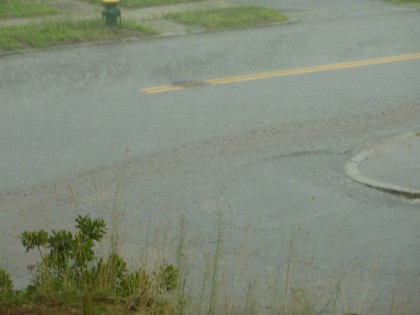
Another hot couple of days but luckily the thunderstorms have replenished our water collection tank. Yay! However, take a look at what a torrential downpour does to our yard…

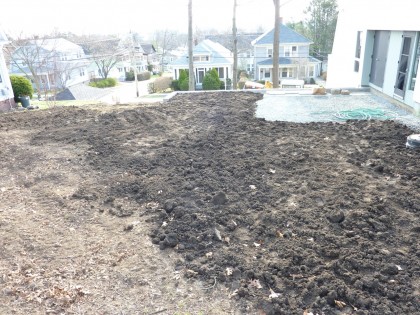
there goes our yard

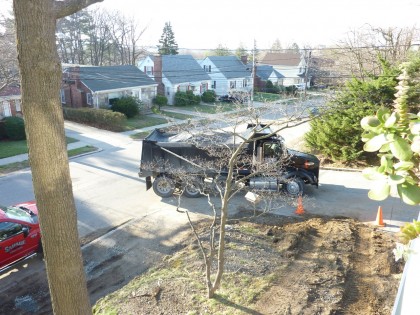
That brown stream? That’s our yard going down the storm drain!

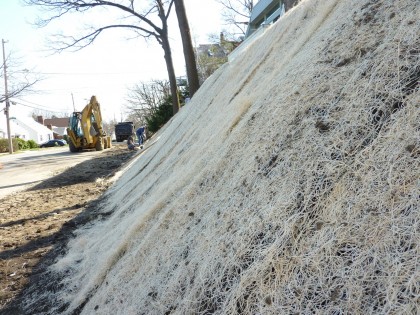
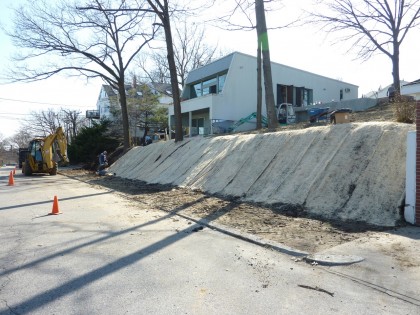
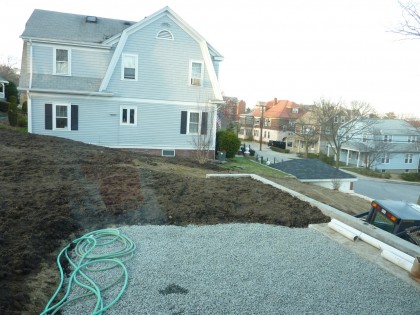
Still not enough plants holding our new soil to the slope, apparently. The front slope with all the Curlex is holding just fine. And the beds that have mulch are holding fairly well. But the water runs down the paths I’ve been digging out that have yet to receive pea gravel and then pours out into the street. We need the gravel to slow down water. Yeesh, always a plan and just never enough time to make it all happen!

Hoping we can get a few truckloads of pea gravel delivered soon before our entire yard washes away. Sadface.

dwained

Wednesday, July 7th, 2010

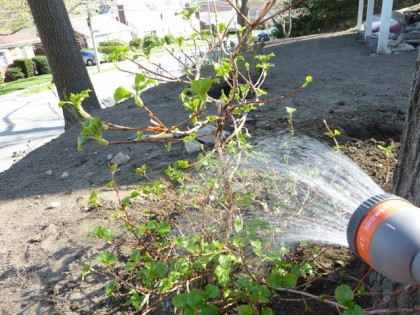
We’ve been relying on our 1,700-gallon rainwater collection tank to water all of the plants since April. Well… not the grass and not the newly planted 100′-long hillside — those are more easily tackled with a sprinkler and city water. But everything else, rainwater. Until this weekend. Apparently, we dwained our tank…

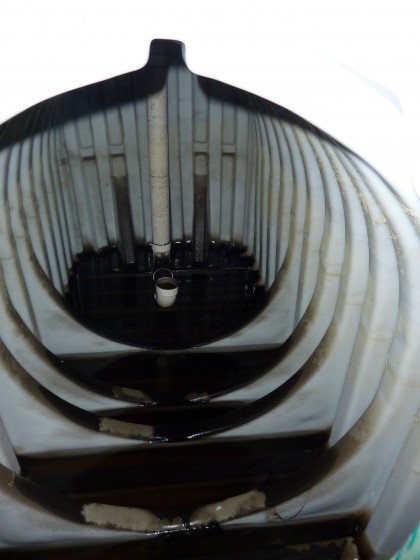
compweetwee dwained tank

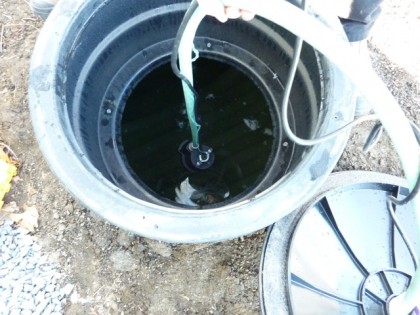
A peek inside confirms it. Empty. The pump doesn’t quite reach the tiny bit of slighty mucky water at the bottom.  Bumma.

I never really noticed it before but watering with city water really brings out that chlorine smell. Ack. No wonder plants prefer rain. We could use some about now. 102 yesterday. If I close my eyes it’s like being in L.A. Yes, a really sweaty sauna in L.A.

half full or half empty?

Monday, April 12th, 2010

Pleased to report that we are now HARVESTING RAINWATER!

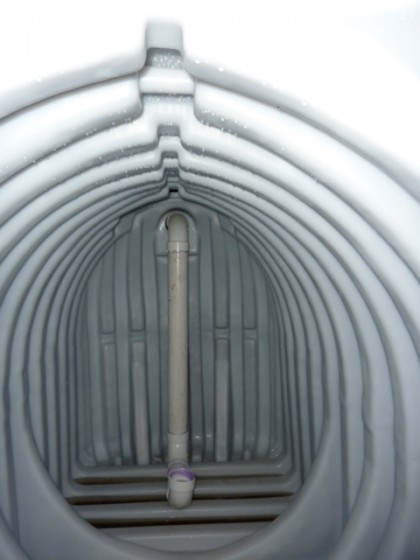
Just to remind you, here’s the view inside the tank Thursday night before the rain:

tank completely empty

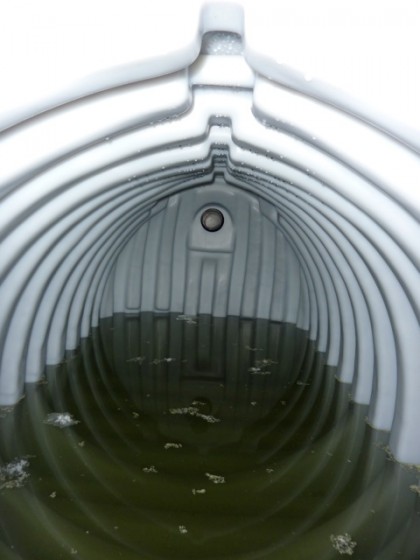
And here’s the view on Saturday after an inch of rainfall:

tank half full

So look at that! Just one inch of rain collected off our roof filled the tank about 2.5′. The highest the water can rise is 4’6″ where the overflow pipe starts channeling water out into the overflow trench. Not bad! (The floaty stuff is plastic shavings… don’t worry, we skimmed those off.)

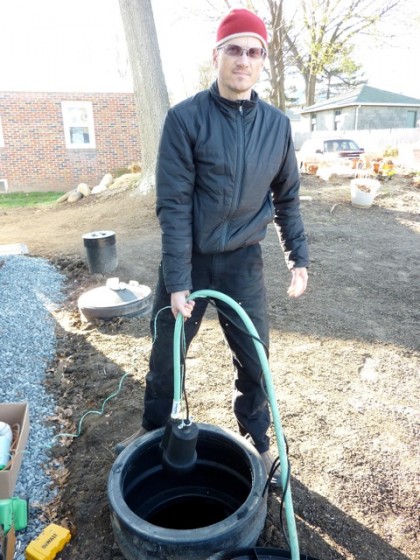
David has a grand plan to hook up a solar-powered pump to the tank, but until then we’re using a cheapo submersible sump pump…

david installing pump

With the garden hose hooked up to the pump and the whole contraption in hand, David slowly dropped it down into the tank…

david submerges pump

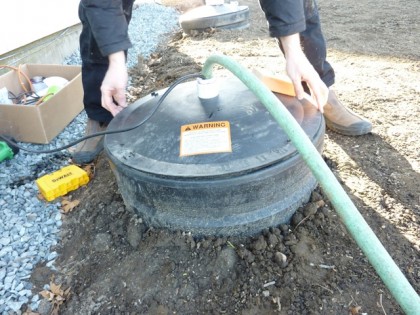
He made sure the hose and electrical cord were threaded through the top of the manhole cover, of course…

david closes tank

Then we plugged in the cord and turned on the hose…

first water from our tank

And voila! We can now water with rain! *touchdown dance*… *fist pump*… *chest bump*

inside the whale

Thursday, April 8th, 2010

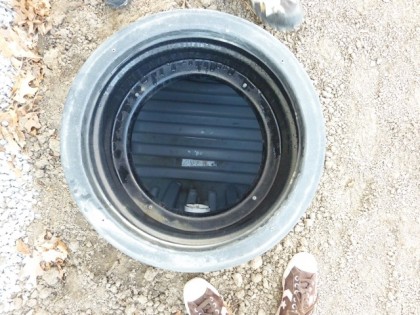
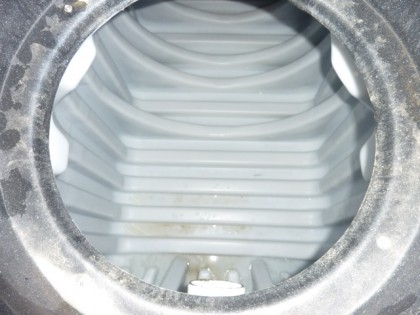
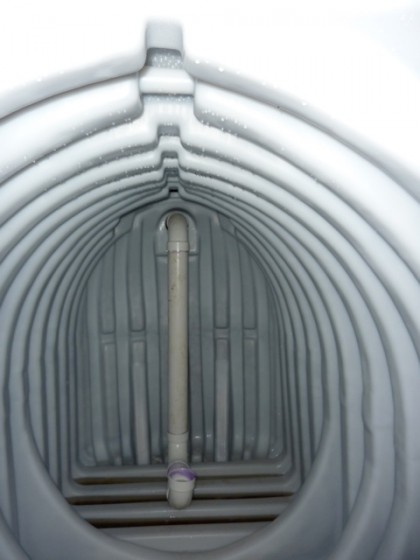
Ever wondered what it would look like to be swallowed by Moby Dick? Follow me inside our 1,700 gallon water collection tank…

water collection tank from above, manhole cover removed

going inside the tank

inside water collection tank

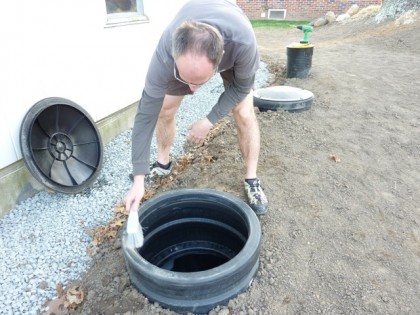
With rain in the forecast tonite and tomorrow, David thought it would be a good idea to double-check the tank

david checks the tank

The downspouts are hooked up, the filter is in and the overflow piping is connected, buried and ready to go. So we can finally start collecting our first rainwater. Let it pour!

day 3: a whole new yard

Sunday, April 4th, 2010

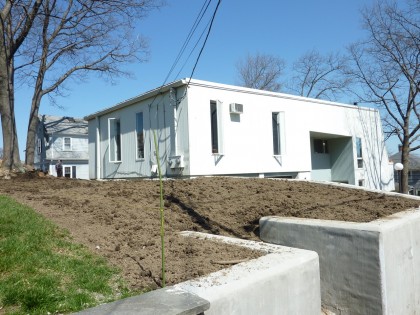
What a difference a day makes! It really does look like we have a whole new yard.

Yesterday morning began with the arrival of a tri-axel filled with Smithfield Peat’s finest screened loam/compost mix. Impressive. The Savages broke out the big guns…

tri-axel truck arrives full of loam

7:30 am, Adam starts with a little more grading out back with the mini excavator…

7:30 am grading begins

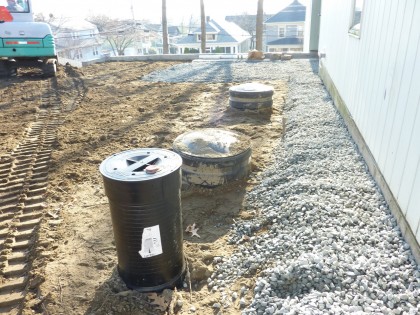
You can hardly even tell the water collection tank is there. Well, except for the giant manhole covers and the filter, of course. We’ll remove one of those covers and screen it all with plants soon enough…

water collection manholes

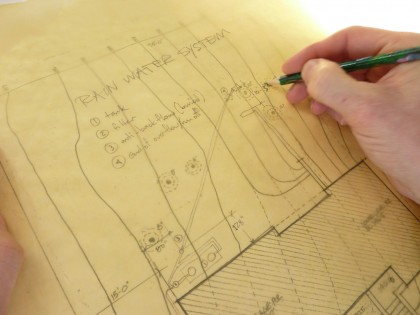
For future reference, David marked down where the overflow piping and other underground bits of the system are hiding. Probably a good idea…

rain collection diagram

The veggie zone got raked out…

ready to spread compost in veggie zone

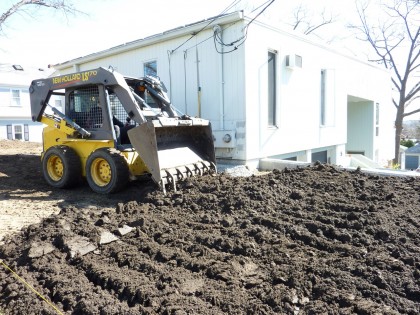
… then the loam was brought in and spread with the bobcat. So rich, it looks like brownie mix…

loaming veggie zone

Our plants are going to be soooo spoiled…

finished veggie zone

Rich and Mr. Savage perfected the grade out back so that water would flow away from the house and down the slope…

getting the grade right so water will drain

Then it was ready for loam…

back ready for loam

Which  Adam had spread in no time…

backyard with loam

Ever since we moved in, I’ve been looking forward to finding a new home for five fairly young rhododendrons. The last owner must have put them in hoping to add privacy to the downstairs patio area… which is ridiculous for several reasons. One: those suckers take forever to grow, so there wouldn’t be privacy screening for at least another decade. And Two: they planted them practically on top of each other and way too close to the pathway — hard to believe looking at them now, but these will be monsters when they finally reach 12′ tall and 12′ across…

row of rhodos

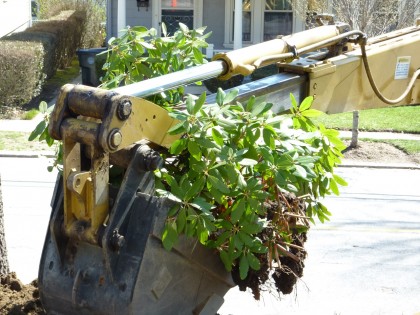
So Mr. Savage dug them up for Rich to take home with him. Plant them and love them, Story!

bye rhodos

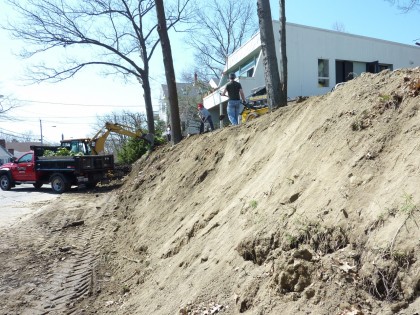
Mr. Savage added a little soil and smoothed out the eroded slope along the road…

adding to slope

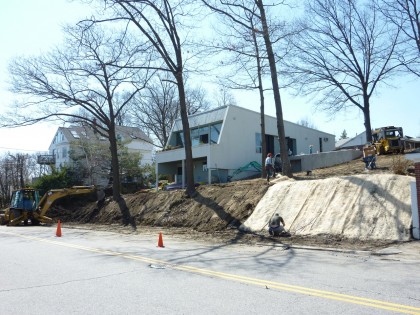
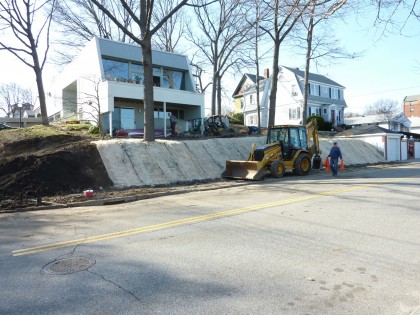
… the entire 100′ foot length of it. Wow, that looks incredible!

slope prepped and ready for curlex

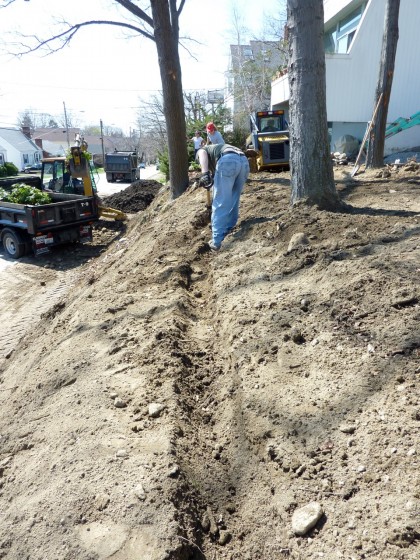
Then Rich and Shiva dug a shallow trench along the top of the slope where the biodegradable Curlex erosion control matting will be secured…

digging the trench up top

That was a lot of digging…

top of slope trench

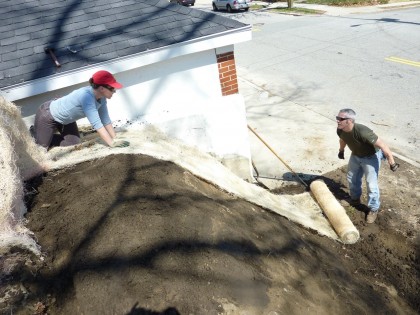
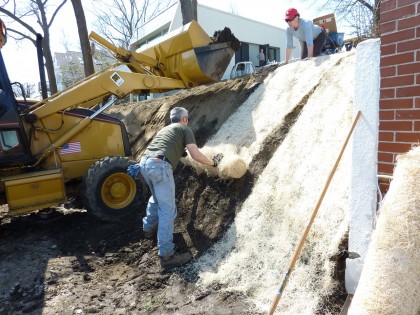
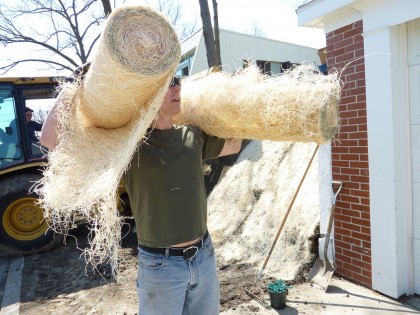
Then the two of them rolled the Curlex down the slope…

first roll of curlex

… and secured it with our natural, biodegradable staples at the top and bottom.

second roll of curlex

Up the hill, down the hill, up the hill… and so on. Thanks, Rich!

two more rolls

sixth roll of curlex

closeup curlex

twelfth roll of curlex

By late afternoon, the slope was completely transformed. The Curlex won’t break down for three years, which is plenty of time for plants to get established. Speaking of which, the plants arrive this Tuesday…

end of rolls

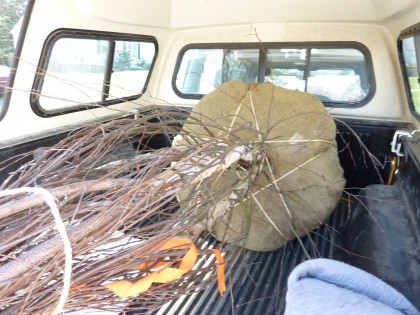
Meanwhile, David made a trip to Sylvan Nursery in Westport, MA, to pick up our focal point tree for the backyard…

tree in truck

Doesn’t look like much in the truck…

tree arrives

After months of deliberation, I finally settled on a Betula nigra Cully Heritage River Birch. Yes, I considered many other gorgeous options — Perrotia Persica (Persian Ironwood),  Stewartia Pseudocamillia (Japanese Stewartia), Fagus Sylvatica Tortuosa (Tortuous European Beech) and Cercidiphyllum Japonicium (Katsura or Caramel Tree), were top contenders. But the size and multi-trunked habit of the Heritage Birch was just right. I’ve been stalking just such a tree in a neighborhood where I run. This is what it looked last last summer…

heritage cullen birch

The peeling bark is really something…

birch bark closeup

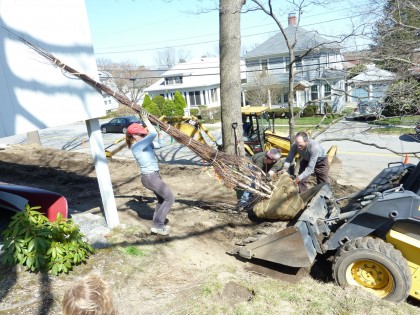
So with the help of Adam in the bobcat, Shiva, David and Rich got the tree up the slope…

tree wrangling

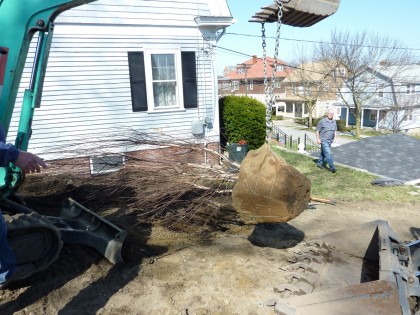
… and hoisted it into the hole..

putting tree in hole

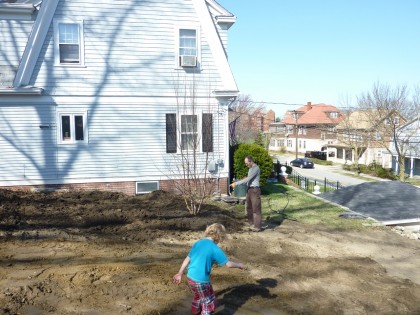
And, voila! Landscaping has officially begun. Thanks to Shiva and Ellen for making the tree-sleuthing trip to Sylvan last week to find the perfect specimen for us. It’s gawgeous!

tree planted

Birches grow quickly, so this should fill out nicely in no time. Will look lovely from the living area…

goodnight yard

Thank you so much Savages. You rawk!

savage trucking

day 2: major progress

Friday, April 2nd, 2010

Who needs Good Friday when you can have Amazingly Awesome Friday, like we had today?

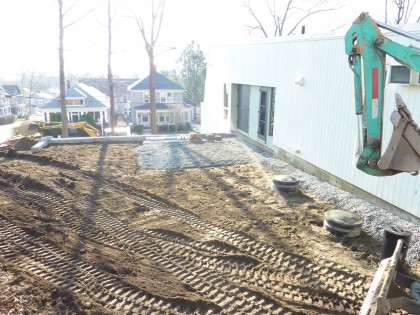
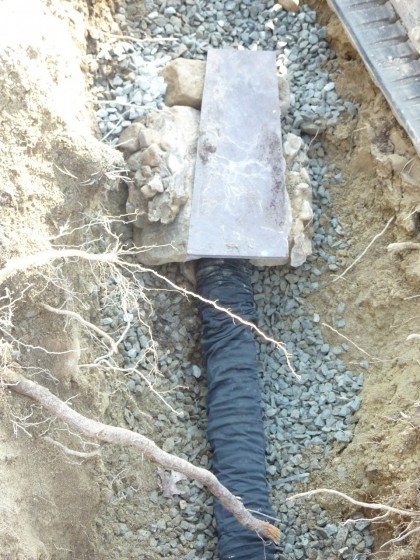
First things first. David finished plumbing the rainwater collection system, connecting the anti-backflow valve and laying the overflow pipe into a bed of gravel in the trench that was dug yesterday. Looks crazy, doesn’t it?

water collection overflow piping for runoff

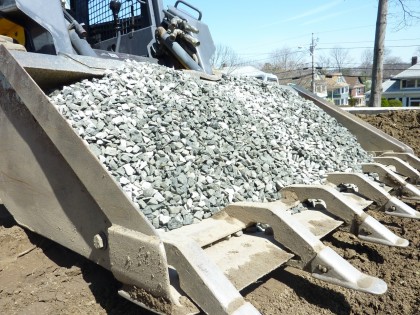
Then the overflow piping got covered in crushed stone and the trench was backfilled with dirt…

gravel atop overflow

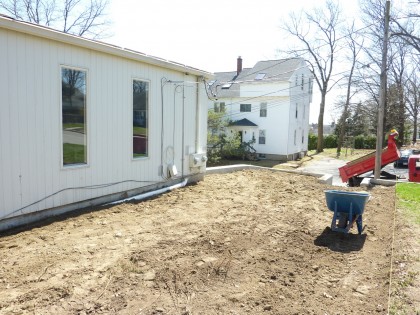
The piping trench alongside the house got brought back up to grade with dirt…

side yard and veggie garden soil spread

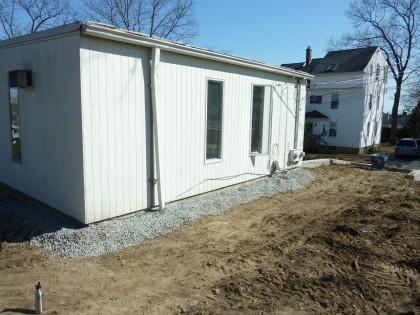
Then the gravel bed for that 2′ buffer around the house got spread. Eventually, we’ll add galvanized steel edging to hold and define it, then this buffer will get topped off with smooth, black beach pebbles (3rd house down at link for example)…

gravel buffer added on side yard

At the back of the house, the patio area was readied for a bed of crushed stone…

gravel

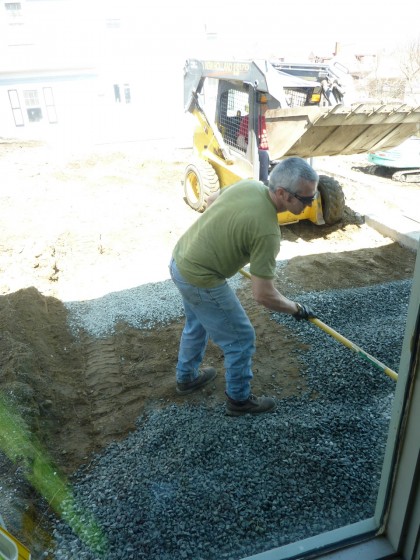
Crushed stone was spread to about 6″ deep today. This will form the bed for the concrete strips to be poured some day in the not too distant future…

gravel gets spread for patio bed

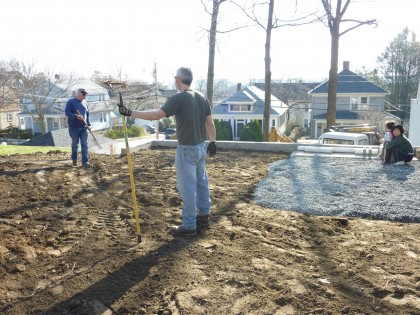
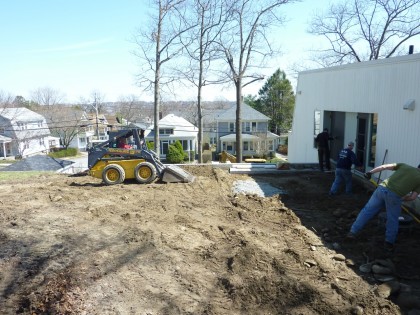
The world’s most awesome worker bees raking out all that gravel…

patio and backyard buffer gravel get spread

Have I mentioned lately how much I love you guys?

full buffer view

With the upper level done, the boys moved down to the storage area under the patio and dug that out a few inches in preparation for tomorrow’s loam arrival…

storage zone gets prepped

And with that, the day was done.

Tomorrow, a tad more grading, loam spreading and erosion control matting will get secured to the front slope. See you then!

day 1: dirt slinging

Thursday, April 1st, 2010

Busy day in the yard. I’ll keep it brief.

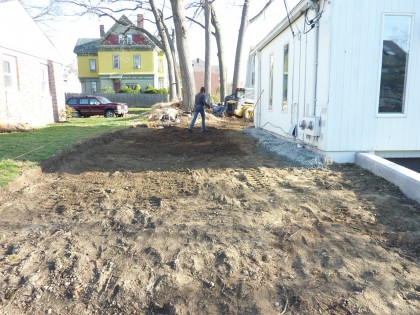
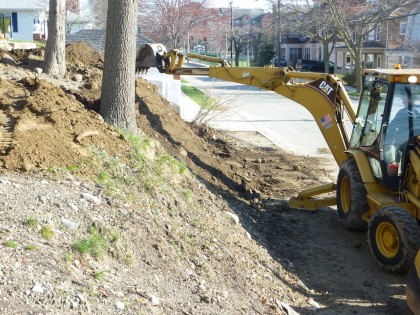
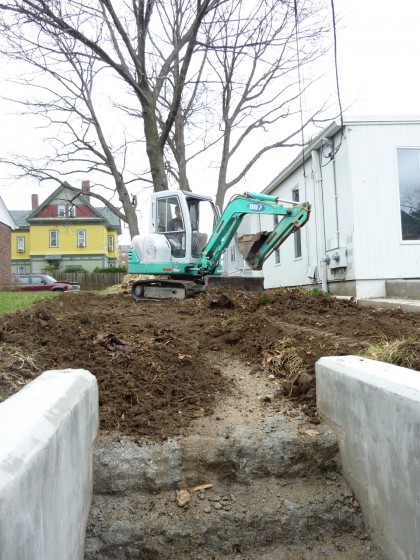
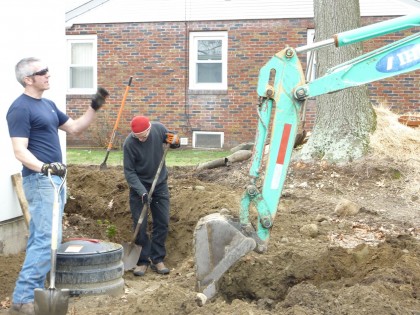
Dug the ramp to get the equipment up the slope and into the yard…

digging the ramp

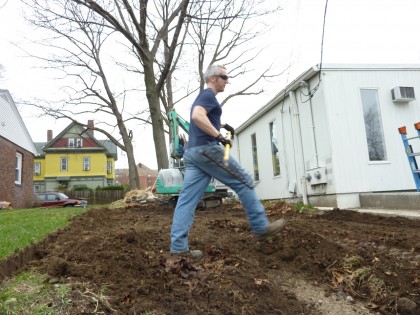
First stop: the future veggie/herb/fruit area, which until now has only been ripe with the tripping-hazard roots of straggling juniper and the unsympathetic thorns of flowering quince…

juniper removal

Adam scraped up the undesirables…

digging veggie garden

Rich spread the dirt around in preparation for the good loam to come in soon…

veggie garden dirt spreading

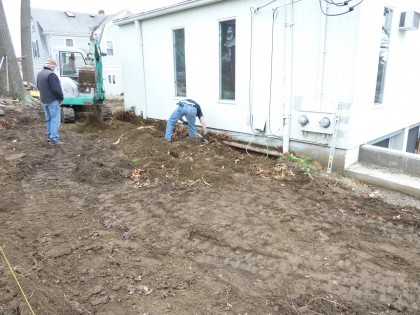
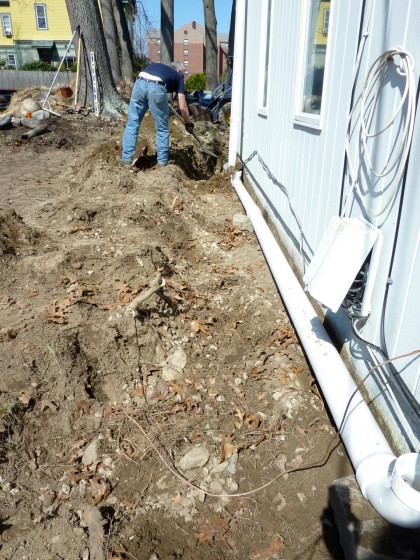
Digging of the trench alongside the house began. Water will be collected from the roof and channeled to piping that will run to the giant water collection tank…

digging trench along house

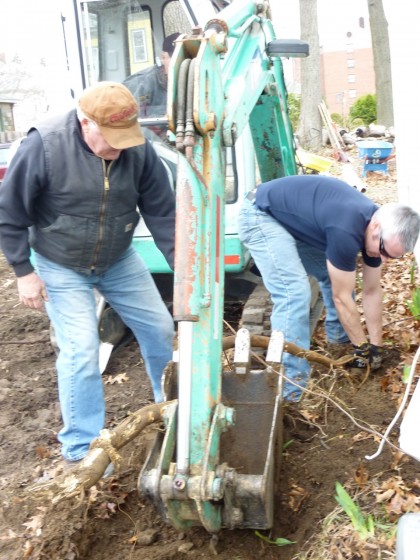
Where there weren’t boulders in the way, there were cantankerous roots to subdue…

digging up a cantankerous root

The trench was brought around the corner to the tank…

more trench digging

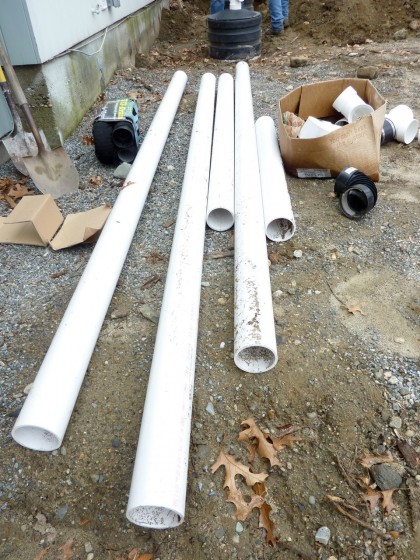
Then the water collection piping got sorted out…

water collection piping gets sorted out

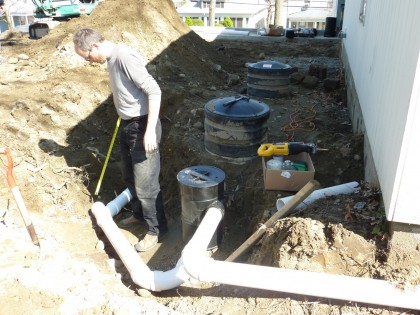
… and hooked up.

piping gets laid in and hooked up to tank

The overflow piping starts to go in…

overflow piping

While David sorts out the tank piping, the boys dug out the patio area so that it will be ready for the arrival of a few inches of crushed stone tomorrow…

patio area prepped for crushed stone

And Adam made quick work of removing the lead soil along the neighbor’s property line…

lead remova1 along the property line

The nasty soil got carted over to the dump truck and hauled away…

lead soil gets moved to dump truck

A good sized stump made the trip as well…

tree stump gets dug up

We accidentally displaced some newborn snakes while digging today. These are harmless Northern Brown Snakes. They like to eat slugs, which is fine by me…

found baby snakes!

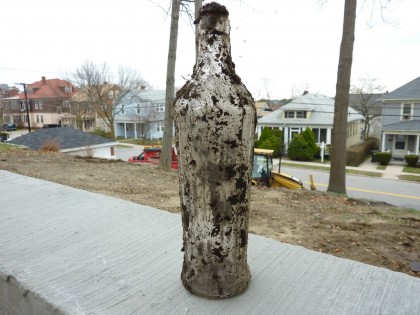
Also unearthed a relic from the days when this was the back forty for a former sizable estate at the top of the hill…

unearthed bottle

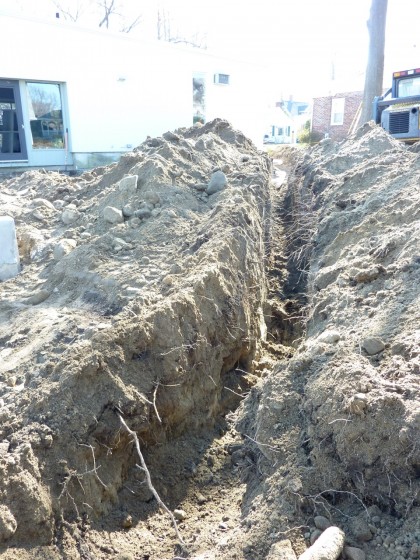
Back to the water collection tank. A massive trench was dug for the overflow piping…

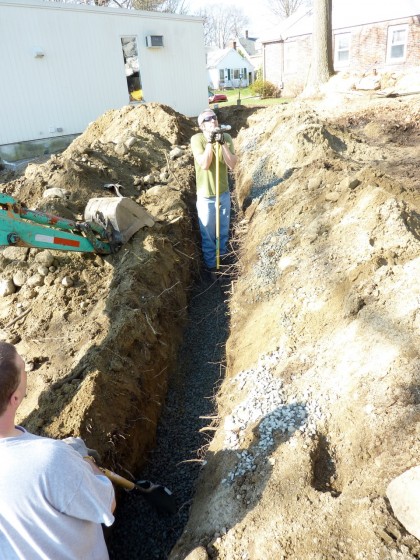
overflow trench gets dug

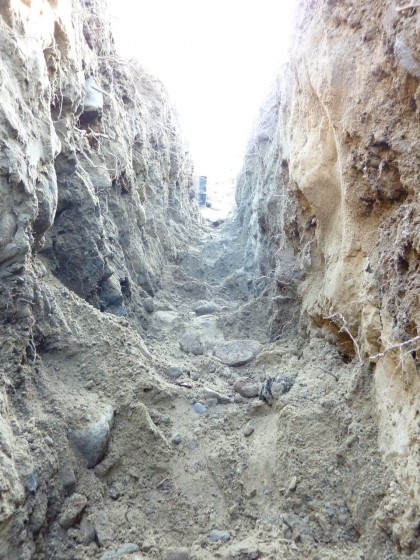
When I say massive, I mean over my head…

trench canyon

We can now visit the Grand Canyon — without leaving home!

man-sized rainwater collection

Tuesday, March 9th, 2010

We don’t do things a little around here. No, we go big and hairy. Even when it comes to rainwater collection. You don’t think we forgot about that when we were busy putting in retaining walls and planning the yard, do you? I’ll let my huz David tell you all about it…
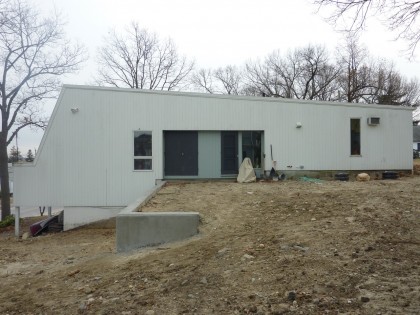
flat roof

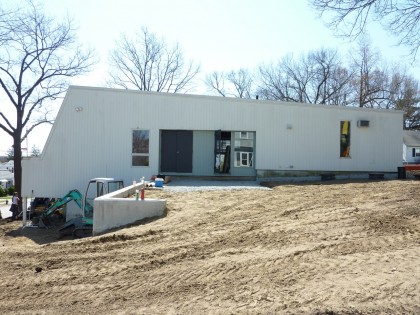
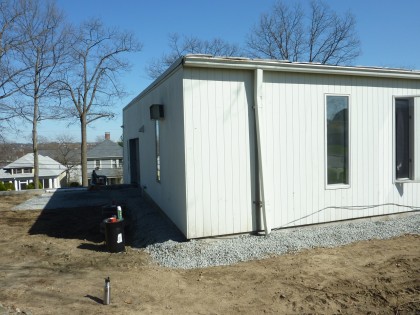
Look at that flat roof. Not only is it a great modern architecture feature, it’s great for collecting rainwater. With all the water running to one edge, the gutter to roof ratio is very low and the downspouts are easy to collect into one outlet. We knew we wanted to take advantage of our rainwater — so let’s look at the decisions we had to make to do it.

Crunching the numbers

Research on the web gave us lots of formulas and tables and charts on water collection — I’ve included links to some of those at the end of this post. Our roof is about 1,200 square feet which will generate about 720 gallons per inch of rainfall. Average annual rainfall in Rhode Island is about 33″, so we could theoretically harvest almost 27,000 gallons of water per year. That’s a lot of water! In actual practice, we won’t ever get even close to that number.

About 10% of the rainfall is lost to wetting the roof and evaporation. The filter rejects another 5%. But the main limiting factor is tank size. A heavy rain of say 3″ would produce about 2,160 gallons of water — less 15%, that leaves about 1,800 gallons we could possibly gather. The tank is 1,700 gallons and will seldom be empty enough to take a full rainfall.

What size tank?

There’s never been a garden here before, which means no historical data to refer to in order to figure out outside water usage. A rain barrel just isn’t going to do it for us — we need a tank and had to guess at how big. I suppose we could have opted for smaller than what we ended up with. But given size of the property and the opportunity to collect the maximum amount of water for just slightly more cost, why wouldn’t we go with a hella big tank?

We settled on the 1,700 gallon polypropylene, underground tank from Norwesco. Won’t rust or corrode. It’s cleared for environmentally safe, potable water, even. And by sinking the tank, that frees up more valuable outdoor space. Here are the 1,700 gal cistern specs.

Will we save money?

Yes and, um, not so much. There are multiple costs at play here. The average household served by Providence Water Board uses 75,000 gallons per year. Right now we only use about 35,000 gallons a year, less than half the average in this region — but again, none of that includes watering more than the few tomato plants we had. We pay $.0032 per gallon for water and $.0035 per gallon for sewer. That means we’ll save $.0067 for every gallon of city water we replace with rain water. Great! But we’ll have to save 463,000 gallons to break even on just the tank, filter equipment and the cost of getting it transported here. (Luckily, DIY means we’re saving on plumbing labor.) We might expect a 10 to 20-year payback, typical for green projects without state or federal incentives.

We’re trying to be smart in our garden planning. We’re planning for areas of pea gravel with a super-minimal, low-water lawn zone, a drought-tolerant plant zone, a zero-water plant zone, and so on, but obviously we can expect a decent amount of water use as we get our garden established. No doubt, all that rainwater we gather will go to good use.

The installation

Here are the down-and-dirty instructions. And here’s how an installation plays out in reality, starting with our tank arriving the week of Christmas. I knew it was huge but I hadn’t really considered that it was bigger than a Toyota…
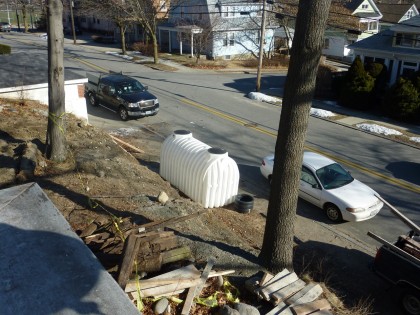
tank delivery

We waited for our concrete guys to dig the hole for us since the backhoe was already digging our retaining walls. We had to leave it in the street, completely paranoid some drunk college kid would mow it down in daddy’s car.
tank waiting by ramp... waiting... waiting

But a week or two later, the tank was fine and the hole was finally dug…
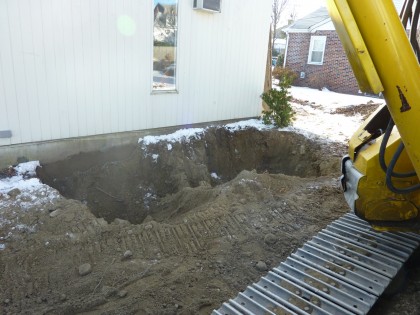
digging the hole

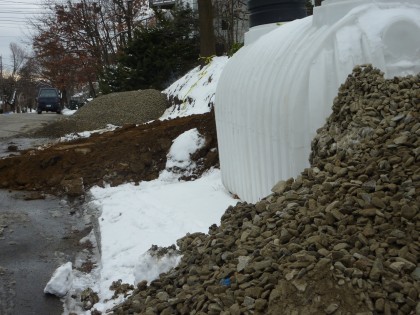
Then there was the matter of getting a 400-lb. tank up a hill without it sliding back into the street.

The tank is recommended to be set on sand to provide drainage and lower the chances of a puncture. The distributor told me crushed stone would work fine, so we went with that. Once the bedding gravel was added to the hole and the tank set, my friend Joe and I did the plumbing prep work. Plumbing the tank will be a lot easier when the ground isn’t frozen like it is now, so we installed the 4″ inlet and 4″ outlet then connected pipe to get us to where the filter will be buried.
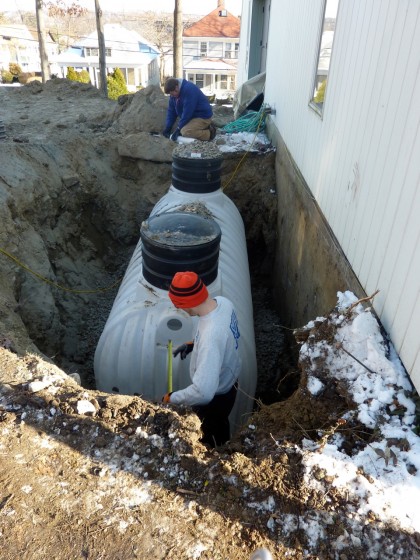
plumbing the tank

The rest of the plumbing will be buried in the spring. Next, we backfilled the hole with gravel…
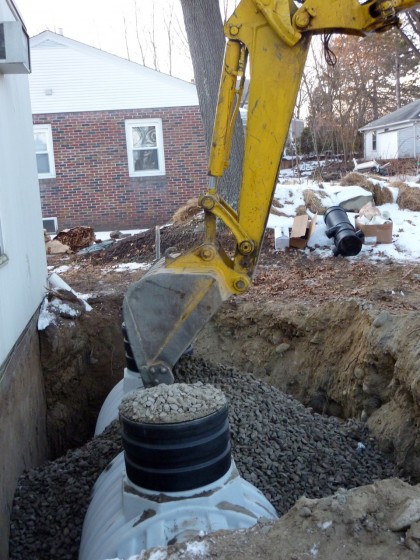
filling hole with gravel

On sites where the water table is high or where there might be flooding, underground tanks have to be anchored down so they don’t pop up out of the ground when they try to float on the groundwater. They also require good drainage around and beneath so that a good New England frost heave won’t crush or shift them. Luckily, our hilltop location means excellent drainage and not having to worry about such things.
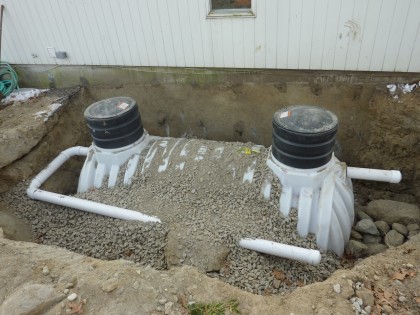
tank with more gravel

When we’re done plumbing the tank in the spring, there will also be a vent shaped like an upside-down J. A pipe will carry water from the in-tank, 12-volt pump (powered by batteries that will be charged by a small solar panel on the roof of the house, which I’ll also rig to power all of our exterior lighting) to a spigot next to the existing one that delivers city water. At least that’s the plan.
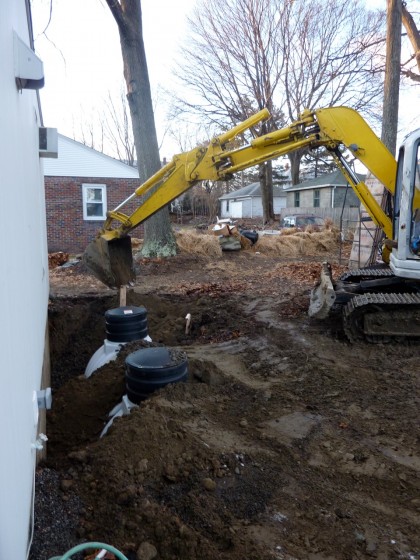
tank burying

The gravel and tank then got topped off by soil to the same grade as the rest of the yard.
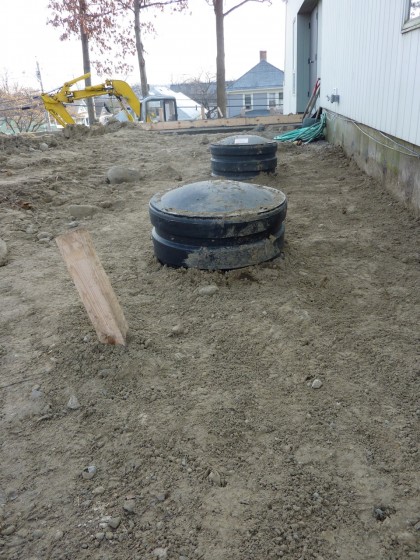
tank buried

We’re waiting out the winter for the soil to settle — which it will inevitably do given the gravel. Then we’ll raise the level again with some nice loam. If it weren’t for the two manholes (we hopefully only need one), you’d never know the tank was there! Once the plantings are in, I think the manhole will hardly be noticeable.

The gadget geeks in the house will appreciate this: the filter we chose is German… because as we all know, German things are beautifully engineered.
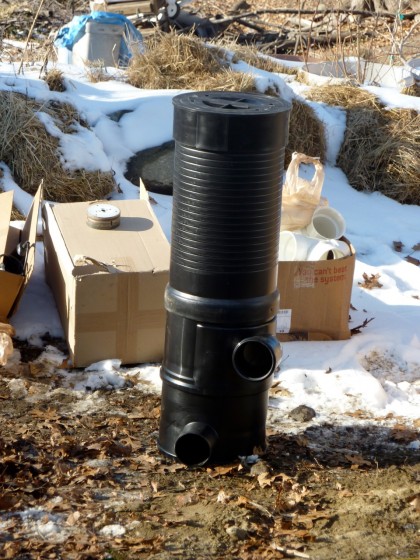
tank filter

The Low Capacity Vortex by Wisy uses centrifugal force to push water through a fine stainless steel basket while detritus falls down the center along with about 5% of the water that goes in. That 5% passes through a second coarser filter, plus any overflow from the tank feeds into a perforated pipe where it can re-enter the water table instead of pouring into the gutter and down a storm drain. That’s better for the local soil and better for the ocean, since street and storm drain run-off can carry all kinds of nastiness. No need for us to contribute to that.

The ground should be warm enough in the weeks ahead to finish up the plumbing. Did I mention french drain? Sexy. You might want to stick around for that post.
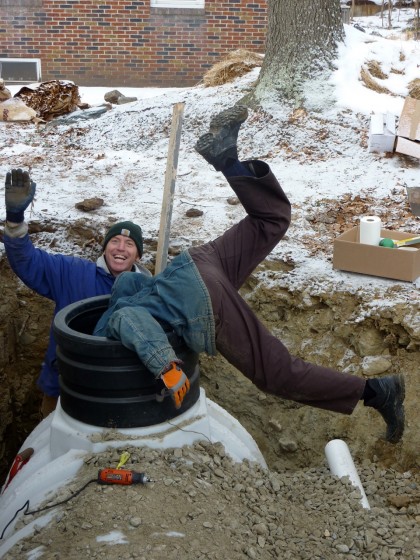
man down!

Bookmarks for this post

csgnetwork.com has a online rainwater calculator (requires javascript)

watercache.com has a really basic calculator (no javascript)

green-trust.org has all the formulas if you’re feeling brave enough to do your own calculations

rain-barrel.net has an interesting explanation of the mathematical principles behind the rainwater calculator

off-grid.net posted an interesting look at somebody else’s underground tank system and associated costs

as for equipment…

rainwatermanagement.com has some nice rainwater collection setups for residential applications

tjb has an innovative rainwater collection setup we could never afford — but wow, impressive

and if you’re really, really into it…

harvesth20.com posts everything that’s happening in rainwater collection on a daily basis — this is where you’ll learn that rainwater harvesting is a surprisingly controversial subject and even illegal in states like Colorado! links to great resources and new products.

arcsa.org is the American Rainwater Cachement Systems Association — lots of links to lots of resources.

Rainwater collection is obviously a subject that will continue to increase in importance. I think we can expect to see many more companies jumping into the business and continued innovation in products — way beyond the standard rain barrel.