Archive for the ‘exterior’ Category

new year, new roof

Tuesday, January 15th, 2013

WE’RE BACK!

Where the heck have we been? Maybe we’ve been stuck in a time loop and just barely made it back to the present. Yeah, that’s it, time loop. That sounds so much better than man are things going slowly and we just don’t have anything to share with you.

But things are picking up again! What better way to start the New Year than with a sexy new rubber roof? David was up there when it all went down during the first couple of days of the year, so he can share the deets…

—————————————————————————————————–

Our old rubber roof was failing — not in a catastrophic way just yet, but who wants to tempt fate? Installed in ’85, it was past the end of its life and due to be replaced, plus it was leaking.

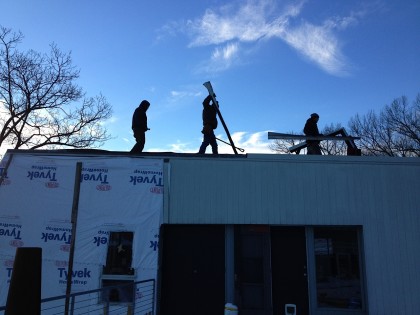
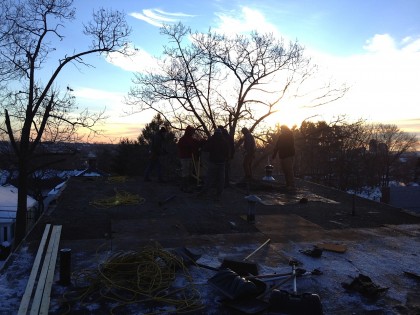
Just days after the New Year, I was surprised to hear from the roofers who said they were ready to roll. Talk about hardcore. The forecast called for  7 degrees the next morning and they showed up at dawn ready to rock. Removal of the recently fallen 8″ of snow was the first order of the day. The sun hadn’t even made it over the horizon…

8 degrees, 8" of snow to shovel off the roof.8 degrees, 8" of snow to shovel off the roof.


That was quickly followed by removing the gravel stop around the perimeter of the roof…

roof_2


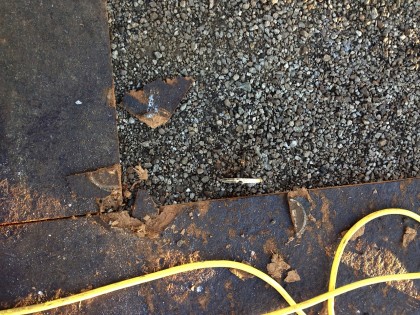
Next, cutting the aging rubber roof and exposing what lay underneath…

roof_3


The original roof was pitch and gravel. Then in the mid-’80s, fiberboard with fully adhered rubber was installed directly over the top of it…

roof_4


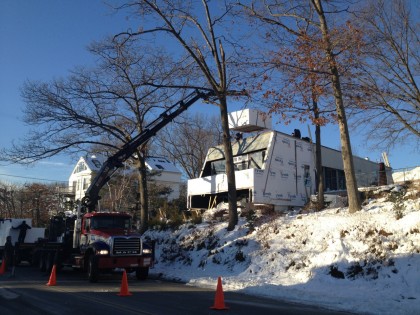
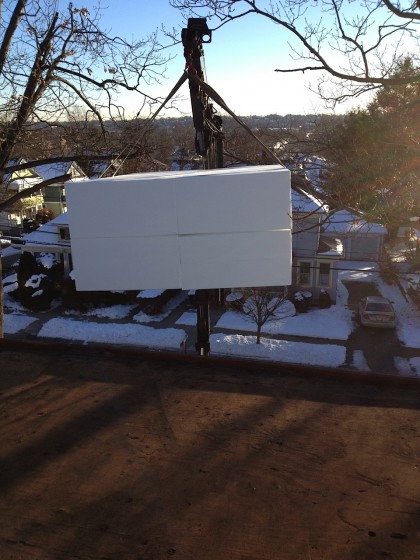
Once they had the roof clean down to the original plywood sheathing, the crane started hoisting up materials…

hoisting the EPS foam to insulate the roof.


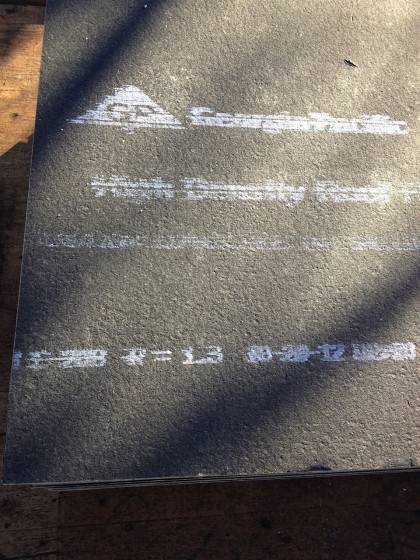
The 3” EPS foam was then ready to be installed in two layers with overlapping joints…

roof_5


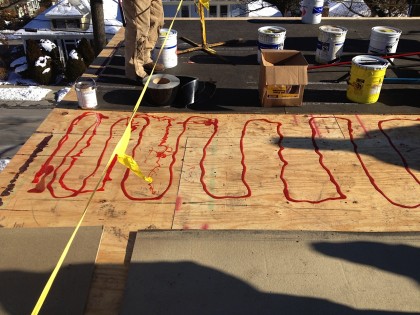
New fiber board was glued down onto new plywood…

roof_6


Fancy two-part polyurethane glue was applied to bond the new fiberboard to the new plywood, so there are no fasteners to telegraph through the rubber…

roof_7


Day 2 dawned with half the roof left to do…

roof_8


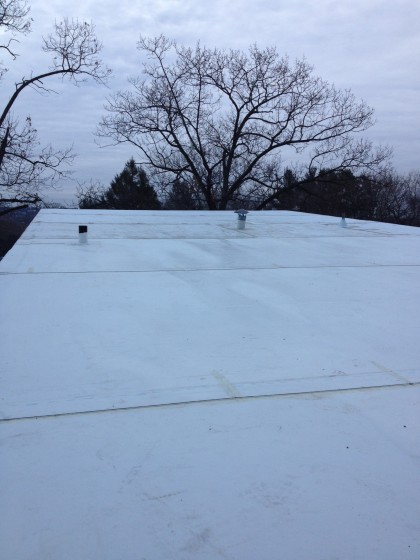
Second verse same as the first, and then it was done!

new rubber — white to reflect the sun and save energy.


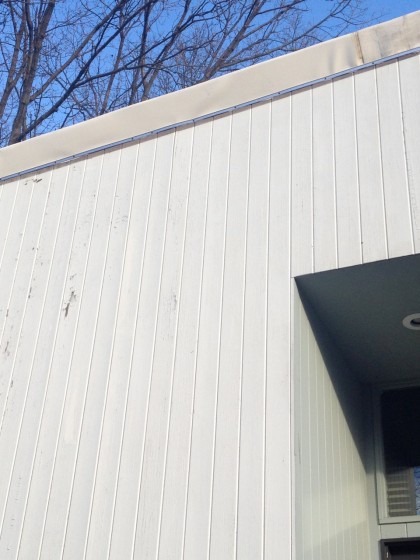
Well, almost done. We still have 3/4 of the sheathing to remove so we can finish insulating the exterior walls, which means the final edging detail will have to wait. What you see here is temporary. In fact, when Joe and I are done, you won’t even see the edge…

temporary roof edge.


One of the big goals of our remodel is energy efficiency, which is why we chose a white rubber roof rather than black. A lighter roof reflects the sun, which in turn reduces heat gain and lowers energy bills. In other words, white is the new black, and that makes it green.

We’ve also topped the house with 6″ of rigid EPS foam which, at R4.7 per inch = R28.2, increases our R-value and reduces our heat loss. That’s in addition to the existing 6″ of fiberglass (somewhere around R20) over which we layered the new roof.

Suffice it to say that we should be much cozier this winter.



re-decking done, pt.2

Saturday, October 6th, 2012

Ladies and gentlemen, we are floating in space. Posts formerly holding up our deck are now completely removed.

Remember this?

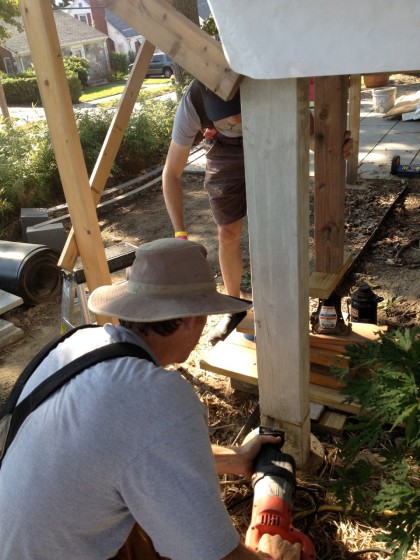
sawing off the posts


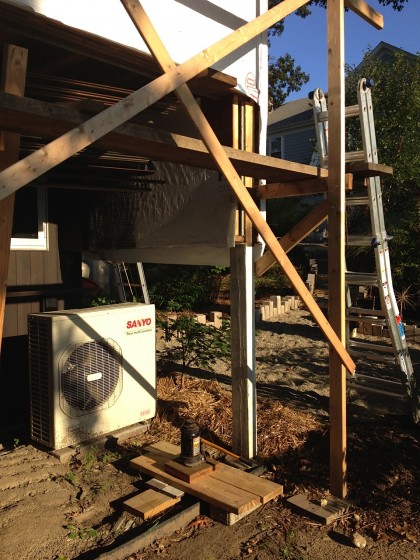
When the boys pulled out the jacks, we were left with mysterious hanging posts for a while…

one of our hanging posts


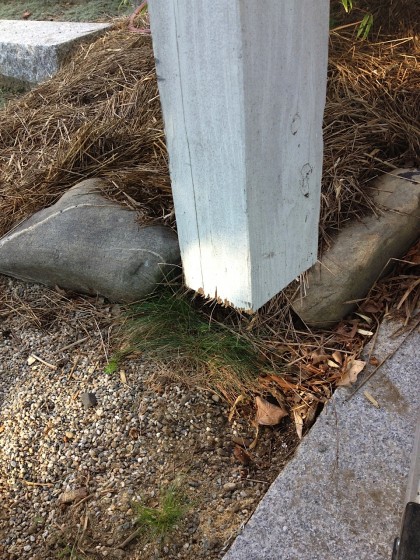
Cut off but not actually touching the ground. Mysteeeeeeerioussss…

mysterious post no longer touches theground


David and Joe finally pulled out the posts they had sliced a few weeks back. So now we’re not only officially cantilevered, it actually looks like we’re officially cantilevered!

posts are gone! cantilevering!


yep, other side, too!


Magic! It’s happening!


re-decking DONE

Wednesday, October 3rd, 2012

I apologize for my lapse in posting. Slammed with work again and it’s playing havoc with the bloggy. Let’s catch up, shall we?

David and Joe just wrapped up work on the deck. We left off with them installing the steel to cantilever the deck. This was the state of things immediately after…

deck walls await


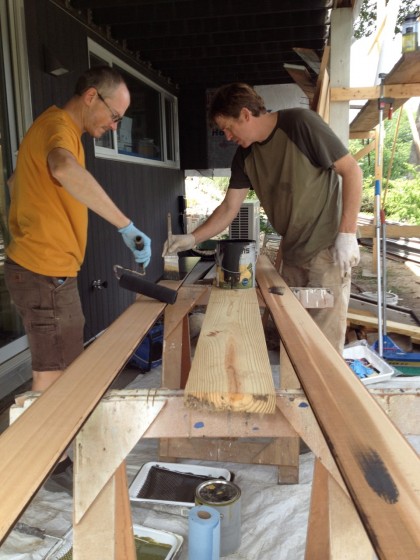
Time to replace the siding on the inside walls of the deck. The boys started by priming and then staining the cedar to match what’s on the walls below

the new replacement boards get primed before they get stained


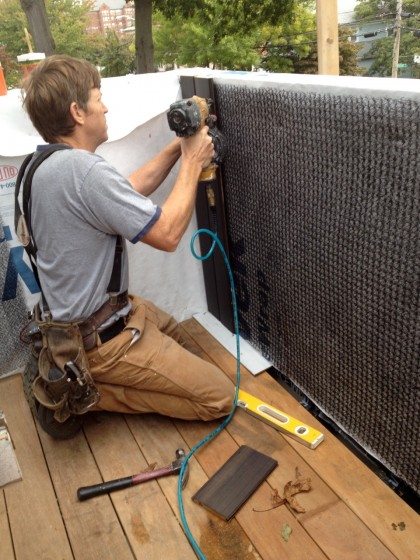
As before, Joe nailed on Cedar Breather, which allows the wood to dry from behind. Then, one by one, the freshly stained boards went on…

the Cedar Breather gets nailed on before the new siding


Before I show you how it all turned out, let me remind you of its former life in a dingy shade of drab.

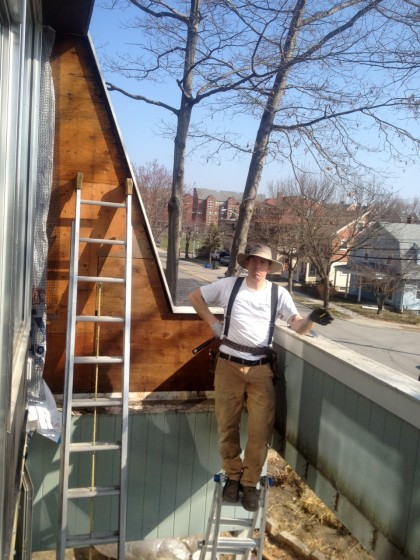
This is what it looked like out there in March as it was being deconstructed…

remember how it used to look? Joe removing the siding in March 2012


Now there’s a chance that powdery sage green looks great on some other house and just not on this one, I’ll grant you that. Having grown up on an Air Force base, I can tell you that this is a shade from my childhood, requisitioned by the military in bulk. It was everywhere. And clearly I am biased against it.

But I blather.
Let me show you how to do justice to this house…

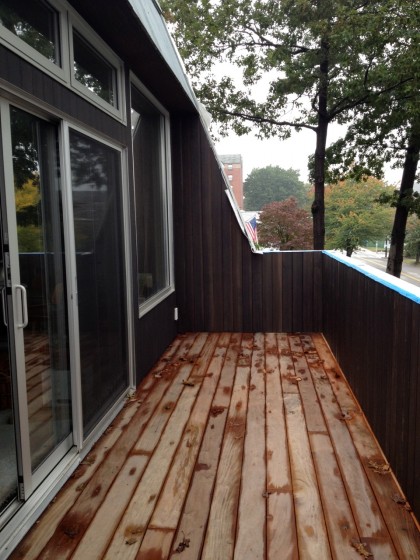
newly stained siding on the wing wall and railing


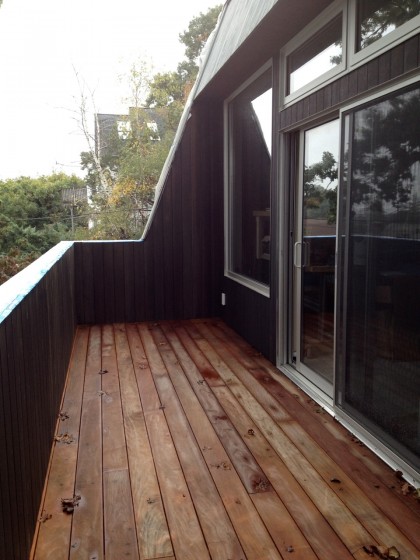
view from the other end


Wow. The beautiful wood now looks like beautiful wood.

Bulky, unnecessary trim is eliminated.

Crazy angular wing walls finally get the emphasis they deserve.

Great job you guys! Looks fantastic — and will look even better once that Garapa Gold decking fades to silver. Psyched. The cap on top of the railing (exact material TBD) will be added after the outside envelope of the house gets re-sided.
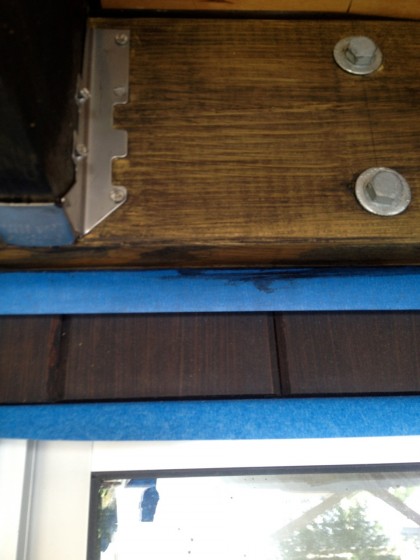
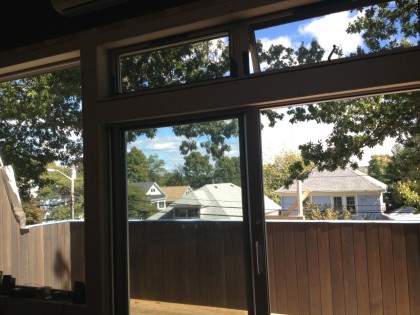
I like how the dark wood really grounds the house and frames the view now…

the new and vastly improved view from inside the house


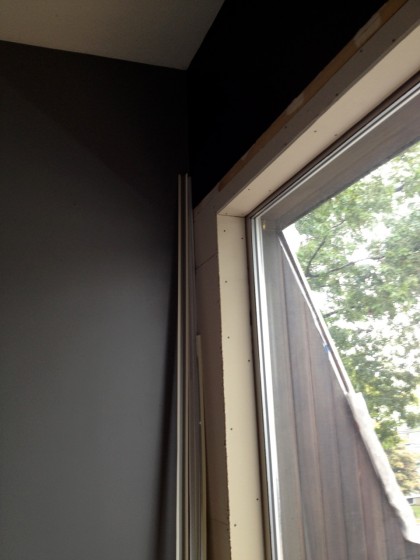
I’ve been picturing a future in which the walls of the living area are lined in dark walnut built-ins that blend (almost) seamlessly into the dark wing walls…

someday the inside wall will blend with the outside wall


I can see it. Can you?

Now… who would like to join me for a toast on the deck?

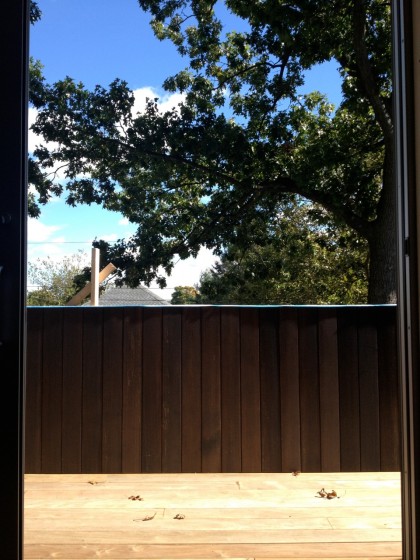
view through the slider

cantilever is so happening!

Tuesday, September 18th, 2012

This is it. The rotting deck is rebuilt, the house has been prepped and waiting for the steel for the last month, and now comes the big climax. That cantilever we started talking about in May is on, baby!

Before David explains, let me remind you of this…

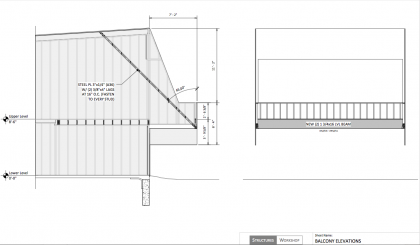
engineering drawing | deck, 04/02/12


That’s the drawing our engineer provided (click to biggify it) as a way for us to remove the posts and cantilever the deck. To recap a previous post:

  • Two steel brackets (or cups) will tie all the wood together at the outside corners of the deck.
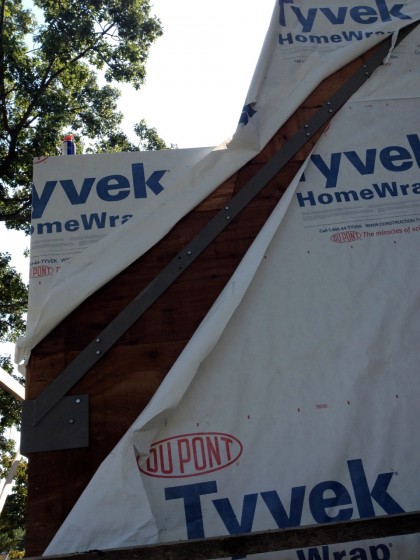
  • Two long steel straps bolted to each framing member they cross will support the outside corners by spreading the load across the sides of the house.


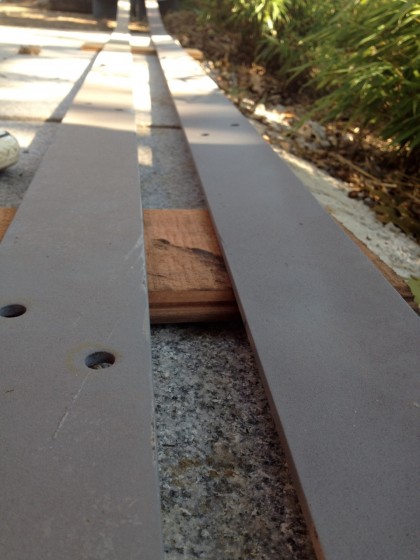
So, can I introduce you to the steel?

Steel, reader.

Reader, steel…

closeup of the steel


Now that the niceties are out of the way, take it, David!

—————————————————————————————-

Rhode Island Welding custom-made the steel our engineer specified for us (complete with pre-drilled holes as you can see above), and last week Joe and I installed it.

First, we drew exactly where the steel brackets (or cups) would fit into the existing deck structure…

drawing notes where future steel will anchor deck


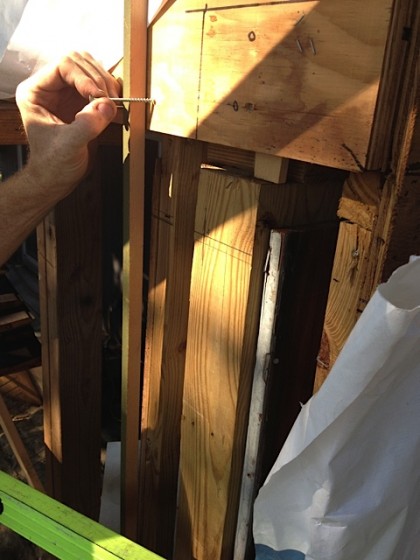
Then we put up a story pole — the 1”x1” stick that Joe’s about to put a screw next to — that would serve as our marker for the proper height of the deck structure once the posts were cut away.

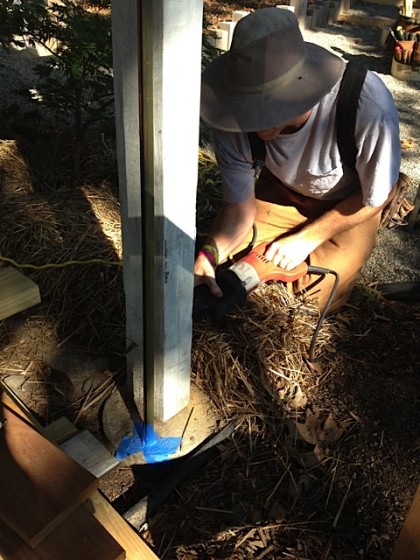
Here’s Joe cutting the 4” x 6” post so that we could jack the deck up slightly — we want the deck to settle back down to its original height after we set it on the steel. The bottom of the story pole is taped to the concrete footing with blue tape…

cutting the first post


After that, installation went fairly quickly.

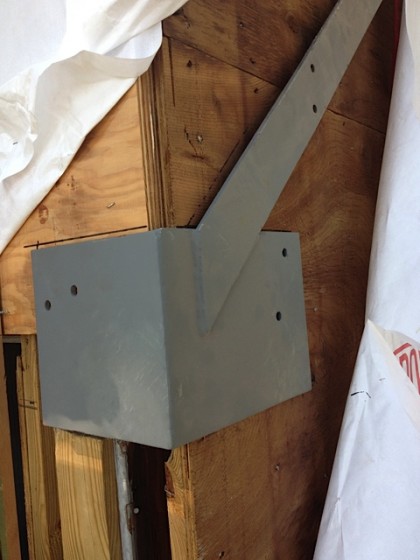
Once in, the steel cup catches the bottom of the deck and the strap transmits the load up and spreads it across the house framing…

steel corner in place


32 galvanized bolts, each ⅜” diameter by 4” long, hold it all together across each framing member as planned…

installed! job well done, boys!


This week, Joe and I will take out the remnants of the posts and the deck will be fully cantilevered as originally intended!

getting ready for steel

Thursday, August 9th, 2012

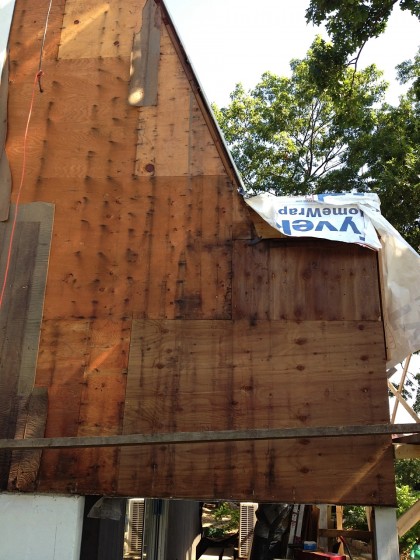
David and Joe have been prepping for the installation of the steel that will cantilever our deck. For the last few days, they’ve been removing the siding on the forward third of the house. David reports: “You can see that the original construction paper didn’t keep out moisture very well. The nails heads all show rust trails…”

getting ready for steel: siding removed


“Above, you can see on the lower right where the deck structure was repaired with pressure treated plywood in the ’80s. However, the object should have been to keep water out, not make a structure that could survive moisture penetration.”

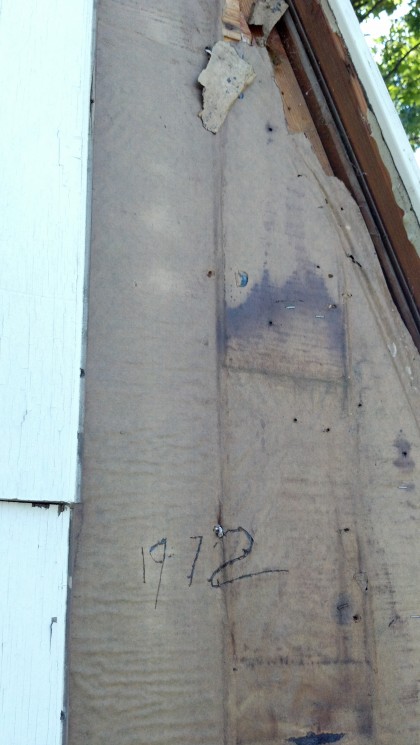
Look what Joe found etched underneath the siding…

getting ready for steel: 1972


Nice.

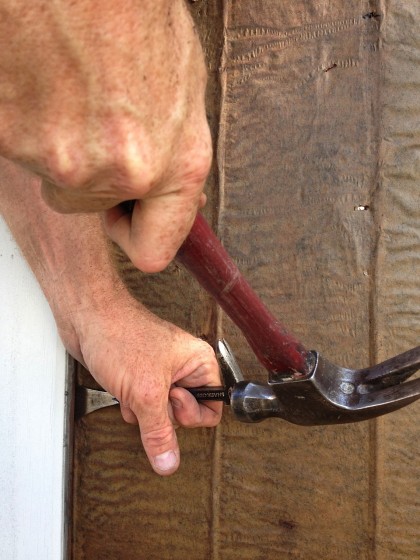
More from David: “Cutting the aluminum nails they used to install the siding in ’72 turned out to be easer than punching them in. I have a lot of respect for the carpenters that used these soft nails!”

getting ready for steel: siding nail removal


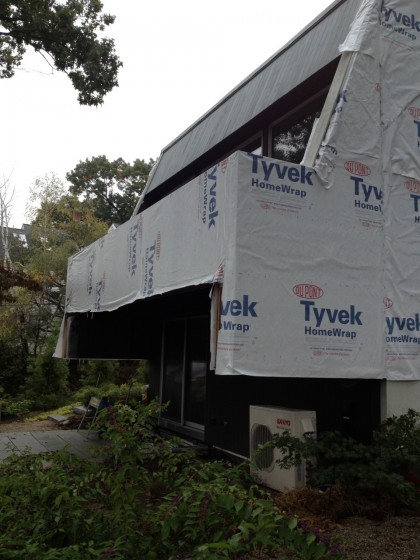
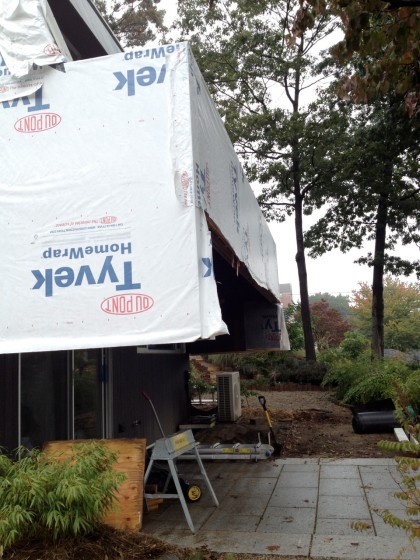
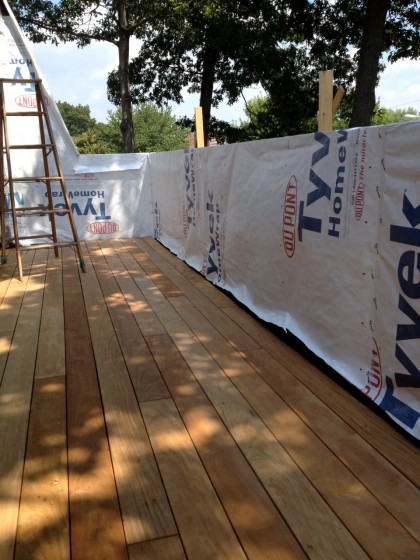
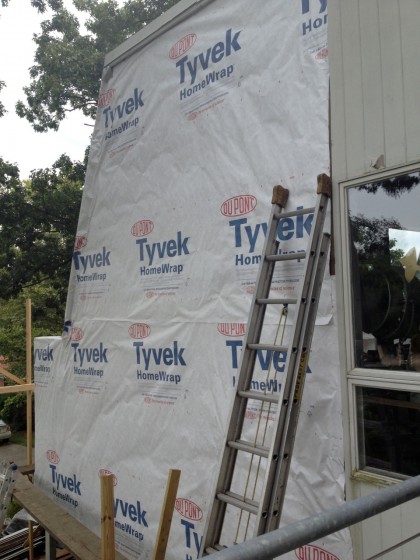
Once the boards were off, the boys added house wrap to keep water out temporarily — eventually all the walls will receive 3″ of foam insulation like the deck-end of the house did…

getting ready for steel: house wrap


With that done, attention turned to the inner walls of the deck…

getting ready for steel: deck walls await


Now that the new LVL beams are in, the deck is rebuilt and the wall height  raised to code, the siding that goes on the inner walls can go up. David and Joe began staining it dark to match the siding below the deck…

getting ready for steel: staining the siding


Looks to me like they’ll be busy…

getting ready for steel: siding in waiting


The saga continues… but not today. Today the boys are taking a break.

redecking almost done did

Thursday, July 12th, 2012

Happy to report that the deck is ALMOST DONE! My handsome contractor shares the redecking details of the last few days…

——————————————————————————————-

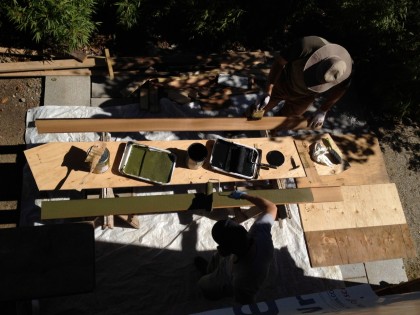
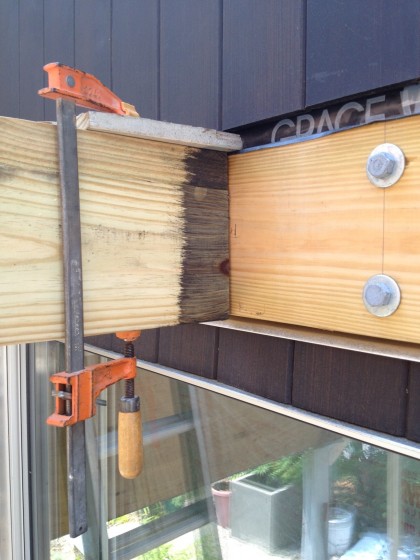
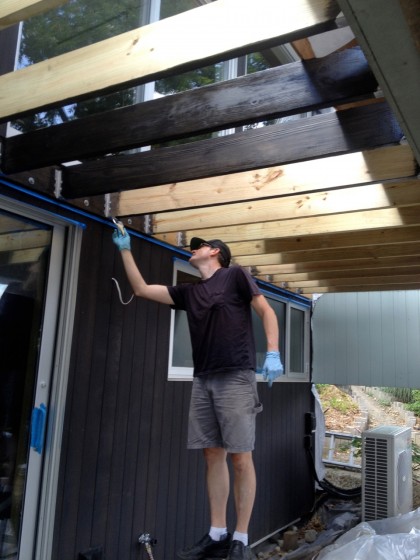
Once the joists were in, I stained them to match the siding

david staining the joists


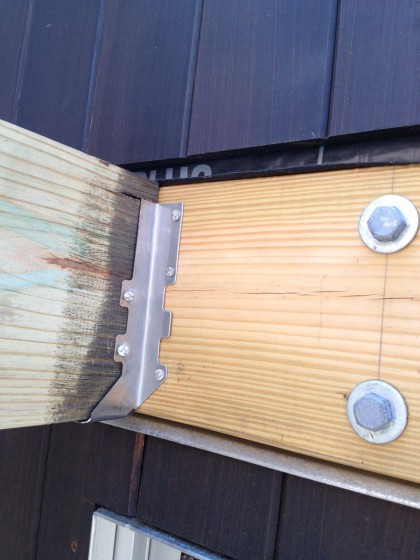
I brushed the same Sikkens we used before on all the exposed, pressure-treated wood. The stainless joist hangers and the lag bolts in the ledger board really pop against the stain, matching the aluminum flashing around the doors and windows…

joist hangers and lagbolts match the flashing


Guess we can remove that paint tape pretty soon, eh?

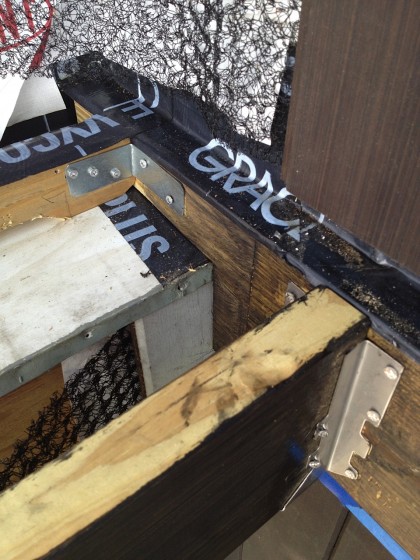
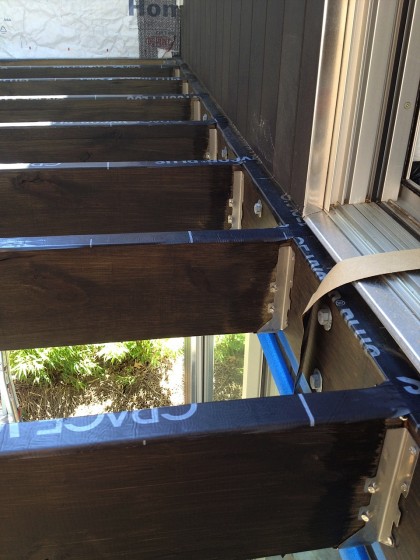
Joe, the  Water Barrier Police, made the magic happen with ice and water tape, aluminum flashing and house wrap to keep water out for years to come…

redecking2


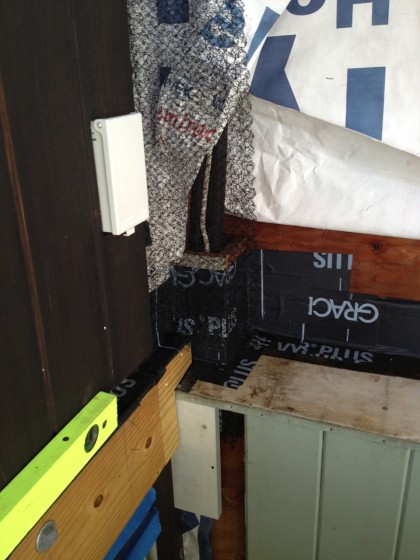
More of the same at the other end of the deck with the added complication of installation around the heating/cooling lines…

more waterproofing around the complicated bits


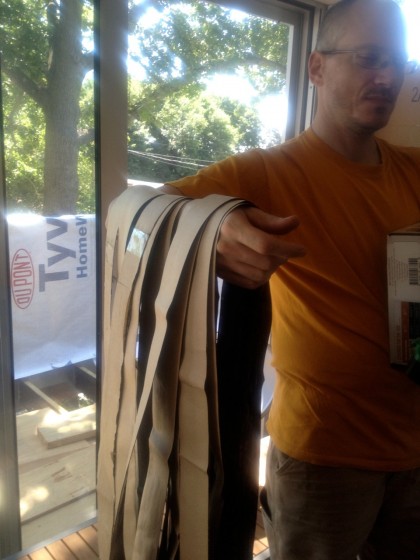
Water sitting on top of the joists, or trapped between the back of the deck boards and the top of the joists can slowly rot the wood. Although we’re using hidden fasteners, they can still provide an avenue for water to enter the joists and rot them. Don’t want that, so Joe cut a bunch of snow and ice tape strips for the top of each joist…

waterproof tape strips


That should keep water off the top of the joists and seal around any fasteners to keep water out…

waterproof tape strips on top of joists


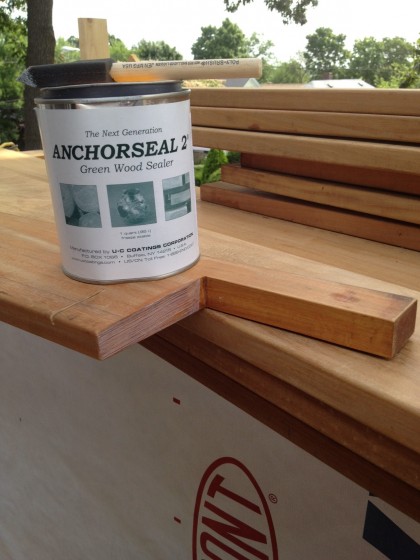
For the deck boards, we chose a wood called Garapa Gold, which is 30% heavier than mahogany and twice as hard. Sort of a poor man’s ipé or teak. It weathers to a nice silvery grey with no maintenance needed — my kind of deck. That means we’ll leave it untreated except for sealing all cuts against moisture penetration…

anchorseal sealer for the freshly cut ends of the deck boards


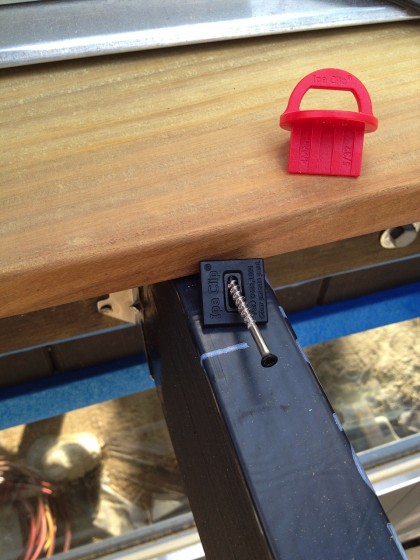
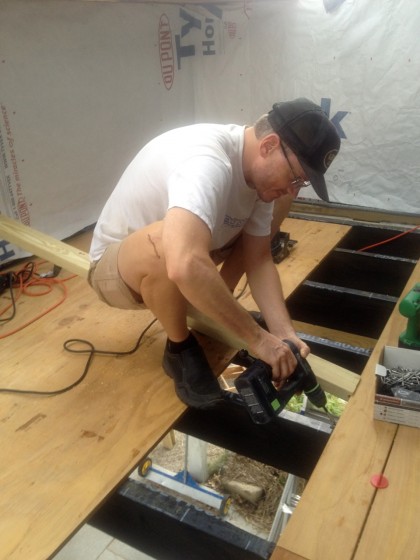
After all that moisture-blocking prep, the deck board installation could finally begin. I mentioned hidden deck fasteners earlier — Ipe Clip makes them. That black clip slips in a slot you cut into the edge of the deck board with a biscuit joiner (sorry I didn’t capture an image for you)…

ipe clip closeup


Then the screw (head conveniently painted black for us already) goes through the little metal insert in the clip at a 45 deg. angle like so…

installing the boards


That round red thing is a spacer that keeps the boards evenly apart as we go. The next board gets slots cut in the edge and slips onto the first row of clips, then stuff happens to the new edge, same clips and stuff junk and whatnot. If you’re interested in the installation details, the whole process is here:


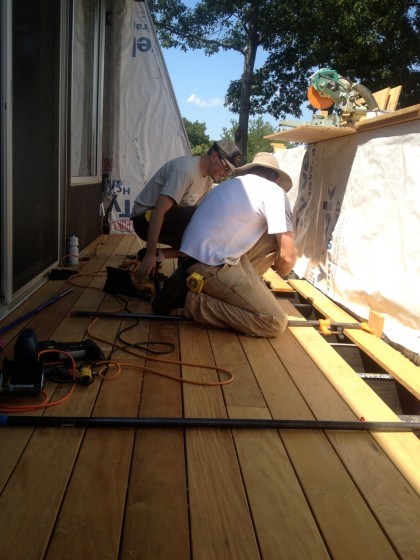
Needless to say, we powered through the deck board installation today in spite of the sweaty 90-degree heat…

david and joe nearing the end


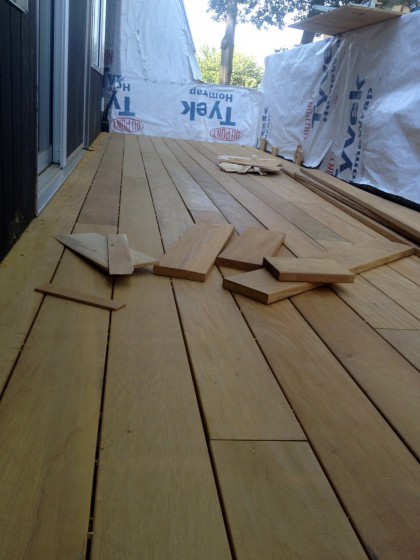
A few bits left to make it DONE done but it looks pretty fantastic, right?

almost done done


And 100% more usable than it has been for the last six months!

redecking: joist and merriment

Monday, July 2nd, 2012

On Friday, shenanigans and the deck rebuild continued. The man with the plan fills us in on what he and Joe are up to out there…

——————————————————————————————-

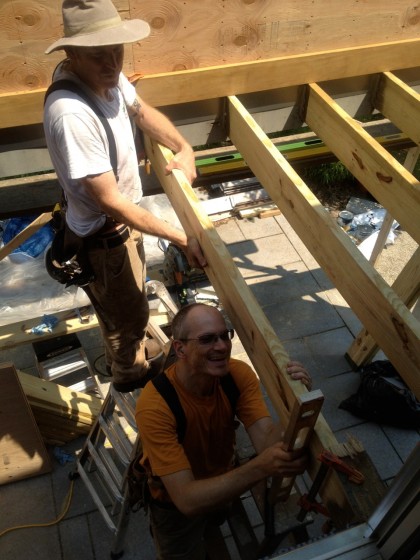
redecking: squaring and leveling joists


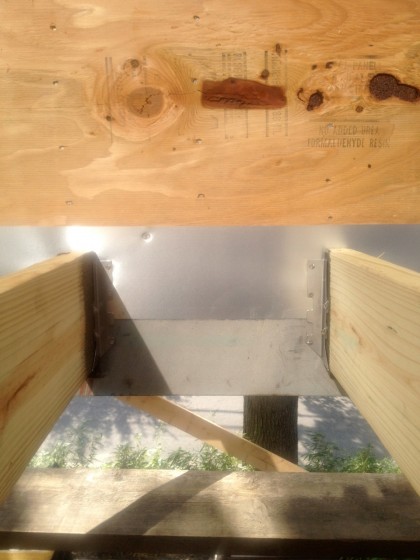
Next up on the deck is the installation of the 2″ x 8″ joists. Joe and I angled them 1/4″ away from the house to ensure that water will drain away rather than sit on the deck boards.

A scrap of wood clamped to the top holds one in place so a joist hanger can be nailed…

redecking: joists getting nailed


The joist hangers are made of 316 stainless steel, as are the nails. Designed for use near salt water, they’ll never rust. We’ll stain the joists to match the stain on the siding and to cover their pressure-treated green. You can see we already stained the ends so that we don’t have to cut in around the hangers…

redecking: steel joist hangers


We installed aluminum flashing to cover the joint between the new plywood and the old cedar…

redecking: metal strip


Flashing tape will be added at the top to ensure that water stays out of the joint.

With the joists all up we can do a little weather proofing and then start applying the decking. The deck material we’ll be using is Garapa Gold, installing it with a system of clips which will leave no visible fasteners and no pathway for water to enter and rot the decking or framing. Cool stuff.

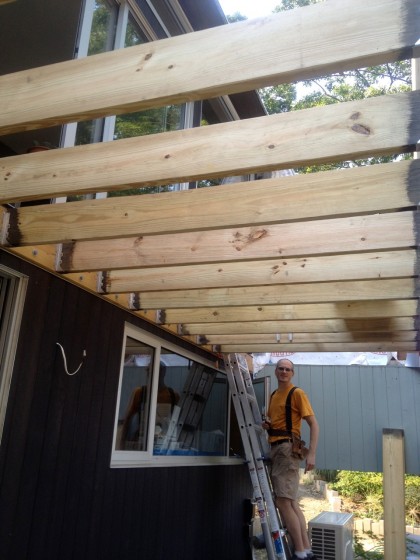
Well, that was a full day’s work. Joists all in! And it’s beginning to look like a deck again…

redecking: joists all done


redecking revisited

Thursday, June 28th, 2012

I mentioned the other day that it’s time to get back to the deck. Holding true to our ADHD remodel strategy, David and Joe are at it again. David will tell us what’s going on out there.

————————————————————————————————————————————

We finally got going on the deck again. It took a while to get the building permit and then everybody’s schedules had to align. Also, the planets.

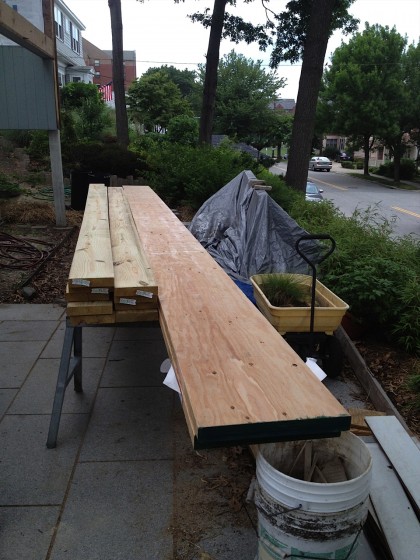
On Monday we took delivery of the pressure-treated 2’ x 8” deck joists and two 16” x 1-¾” LVL beams that will make up the load-bearing portion of the new deck…

redecking1


Then we raised up the two LVLs close to where we needed them…

redecking2


We cut them to length, set them in place, made sure they were level and then screwed them together with #14 x 2-⅜” beamers in rows of three every 16”. That’s a mouthful to say and took a while, but it’s a big, strong beam now…

redecking3


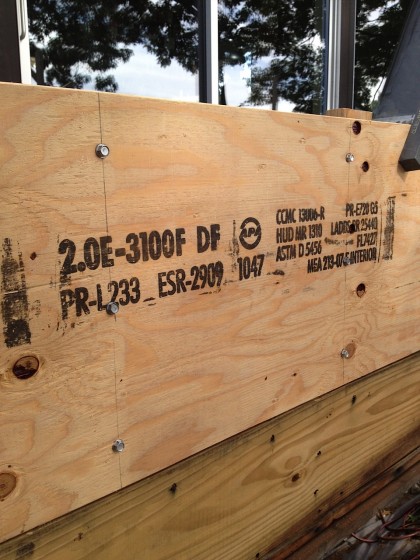
“2.0 E – 3100F DF” means something about how much it will deflect (sag). In other words, strong stuff!

redecking4


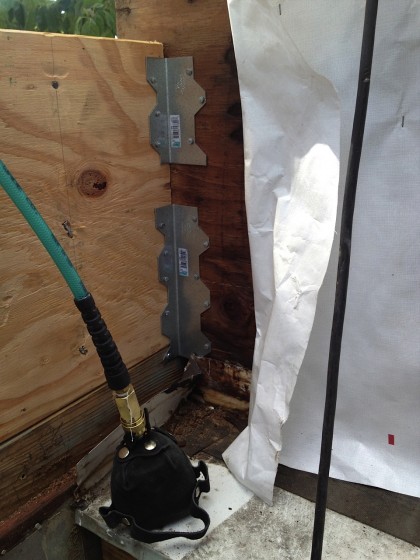
We nailed the inside of the beam with 12d galvanized nails in rows of three offset 8” from the beamers on the other side. Then we set the beam in place and attached it to the existing end walls with these brackets and galvanized joist hanger nails…

redecking5


This wasn’t part of the engineering design but it only took a couple of minutes and didn’t cost much. You can’t build things too stiff! At least in small residential projects.

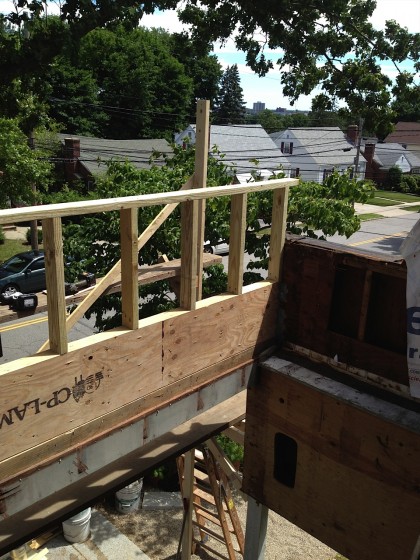
Then we built a wall on top of the beam out of pressure-treated 2” x 4”s…

redecking6


The new assembly sits on top of the old 2” x 12” beam which is still supported by the three posts. We left all that in place, making the job much simpler. Once the entire deck is done, we’ll jack it up a pinch, install the steel and then remove the posts. [Here’s the engineer’s plan for making it possible to cantilever the deck as the architect originally intended.]

A layer of ¾” CDX plywood, nailed every 6” with 8d galvanized ring-shank nails, ties all the different components together into one monolithic entity…

redecking7


Plenty more to do out there. Expect another report soon!

something concrete

Monday, May 7th, 2012

You may have missed it but I mentioned a week or so back that we had just returned from renewing our 10th anniversary wedding vows in Palm Springs…

renewing the vows


… with besties Lupe and Matt, who were with us on the very same spot a decade ago. Both times at dawn, no less. Very good sports, I must say.

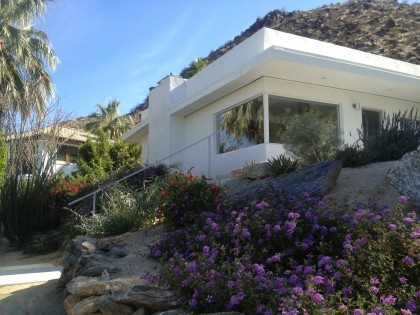
But this post isn’t really about that. It’s about my appreciation for the use of concrete at the recently restored midcentury modern rental home we stayed in…

the MCM house in palm springs


I know that sounds strange but bear with me and see if you don’t agree.

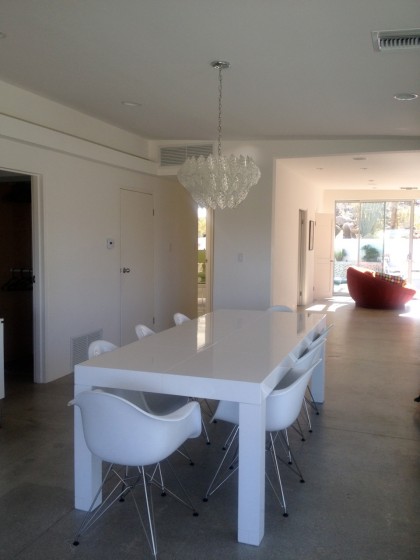
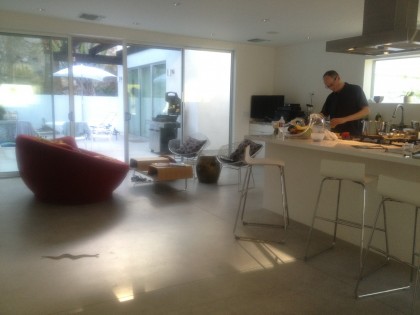
First of all, it looked as though tile had been removed from the floors to reveal the concrete underneath…

concrete floor view


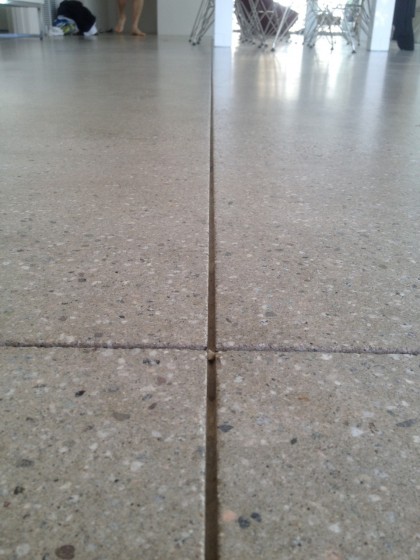
The owners scored it and polished it. Nice detail…

scored concrete floor


Kinda looks like terrazzo! So jealous. FYI, polished concrete is really difficult for a rattlesnake to move across… not that that will stop it from trying.

concrete floor with rattlesnake


No worries. It ended well.

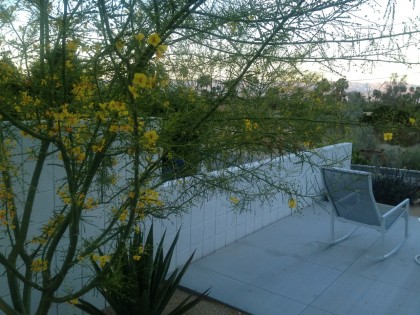
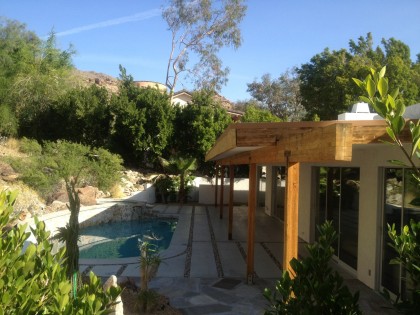
There was plenty of concrete outside the house, too. Around the pool…

concrete with stone around the pool area


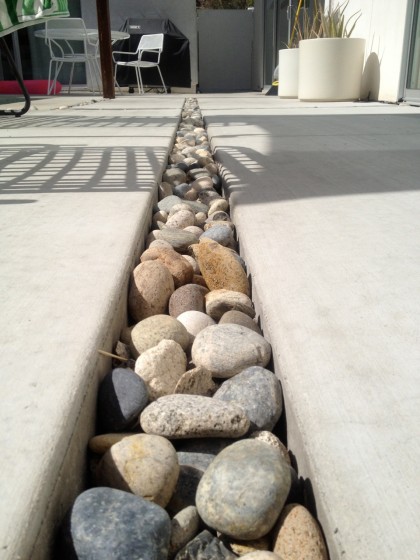
I love this look…

concrete with stone closeup


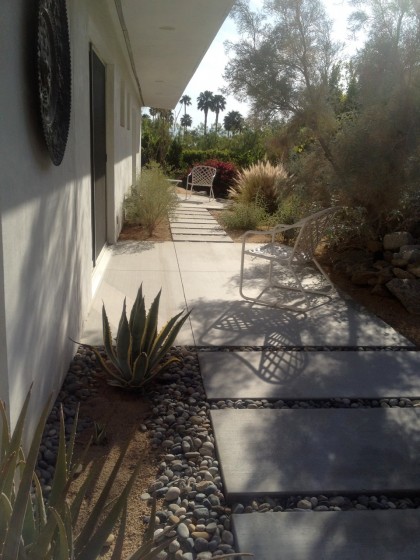
Around the sides of the house…

concrete with stone along the side of the house


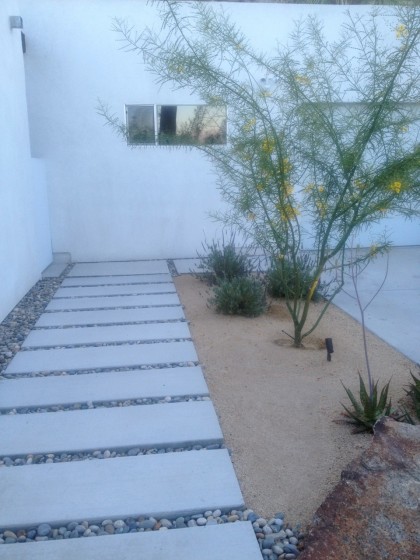
Along the driveway…

concrete walk alongside the driveway


There was a cozy little concrete patio out front, too…

concrete patio


A peek over the wall (sorry, I couldn’t resist) at the house next door tells me it was likely remodeled by the very same owners. Similar patio design…

more concrete and stone next door


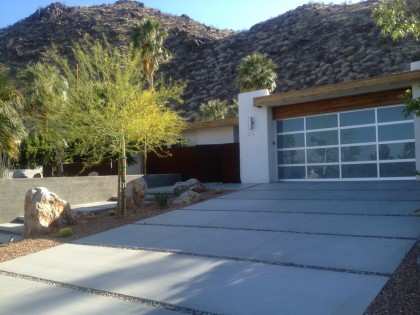
Yet another nice pool. The front driveway, which is on a slope not too dissimilar from ours in Providence, is concrete and gravel, something we’ve thought might not be possible…

driveway on a slope


We keep thinking the gravel may want to travel out from between the pads but it doesn’t seem to be doing so here. Hmmmm.

This house had an awesome scored sidewalk to boot…

driveway with complimentary sidewalk


Hard to tell from my early evening shot but that’s a gorgeous Corten wall in front of the house (click to biggify it and you’ll see it better).

Be still my beating heart.

mystery solved

Saturday, May 5th, 2012

Back to the deck. The other day, it was taken apart. And the findings? Tell us all about it, David…

——————————————————————————————

So. Exploratory surgery has exposed the truth about the deck…

the deck wall has been removed


Some is ugly… well, all of it is ugly. But we kind of knew that going in.

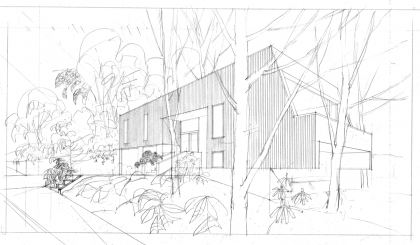
Insects had their way with the original deck and it’s apparent that in the early ’80s the deck was rebuilt. Unfortunately not by craftspeople, or in fact by carpenters. In any event, we will now repair what’s there as well as build it to the original ’70s design, as intended by architect Irving Haynes (click to biggify)…

architectural rendering of our house, circa ’70 | Haynes and Associates


Cantilevered. Which means we’ll be taking out the three spindly support posts currently there.

Our engineer provided us with drawings of an ideal situation (click to biggify)…

engineering drawing | deck, 04/02/12


The plan:

  • A pair of LVL beams (same as we used to support the living room floor/downstairs ceiling) will carry the deck load across the front of the house.
  • Two steel corners will tie all the wood together at the outside corners.
  • Two long steel straps bolted to each framing member they cross will support the outside corners by spreading the load across the sides of the house.
  • And with slight modification of the steel corner, we will proceed. After the building department gives us a permit, that is.


Once the framing is all sorted we’ll add some nice new decking, an affordable teak alternative called Garapa Gold. But that’s a story for another day.

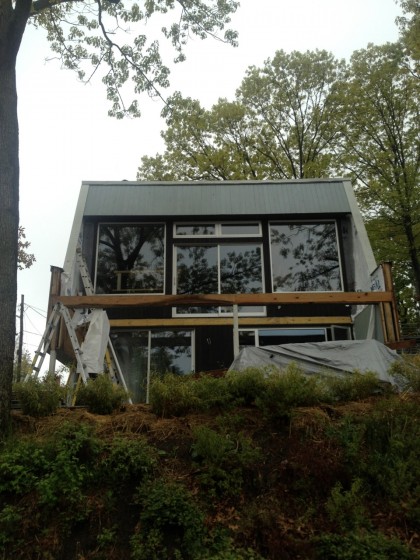
In the meantime, everyone can see us from the street…

please don’t go out on the deck