Happy to report that the deck is ALMOST DONE! My handsome contractor shares the redecking details of the last few days…
——————————————————————————————-
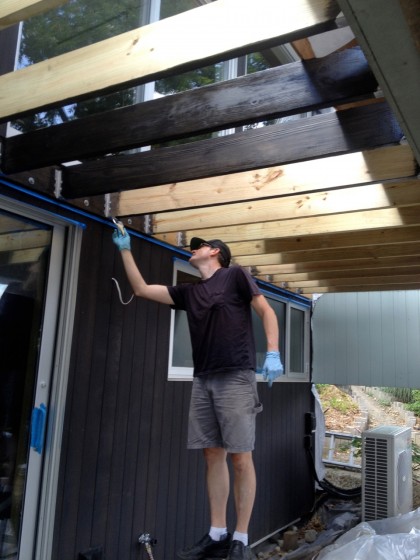
Once the joists were in, I stained them to match the siding…
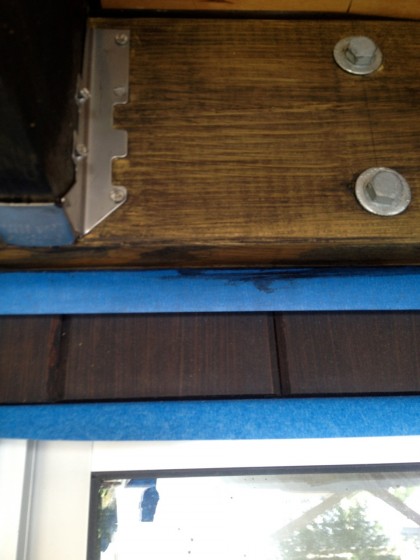
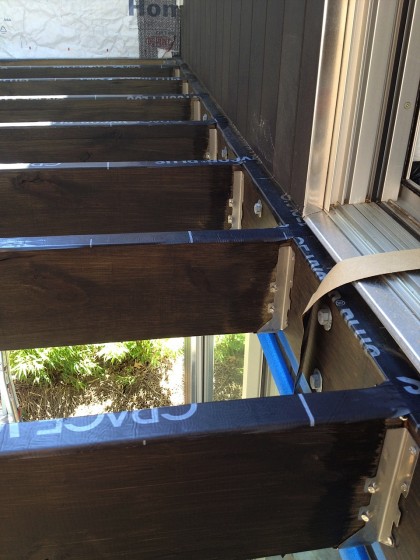
I brushed the same Sikkens we used before on all the exposed, pressure-treated wood. The stainless joist hangers and the lag bolts in the ledger board really pop against the stain, matching the aluminum flashing around the doors and windows…
Guess we can remove that paint tape pretty soon, eh?
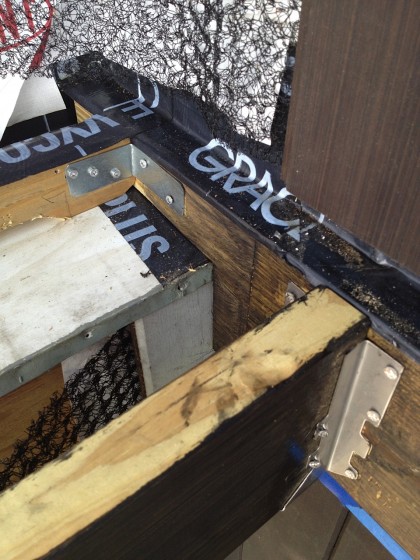
Joe, the Water Barrier Police, made the magic happen with ice and water tape, aluminum flashing and house wrap to keep water out for years to come…
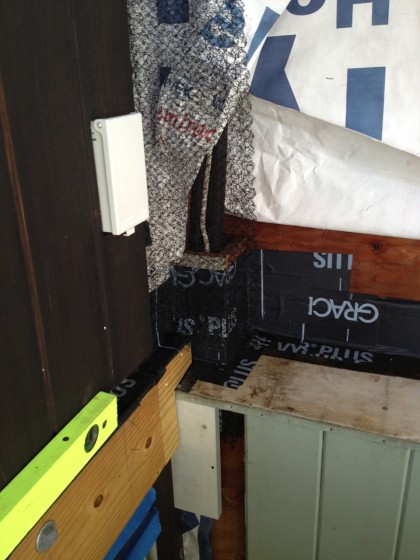
More of the same at the other end of the deck with the added complication of installation around the heating/cooling lines…
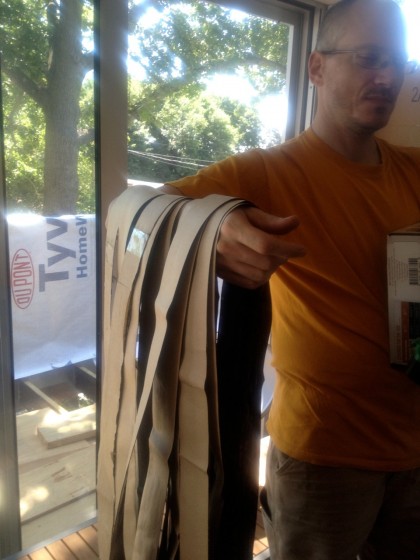
Water sitting on top of the joists, or trapped between the back of the deck boards and the top of the joists can slowly rot the wood. Although we’re using hidden fasteners, they can still provide an avenue for water to enter the joists and rot them. Don’t want that, so Joe cut a bunch of snow and ice tape strips for the top of each joist…
That should keep water off the top of the joists and seal around any fasteners to keep water out…
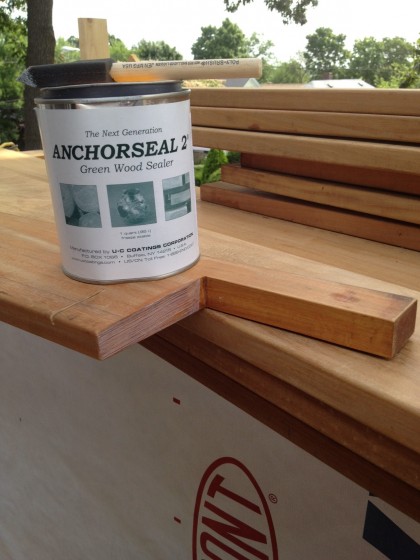
For the deck boards, we chose a wood called Garapa Gold, which is 30% heavier than mahogany and twice as hard. Sort of a poor man’s ipé or teak. It weathers to a nice silvery grey with no maintenance needed — my kind of deck. That means we’ll leave it untreated except for sealing all cuts against moisture penetration…
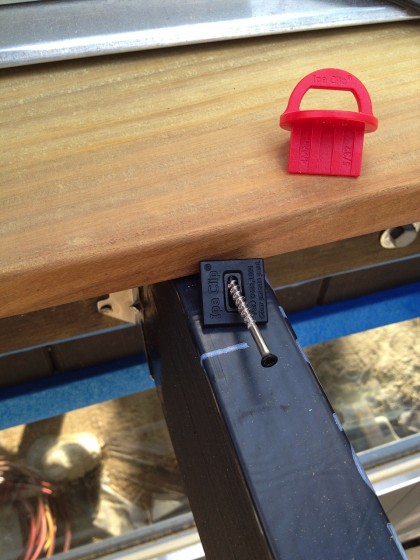
After all that moisture-blocking prep, the deck board installation could finally begin. I mentioned hidden deck fasteners earlier — Ipe Clip makes them. That black clip slips in a slot you cut into the edge of the deck board with a biscuit joiner (sorry I didn’t capture an image for you)…
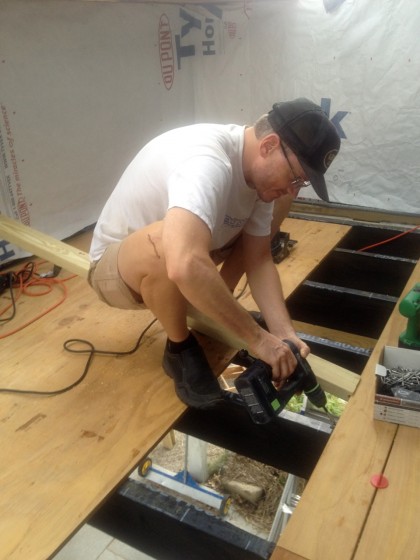
Then the screw (head conveniently painted black for us already) goes through the little metal insert in the clip at a 45 deg. angle like so…
That round red thing is a spacer that keeps the boards evenly apart as we go. The next board gets slots cut in the edge and slips onto the first row of clips, then stuff happens to the new edge, same clips and stuff junk and whatnot. If you’re interested in the installation details, the whole process is here:
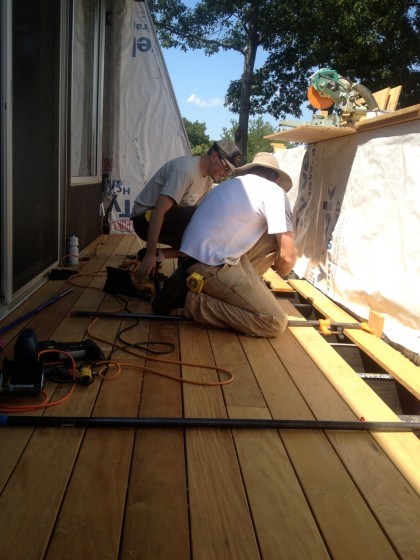
Needless to say, we powered through the deck board installation today in spite of the sweaty 90-degree heat…
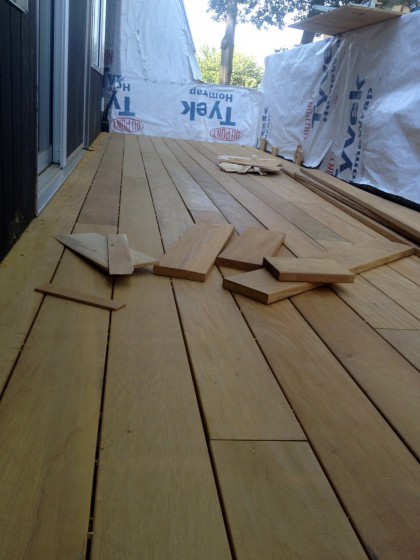
A few bits left to make it DONE done but it looks pretty fantastic, right?
Tags: construction, deck, wood
[…] that the new LVL beams are in, the deck is rebuilt and the wall height raised to code, the siding that goes on the inner walls can go up. David and […]
[…] is it. The rotting deck is rebuilt, the house has been prepped and waiting for the steel for the last month, and now comes the big […]