Posts Tagged ‘gadget’

fun with gadgets

Monday, February 20th, 2012

Welcome back to GadgetTime with David! In today’s installment, he shows us how to avoid what could be a big project.

——————————————————————–

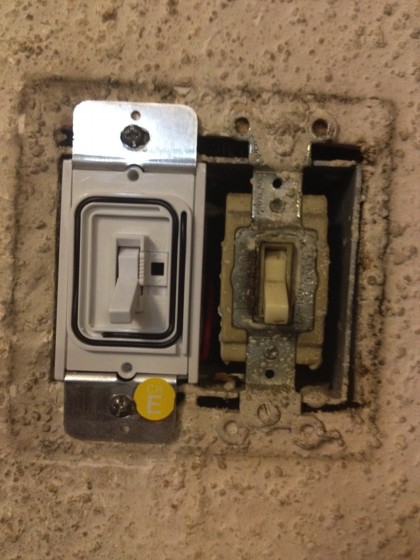
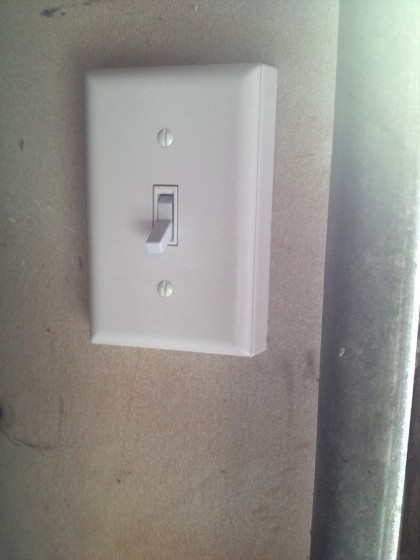
This looks like a regular light switch…

light switch


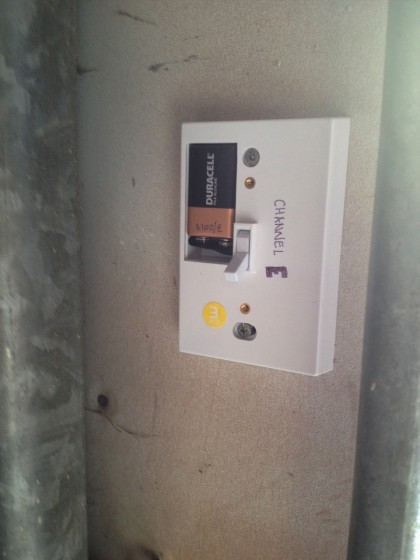
But underneath it hides a secret: It’s actually a wireless switch that can be added anywhere you want to control a light but don’t want to go to the trouble or expense of running wires in the walls. Take a peek under the faceplate…

light switch with a secret


Just replace an existing switch with this special receiver  switch and Bob’s your uncle…

lightswitch3


In my case, I wanted to be able to switch the garage lights on and off when coming and going via the roll-up doors, but the only switch was across the garage by the door into the house. After installation, the two switches are now about 18′ apart with lots of metal stuff between them. I had to unwrap that black wire that loops around the toggle above (it’s an antenna) in order for them to communicate better. That little switch to the right of the toggle turns the receiver on and off, if for some reason you don’t want the remote switch to control the light.

The receiver and remote switch are available as a set, and additional remote switches and outlets are available. There are several channels to choose from (my switches both use channel E) — you can use accessories on the same channel and control them all with one switch or choose different channels to control several things independently in the same room.

This one is a Zenith model 6133. It works with fluorescent tube lights but not with compact fluorescents, not sure why. It does buzz a bit (maybe that will go away over time). A pretty cool system that only took 15 minutes to install vs. an hour or two of cutting drying, running wires inside the wall and then patching the drywall. You know I love that.
 

is there a hi-fi way?

Wednesday, February 15th, 2012

… as opposed to my remedial colored-pencil approach to trying different colors on the exterior of our house? Of course there are other ways. There are a number of software choices out there, but not all of them are good and they’re not all designed for the basic homeowner.

The one that seemed to have the best reviews was Benjamin Moore’s Personal Color Viewer (PCV3), available for Mac or PC….


At $10, it seemed like something worth trying, so I did. It’s Adobe-based software so it’s not particularly stupid-proof if you’re new to Adobe. Out of curiosity, I tried it out a couple of different ways.

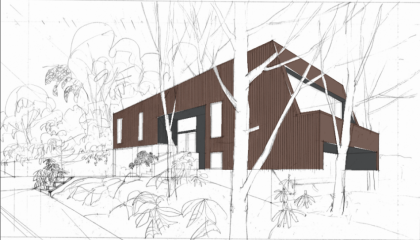
First, I uploaded an architectural rendering and played with that…

Benjamin Moore Personal Color Viewer: using an architectural rendering


Hard to tell what’s going on by looking at a rendering, it turns out.

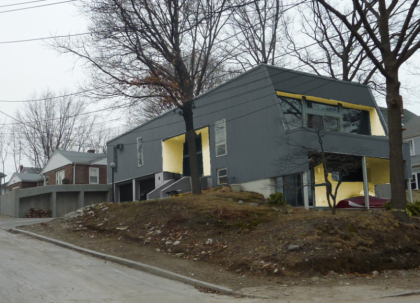
So then I uploaded a photo and played with that, too. Here’s one somewhat sloppy example…

Benjamin Moore Personal Color Viewer: using a photo


The software comes loaded with BM’s color palettes, but it’s laborious to experiment with colors — I tried to find the right gold-green but it literally takes FOREVER to change what you’ve done. The navigation is horrendous. I say this as someone who’s in the business of helping to make things online more user friendly.

I do like being able to see what colors on the exterior look like in the context of the houses around ours. But overall, I think my results were hardly worth the time I had to spend trying to compare different shades on the areas I masked out.

Bottom line on the Personal Color Viewer: If you have hours and hours to waste, go for it.

If you’re in a hurry, whip out the colored pencils.

fisheye! fisheye!

Wednesday, January 25th, 2012

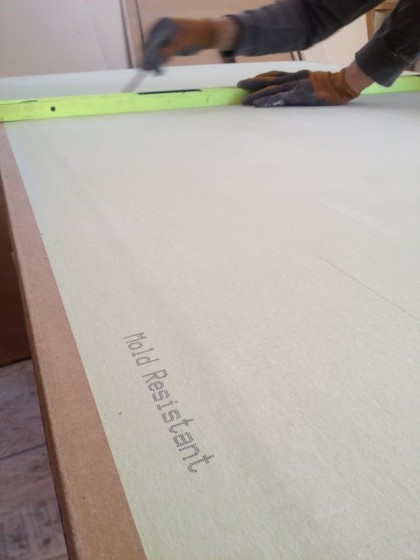
The sheetrock saga continues but it’s closing in on the end. Today the QuietRock got sliced and diced some more…

trimming the QuietRock


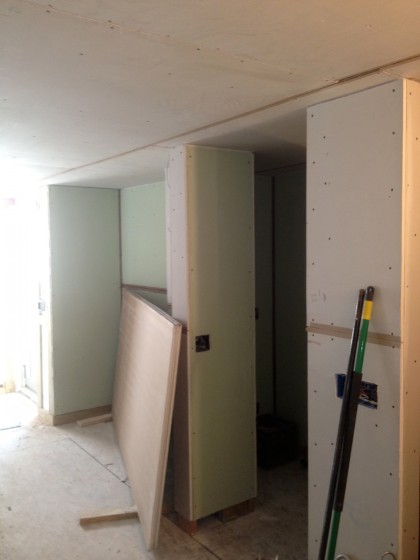
The inset that will house the future desk and built-ins is done now…

desk area sheetrocked


See that pillar wall there with the boards leaning up against it? Can I just quickly remind you that this was the spot where the new concrete and new column went in last spring?

Just behind that, the wet bar is fully clad now. As are all the living area walls. The only bits remaining are in the bathroom and under the stairs.

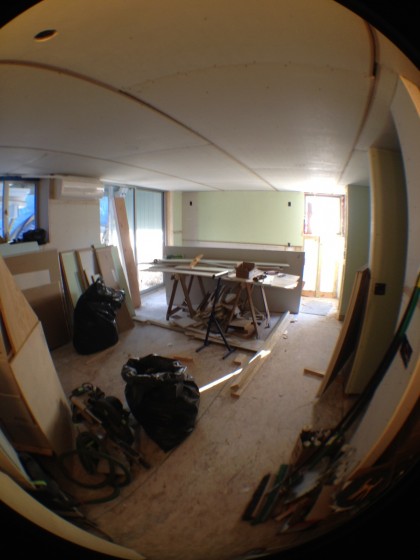
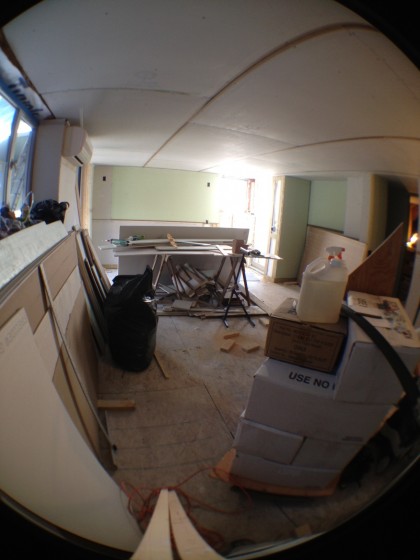
Which leads us to this:  fisheye views of downstairs…

fisheye view 1


fisheye view 2


I got David this awesome olloclip for Christmas — it’s has quick-connect fisheye, wide-angle and macro lenses for iPhone 4 and 4S. So fun!


high-tech garden geekery

Tuesday, November 30th, 2010

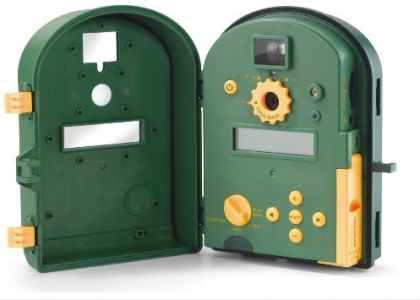
Hey gadget geeks: you should dig this. Just opened our new Wingscapes Digital Timelapse PlantCam.

plantcam box | amazon.com

plantcam box | amazon.com

It’s a  4.0 megapixel digital camera you can install indoors or out to capture the progress of your project, plant growth, etc.

camera setup | amazon.com

camera setup | amazon.com

We’ll be using it to snap shots of the patio install. Luckily, it’s weatherproof and came with a bracket, so we can attach it to one of our trees and forget about it for the next few weeks.

weatherproof exterior | amazon.com

weatherproof exterior | amazon.com

You can program it to snap photos or video at set intervals.

the inside | amazon.com

the inside | amazon.com

Unfortunately the package didn’t arrive until the end of the first day of our project. Damn. Would have made a more impressive time-lapse movie to start from zero.

Oh well. Next time. Only next time will be indoors. Stay tuned for results.