holiday armaments

December 22nd, 2011

Thus far, I am struggling to feel festive this year. Is it the warmer temperatures? Our chaotic household? Perhaps the stress of this year’s gift unpreparedness? Who knows.

In an effort to put myself in the mood, I’m pulling out the images of our vintagey ornaments that I posted last year around this time. Ooh, shiny…

holiday nursery rhyme girl

holiday nursery rhyme boy

holiday rocket racer

holiday italian glass foxy

holiday airplane

holiday italian glass bear and tin wind-up car

holiday row boat guy

holiday italian glass stripy tiger

holiday elf

holiday italian glass dopey cat

holiday rosie the robot

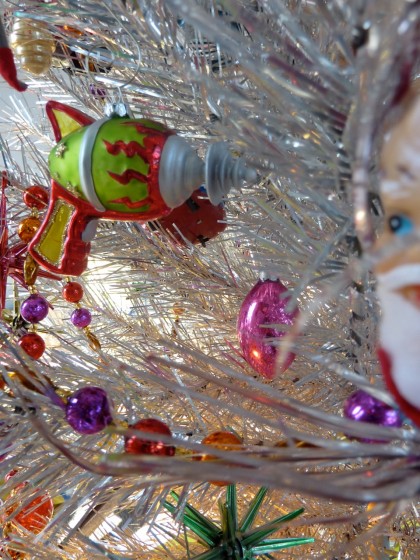
holiday glass ray gun

holiday ice cream boy

holiday italian glass dino

holiday wind-up astronaut moonrover

holiday santa

holiday italian glass flowerhead

holiday black robot

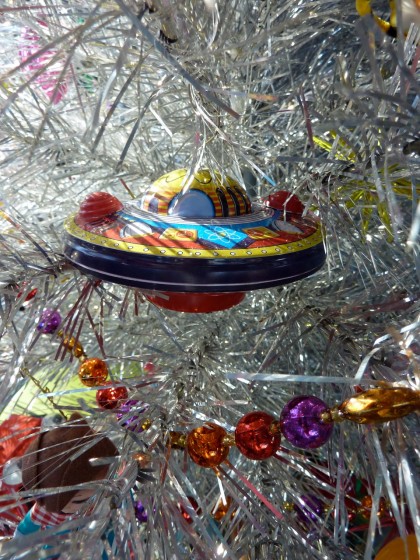
holiday tin flying saucer

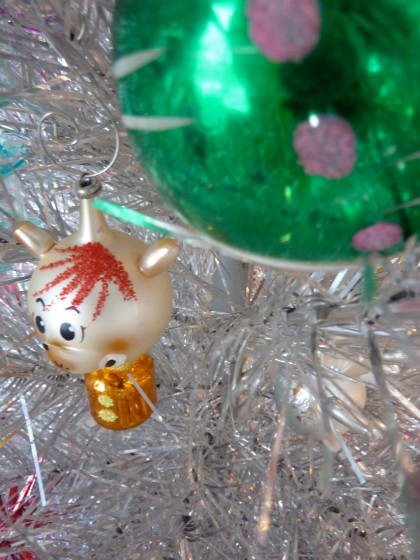
holiday italian glass fox

holiday girlie robot

holiday liddle kiddles santa

holiday italian glass soldier

holiday creepy santa

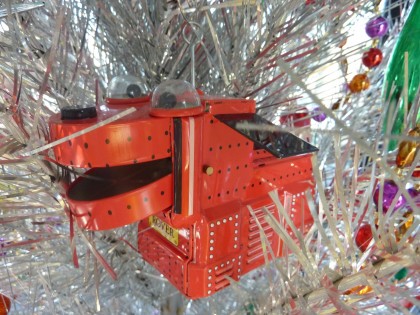
holiday wind-up rover robot dog

holiday wind-up robot space cart

holiday tin tokyo firetruck and italian glass ellie

holiday wind-up handcar

holiday italian glass bowtie elephant

Okay, I’m almost feeling it now. How about you? Maybe just one more?

The Santa tree topper…

holiday italian glass santa tree topper


last gasps

December 14th, 2011

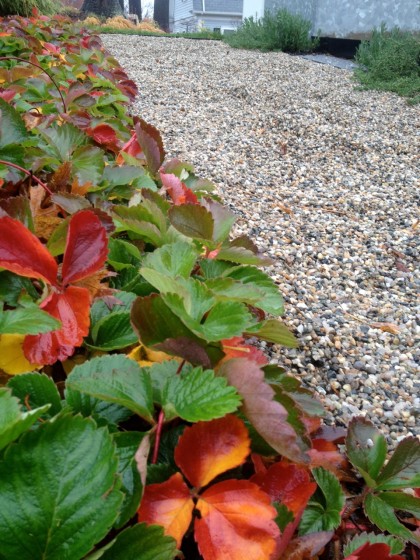
Mid-December in the garden. You can tell we’ve been spared an early winter because the strawberry plants are just now turning color…

lastgasp_strawberries


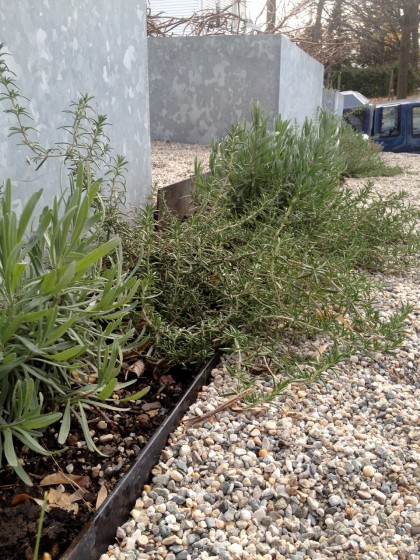
The lavender and rosemary are still happy, but the rosemary’s unlikely to make it through January…

lastgasp_lavendarandrosemary


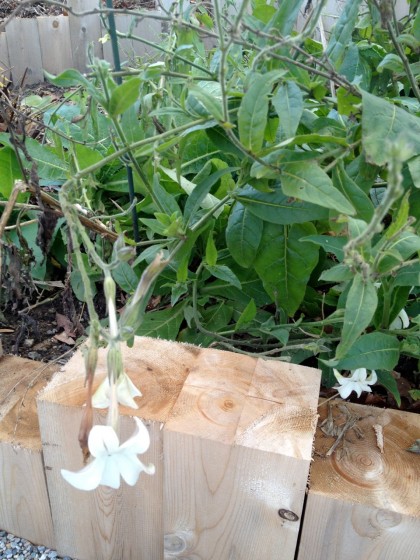
Somehow, the Nicotiana (Flowering Tobacco) is still making flowers…

lastgasp_floweringtobacco


Euphorbia ‘Blackbird’ is psyched about the cooler temperatures, as is Dryopteris erythrosora ‘Brilliance’ (Autumn Fern)…

lastgasp_euphorbiaandferns


All three of the Cynara cardunculus (Cardoons) are growing like mad…

lastgasp_cardoon


The Ratibida columnifera (Mexican Hat or prairie coneflowers) recently bloomed again…

lastgasp_mexhat


And the bottlebrush flowers on the Sanguisorba tenuifolia ‘Alba’ (Great Burnet) are still hanging in there. Believe it or not, I spotted a few local die-hard honeybees on it just last week…

lastgasp_sanguisorba


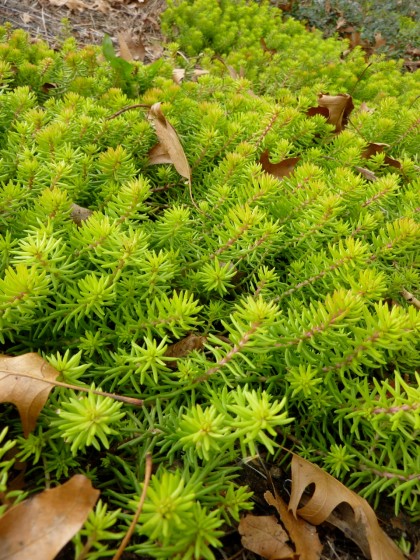
As usual, Sedum rupestre ‘Angelina’ is going gangbusters. Temperature doesn’t seem to affect it much. Although it hasn’t taken on its typical fall coloring yet…

lastgasp_sedumangelina


New growth on the Acanthus molls (Bear’s Breeches) is about 3′ across now…

lastgasp_bearsbreeches


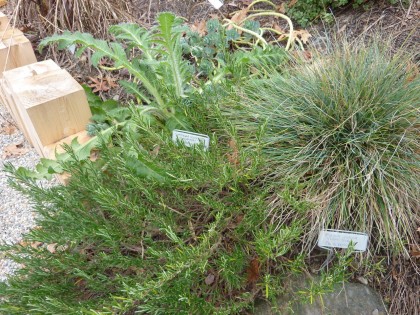
My poppies are suddenly popping up again. And the Conradina verticulata (White Cumberland Rosemary), Festuca glauca ‘Elijah Blue’ (Blue Fescue), Origanum libanoticum (Cascading Ornamental Oregano) and Euphorbia myrsinites (Donkeytail Spurge) are still green (click to biggify)…

lastgasp_poppies


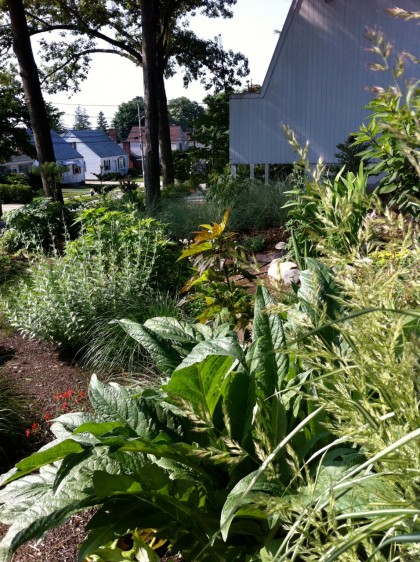
Even though it hails from the Mediterranean, the Marrubium rotundifolium (Silver-Edged Horehound) still looks good — though it’s missing its namesake silver margins. At its fee, the Thymus Pseudolanuginosus (Wooly Thyme) is still thriving…

lastgasp_marrubium


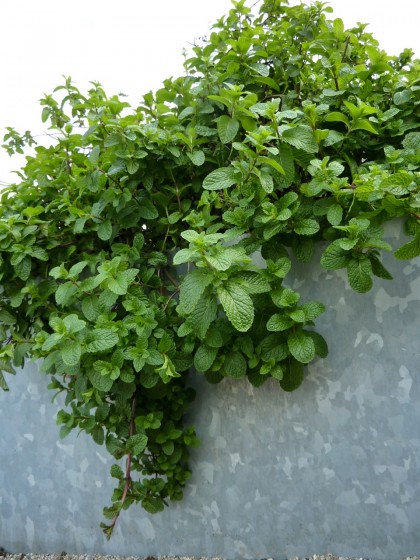
Turns out that if I wanted to, I could make holiday mojitos. The mint is still happy…

lastgasp_mint


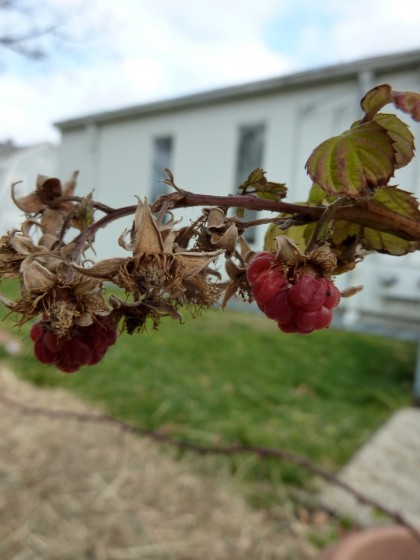
After I shot this, I ate the last two (wimpy-looking) raspberries…

lastgasp_raspberries


Nom nom nom. That’s pretty much it for the season.

chewie likes it, too

December 14th, 2011

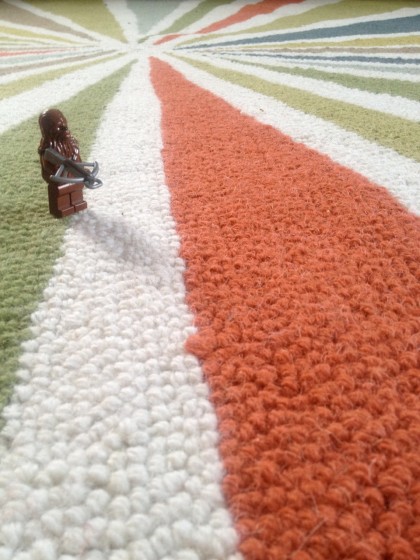
Thrilled with the rug I bought on a whim via West Elm’s deal of the day last week…

chewie and rug


Perfect for Bix’s room and it only took two years to find it! 100% wool. No latex backing to outgas. For almost half price. Sometimes it pays to be spontaneous. It belongs with our crazy color scheme…

bunk beds and magnetic board


It’ll be a while before the cork floor goes down, so I just rolled it over the hideous carpeting. You didn’t think I’d wait, did you?

winter prep

December 12th, 2011

It’s 28 degrees this morning. Brrrrrrr. We’ve been trying to wrap things up outside for the season.

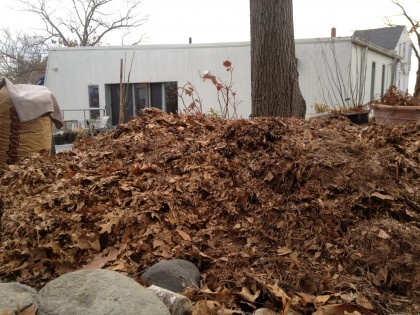
Like last year, that means chopping up our bagged leaves instead of dragging them out to the curb…


shreddingpile


However, unlike last year, we now have an electric chipper…

shredding1


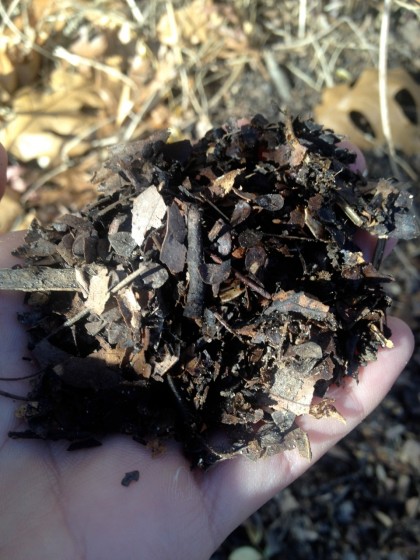
Chops the leaves finer than the reel mower — better yet, it lets us chip all the oak branches that fall throughout the year and add them to the pile. Especially handy after a hurricane, lemme tell ya. We spread out the pile where it will remain under a tarp until late summer, when I’ll start using it around the plants…

shredder2


I have to water less and the worms love it, so it must be working.

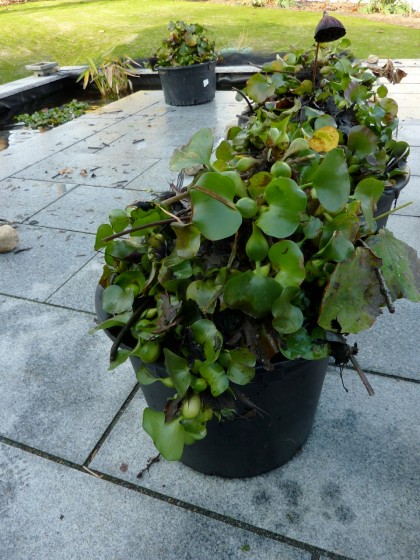
What else? Well, I sunk the pots of hardy lotus and waterlilies, then pulled all the water hyacinth and water lettuce out of the koi pond…

winterprep1


Those will be added to the compost pile. No need to waste them.

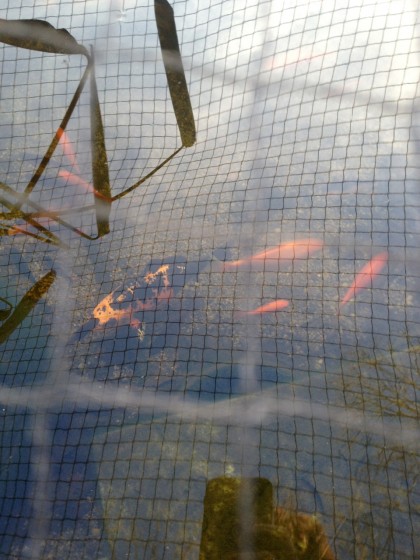
Now that the water temp is in the low 30s, we’re not supposed to feed the fish. Sorry, guys…

coldfishies


(Leaf net still up to keep debris out.) They get high-protein food in the warm season, but when the temperature drops below 50 they get low-protein food because their metabolism slows down. Guess that’s why they move more slowly, too. We’re not supposed to feed them again until the spring when the temperature goes back up again.

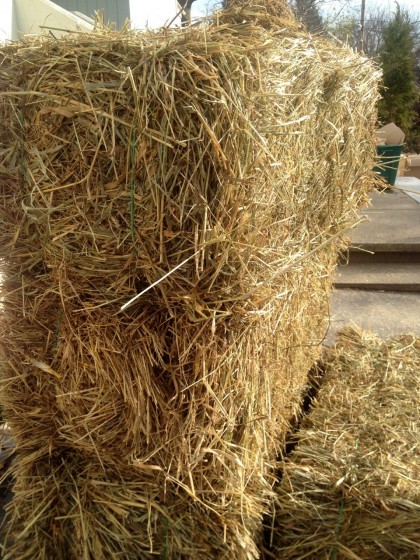
Have also been making hay — when the sun shines, of course…

hay1


Okay, we didn’t make it — and it’s not hay, it’s straw (no seeds). Picked up from Allie’s in North Kingstown. Which means we can now put the plants to bed. Like the hardy banana (Musa basjoo)…

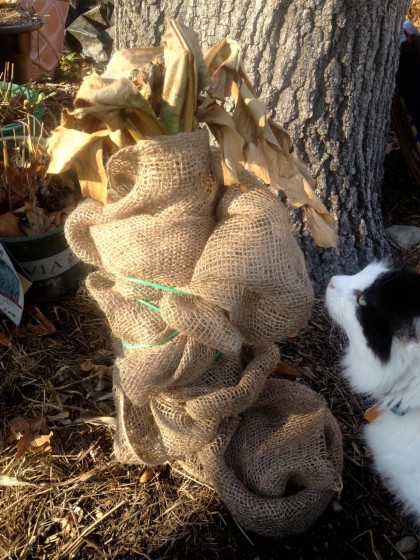
banana1


Dare I leave it outside in New England all winter? Well, yes. Should be fine with some preparation. I wrapped it in burlap…

banana2


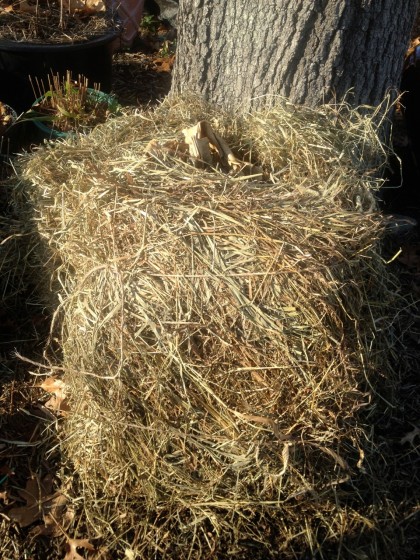
Then I padded it thickly with straw and tied it up tight…

banana3


I will wrap the whole thing up like a burrito to keep it dry for the winter as soon as my white tarp arrives. (White won’t heat up when the sun hits it, unlike green or black.)

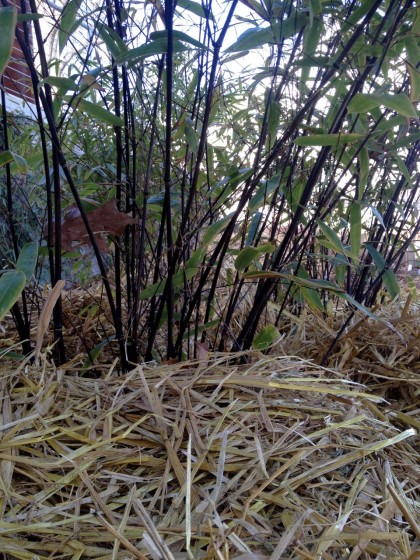
I gave the bamboo a thick blanket of straw. The three Phyllostachys nigra (black bamboo)…

bamboo_phyllostachysnigrahale


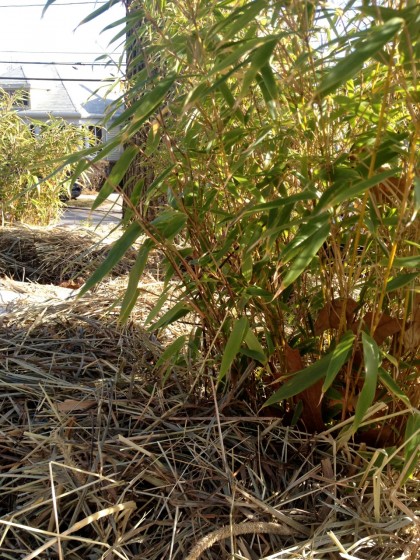
And all fifteen of my Fargesia rufa…

bamboo_fargesiarufa


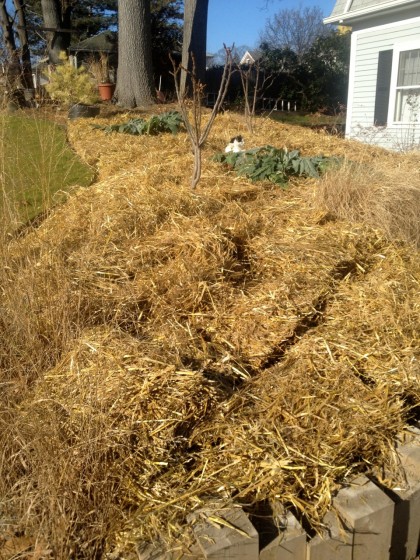
There are only a few spots around the yard that are still pretty barren looking. I covered this bed with straw to keep the bare soil from sliding downhill next spring when the rains hit…

hayhayhaystraw


Hopefully this will be grown in by this time next year and will not require prophylactic measures.

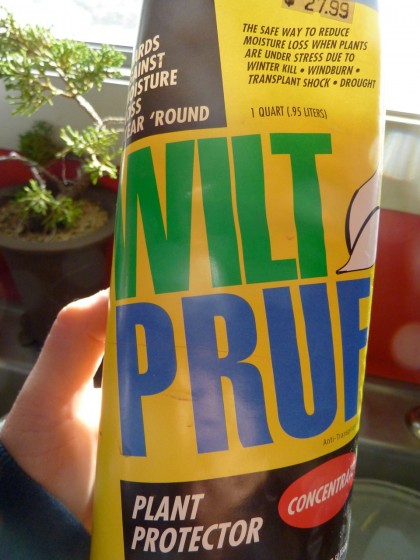
Last of all, I gave each of my five Japanese maples a little protection from the cold, drying winds that are on their way…

wiltpruf1


Wilt-Pruf is organic and biodegradable. Just mix it with water…

wiltpruf2


Then spray it on and it coats the branches to hold in moisture. Good for azaleas and rhodos, too, if you have them…

acerpalmatumcrimsonqueenmaple


You probably can’t tell the difference, but the Acer Palmatum ‘Crimson Queen’ can. She says thank you and see you in the spring.

crimsonqueenfallcolor


what’s your angle on this light?

December 7th, 2011

Okay, time to order path lighting for the outside so people don’t break their necks trying to get around out there. These lights are specifically for the steps and we really only need a few out front and back.

After tons of poking around for something that’s not over-designed (“i’m an attention hog, do not look away from me!!”) and not too out-there (omg it’s like makers think the word “modern” = quirky and hideous), plus not too delicate (this house calls for something beefy, not slender) etc., I’ve finally located two options that are not only modern and minimal but pretty affordable!

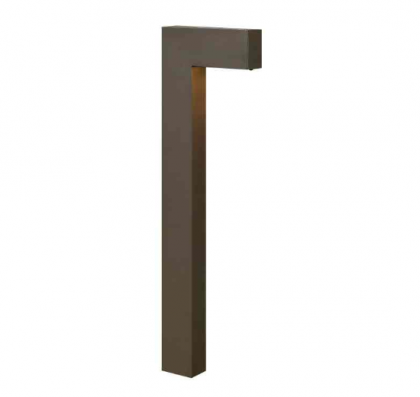
First, this simple right-angled path light in aluminum…

hinkley right angle light bronze


From the Atlantis Collection made by Hinkley Lighting, it’s available in bronze, hermatite or titanium finish…

hinkley right angle options


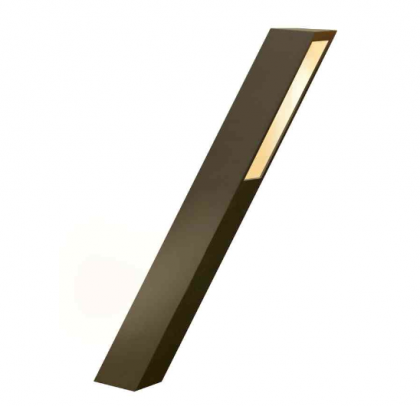
Or this angled path light from their Piza collection, also in aluminum…

hinkley angle light bronze


Available in bronze and titanium finish…

hinkley angle options


I think either style could work. Our house has both right angles and angley angles…

angles and right angles


Ah, remember summer when it was warm and the garden was just starting to take off?

Anyway, whaddya think? Angle or right angle? Bronze would blend into the scenery the best. Titanium would almost but not quite go with the aluminum window frames and flashing, as well as the galvanized aluminum planter boxes and steps. Decisions, decisions.

hotted up, the sequel

December 5th, 2011

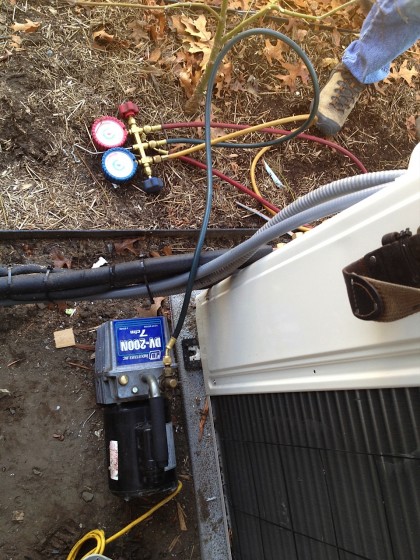
If you’ve been following along, the new heat was installed a week or so ago. Then came time to get it running. Jeff from RAM Mechanical came back to commission the HVAC system. First he checked that the 100 psi of nitrogen he put in the lines hadn’t leaked out…

hvac1


Next he double-checked all the wiring. Once he was sure everything was good to go, he turned it on. There was a problem with the amount of refrigerant in the compressor — it was charged assuming 150′ of pipe but we only had 52′, so the pressure got too high and everything shut down. A couple of phone calls later we had the right amount of pressure and things were heating up nicely.

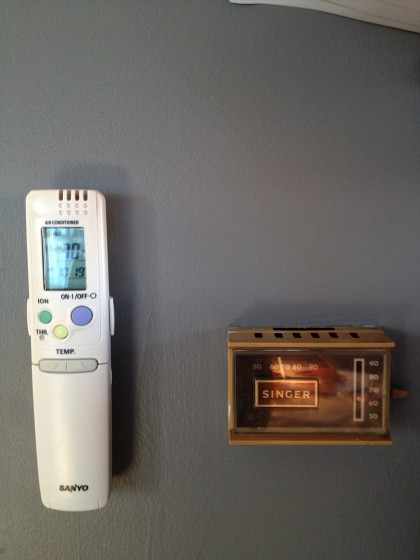
Until we start on the upstairs construction and tear out the old electric baseboard, these two thermostats will be neighbors. 1971 meet 2011…

hvac2


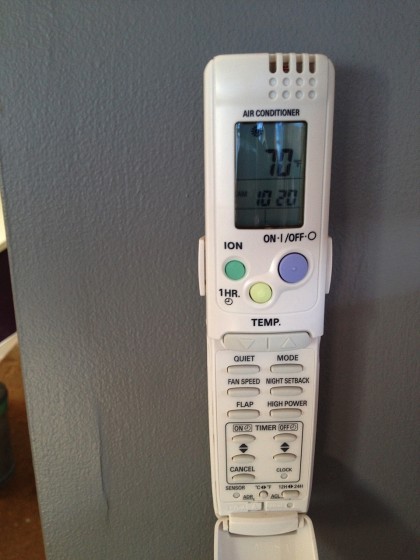
The new thermostat is also a remote control… or is it a remote control that’s also a thermostat? It has all the features you might want except it’s not programmable to automatically reduce energy use during different times of the day…

hvac3


It does have a night-time setback mode which gradually reduces energy use (raising the temp in cooling season, lowering the temp in heating season), but it’s manual mode. We’ll see if there are any other thermostat options available for this system.

In any event, the new Sanyo units produce plenty of heat, the fans are very quiet even on high, and we can’t hear the compressor run. So far so good, we’ll see what the electric bill has to say next month.

flash, flash i love you!

December 4th, 2011

I mentioned the other day that our custom flashing deserved its own post. And so be it.

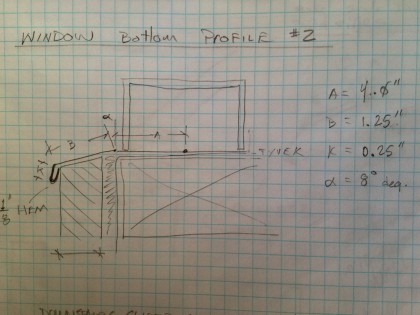
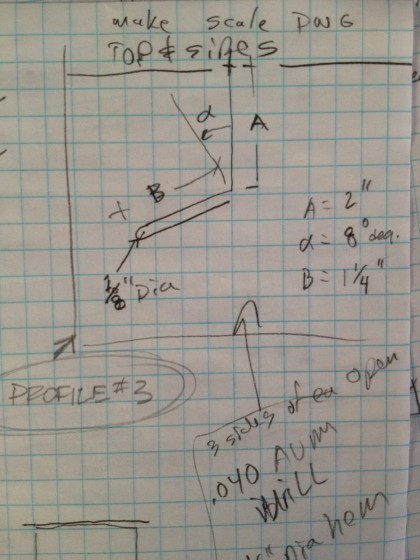
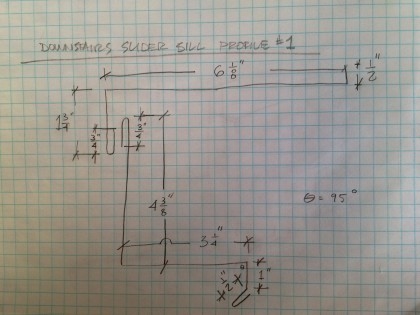
Joe and I examined the details we received from the architect and came up with three profiles to flash all the door and window openings. Joe is an expert at keeping water out of houses and he suggested using metal .040″ thick for its longevity. We chose mill-finish aluminum so it would blend in with our clear anodized aluminum window and door frames. [It’s also available in white, bronze (really just brown) and green — and it’s paintable — we won’t be painting ours.]

I left the ordering of the flashing a bit late and ended up having to pick up 4′ x 10′ sheets of aluminum at Beacon Roofing. Now .040″ doesn’t sound that thick (it’s just over 1/32″), but it’s stiff enough that Beacon couldn’t roll all three aluminum sheets together! I delivered the sheets to James at Renaissance Cornice. We went over the design (drawings below) and he bent them up on his CNC metal brake the night before we needed them. The night before! Man. Thanks, James!

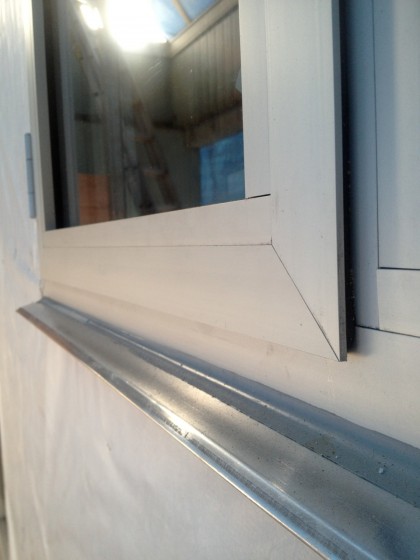
The window flashing turned out pretty great…

window flashing


Here’s the concept showing how it will extend over the siding which isn’t back on the house yet…

Window sill flashing.


The flashing for the sides and top of the openings will align with the sill flashing and make a frame around the doors and windows…

Sides and top flashing.


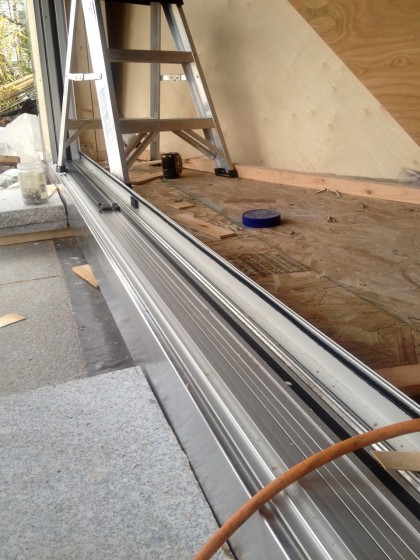
Because the downstairs slider opens onto a patio, we took extra care to install it in an even more waterproof manner. Joe designed a clever interlocking flashing system…

Slider 2-piece flashing.


One piece goes up the face of the house and then under the bottom of the slider where it will get bent up to keep out any water that makes it in there…

window2_11


The other piece goes down the face of the house and then tucks under, shedding water onto a large piece of lead flashing between the wood framing and the concrete slab. Why lead? It lasts forever. The concern is with the ground so close, snow and ice could build up and then melt and sneak inside. We’ll use this same profile for the rest of the exterior doors on the house.


exterior color inspiration

December 2nd, 2011

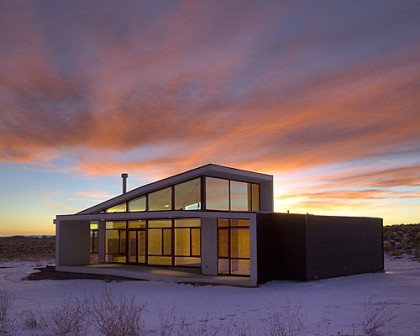
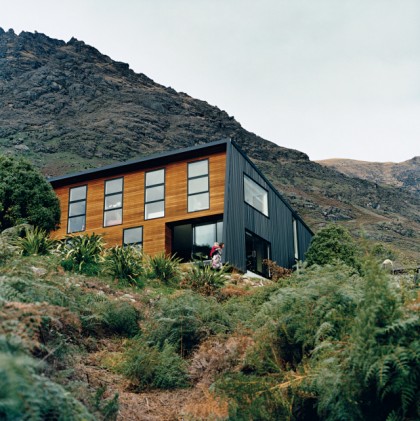
We won’t get to the full exterior of the house this year, obviously. But because the deck-end siding had to come off to add the new windows, we should think about color before we re-side. I’ve always imagined that once the paint is planed off of the redwood that we’d go dark grey, setting off the insets with a natural (brown) wood shade — stain, not paint, so we can still see the wood grain.

But what if we took a quick look at a few color possibilities?


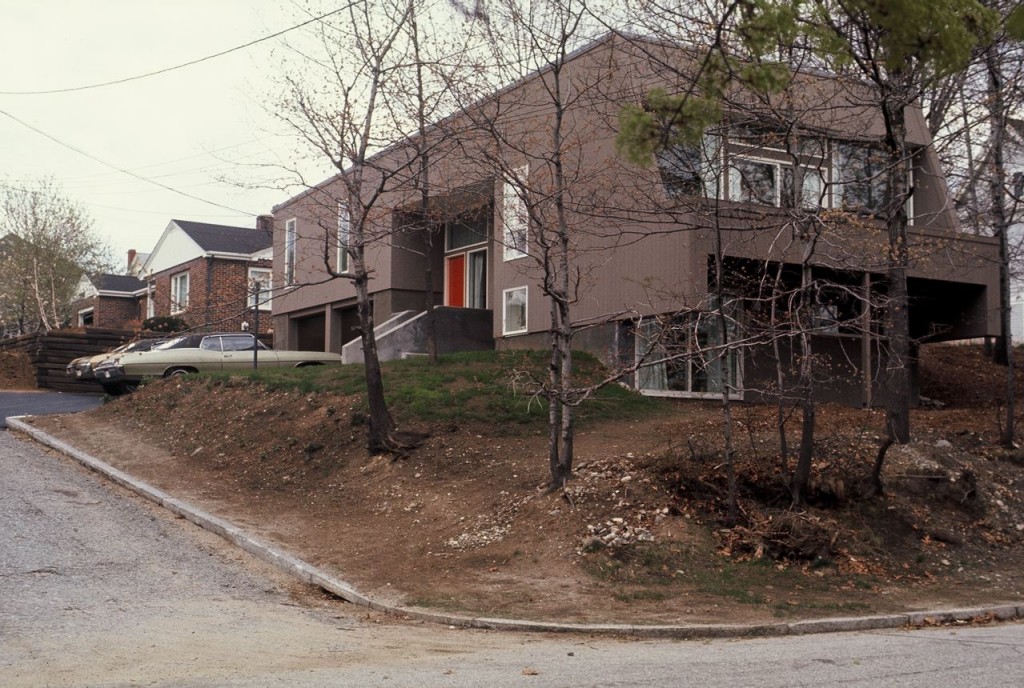
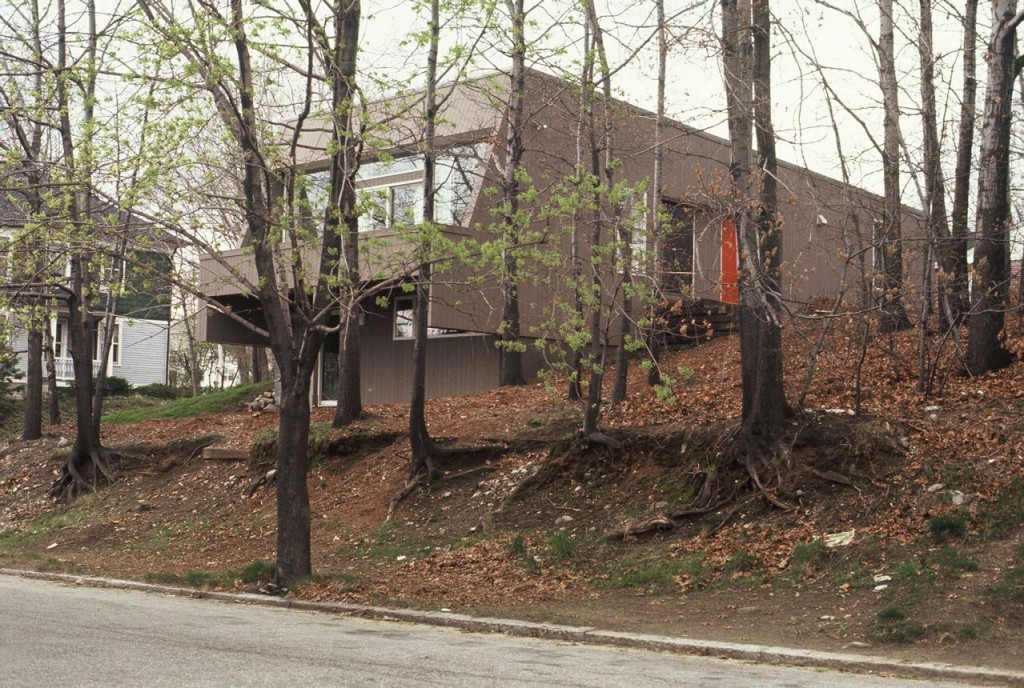
ORIGINAL EXTERIOR, 1972
When I say “insets,” I’m referring to the cutouts in the outer envelope — around the front door + the full height of the deck-end…

minty 1972, corner view


And around the back door…
minty 1972, back view


CURRENT EXTERIOR, 2011

house 2011


Now let’s try to picture a few possibilities…


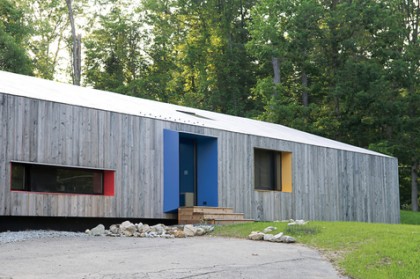
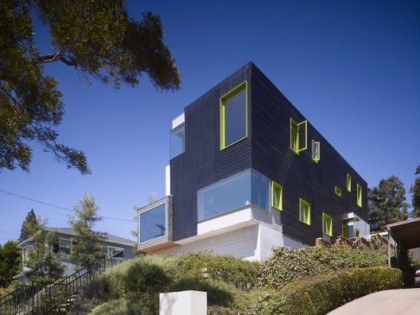
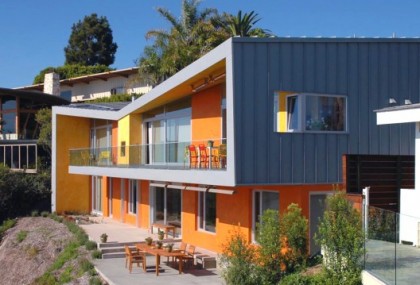
GREY ENVELOPE, COLORFUL INSET

Probably too dramatic for our house but it sure does look cool…

pull house, taylor and miller architecture and design | dwell.com

pull house, taylor and miller architecture and design | dwell.com

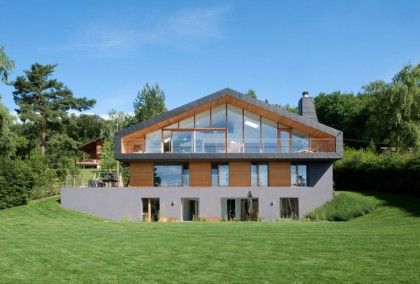
los feliz residence, warren techentin architecture | archdaily.com

los feliz residence, warren techentin architecture | archdaily.com

I know, the color is only on the window frames (our new frames are all silver aluminum), but you get the idea.

park residence, MACK architecs | archdaily.com

park residence, MACK architecs | archdaily.com


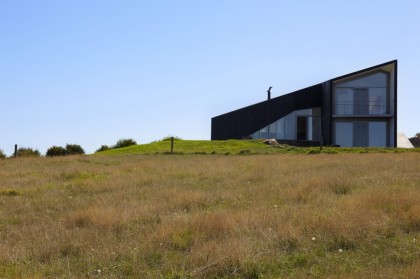
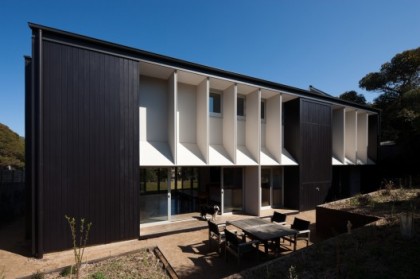
DARK ENVELOPE, WHITE INSET

scape house, andrew simpson architects | archdaily.com

scape house, andrew simpson architects | archdaily.com

humbug, kebbel daish architects ltd. | archdaily.com

humbug, kebbel daish architects ltd. | archdaily.com

zen garden house, david jay wiener architect | architectural record

zen garden house, david jay wiener architect | architectural record


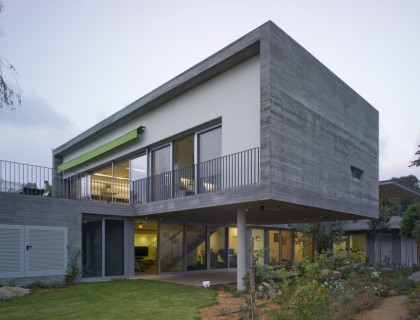
GREY ENVELOPE, WHITE INSET

private house, weinstein vaadia architects | archdaily.com

private house, weinstein vaadia architects | archdaily.com


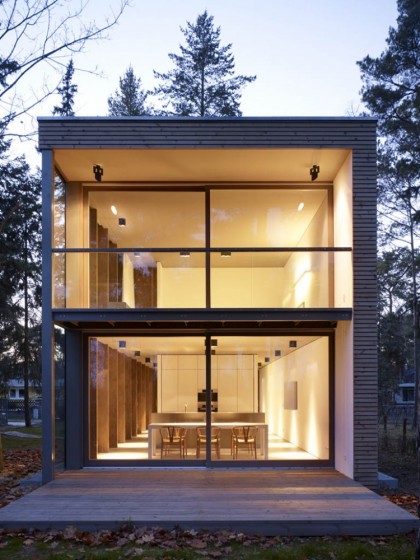
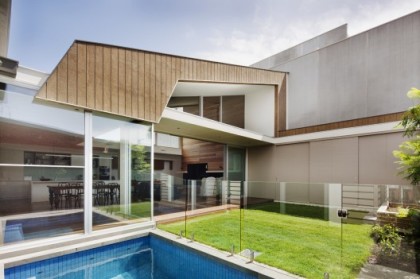
BROWN ENVELOPE, WHITE INSET

minimum house, scheidt kasprusch architekten | archdaily.com

minimum house, scheidt kasprusch architekten | archdaily.com

richmond house, rachcoff vella architecture | archdaily.com

richmond house, rachcoff vella architecture | archdaily.com


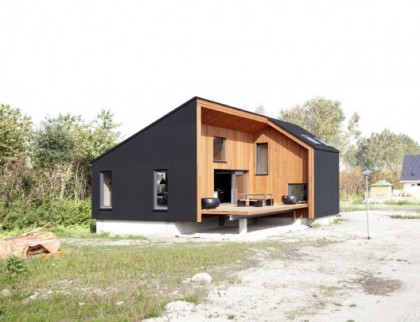
DARK ENVELOPE, BROWN INSET

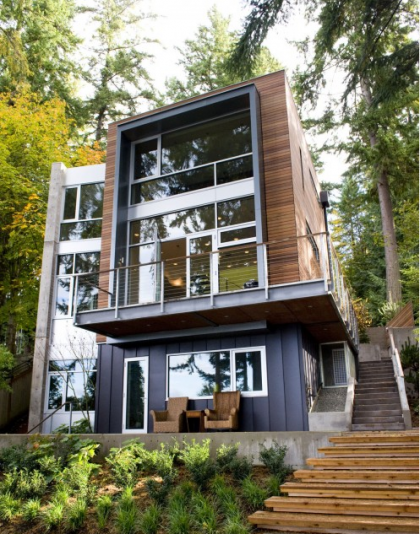
kerr ritchie house, kerr ritchie architects | dwell.com

kerr ritchie house, kerr ritchie architects | dwell.com

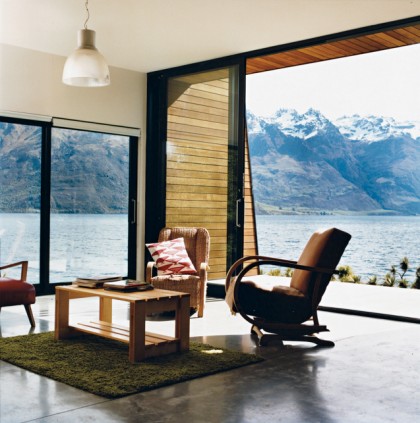
(I am also including this shot from the interior, because the shape of the inset is almost exactly like ours…)

kerr ritchie house, kerr ritchie architects | dwell.com

kerr ritchie house, kerr ritchie architects | dwell.com

rubber house, cityforster | archdaily.com

rubber house, cityforster | archdaily.com


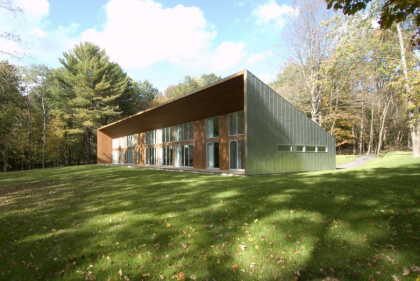
LIGHT GREY ENVELOPE, BROWN INSET

texas hill road residence, incorporated architecture and design | architizer.com

texas hill road residence, incorporated architecture and design | architizer.com

genolier house, lrs architects | contemporist.com

genolier house, lrs architects | contemporist.com


BROWN ENVELOPE, DARK GRAY INSET

dorsey residence, coates design architects | houzz.com

dorsey residence, coates design architects | houzz.com


Off to look at stains later today!

window time: day 2

December 2nd, 2011

This is where we left off with windows. Now here’s where we pick up… The problem with just-in-time construction is it doesn’t allow for falling behind.

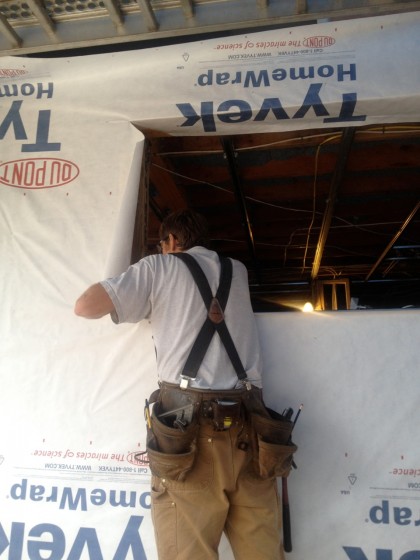
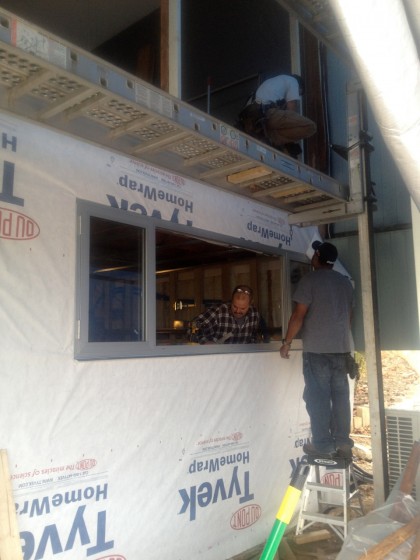
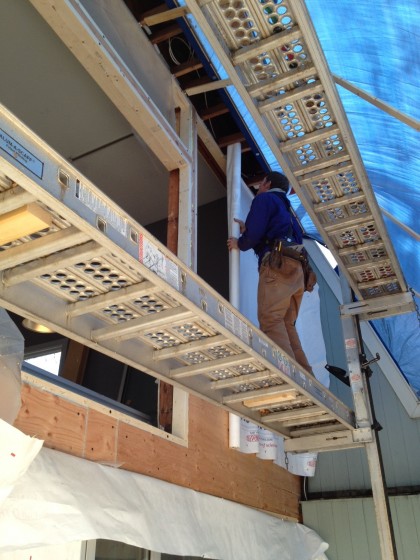
Tuesday we tried to stay ahead of the window and door installers by at least one opening. Here’s Joe applying house-wrap over the new foam+plywood and frames on the upstairs portion of the back wall…
window2_3


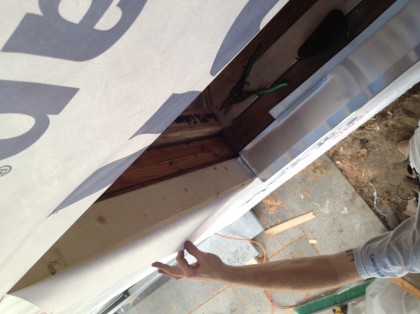
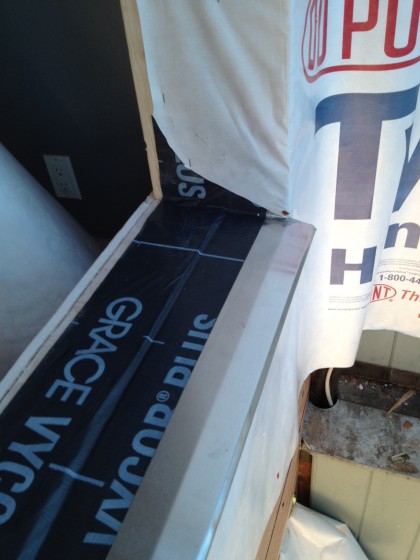
Joe installed the custom flashing, bending it up at the inside corners and then sealing it down with super-duper tape…
window2_4


Tape? For obvious reasons, you don’t want to put any fasteners through flashing — water has a way of getting into places you thought it couldn’t. The trick to keeping it out is to seal everything from the bottom up in order to shed the water back out. Bad flashing details can trap water and then it’s perfectly happy to cause  mold, mildew and rot — not something we want.

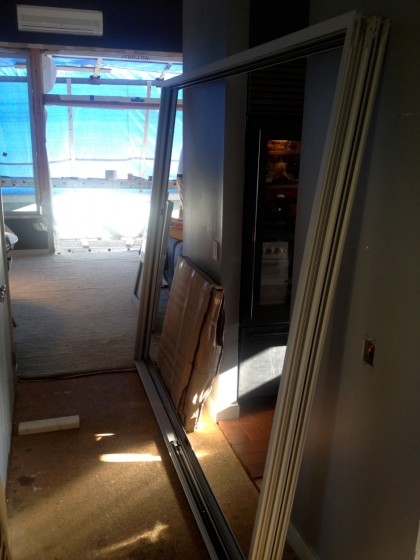
Next up: the two big fixed window frames. Waiting to go in, no glass in them yet…
window2_7


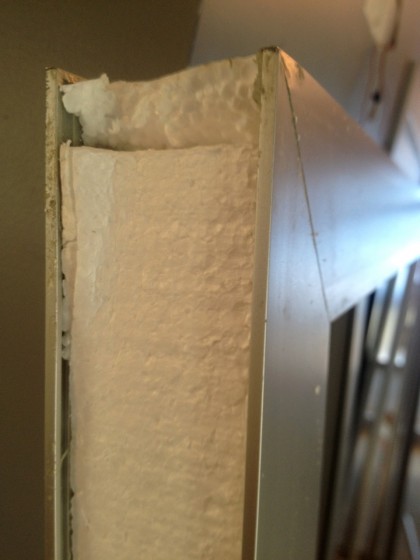
The aluminum window frames are thermally broken (they have a non-metallic connector between the inside and outside faces to limit heat transfer) but are ordinarily installed hollow. Joe and I decided leaving them hollow was a missed opportunity to be more energy-efficient, so I ripped 3/4″ EPS on the table saw to fit and we jammed it in there…
window2_8


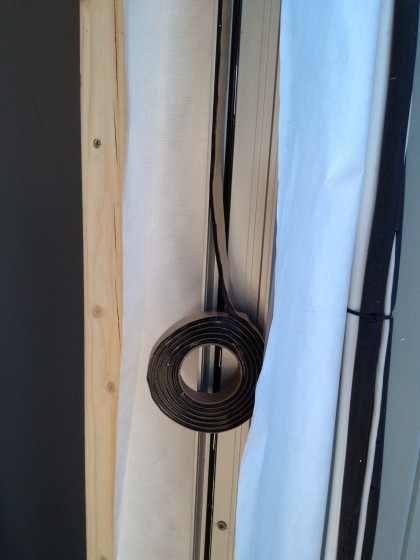
Once the window frames were installed level and square (which was easy because we made the extension frames level and square), butyl rubber got applied to the inside face of the frame…
window2_14


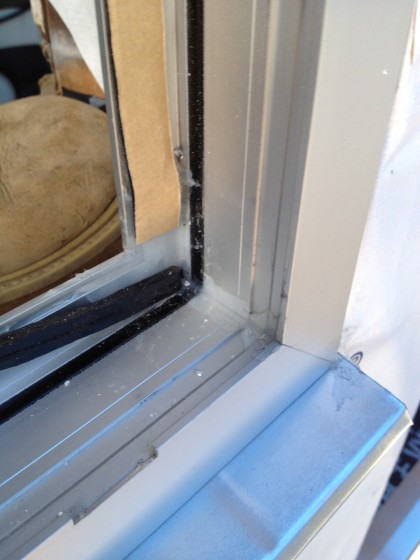
Close-up of the frame almost ready for the glass…
window2_15


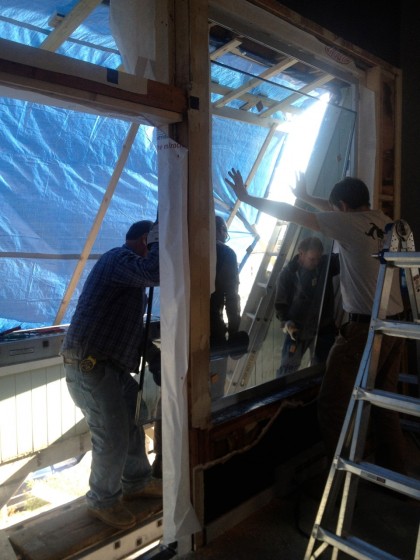
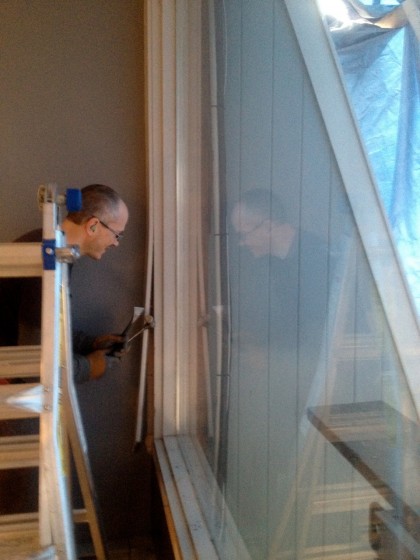
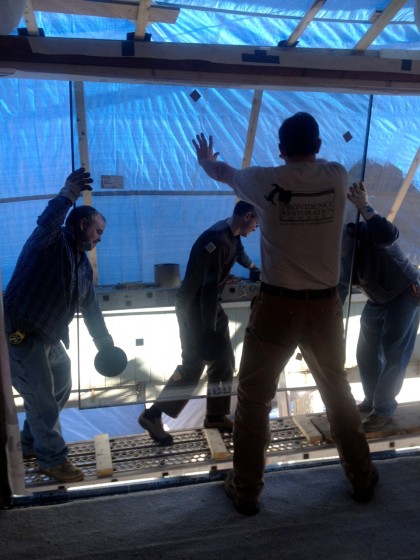
I was an honorary glass man for the day, helping hoist the new panels into place with a fancy suction cup handle. Those suckers were HEHVEE….
window2_1


Joe was the balance man…

window2_2


Once the glass was in against the butyl rubber, aluminum stops were snapped in on the outside and a rubber gasket was driven in-between the stops and the glass. No fasteners show so there’s a nice clean look.

That slot in the aluminum stop is a weep hole to let water out in case the wind drives it in there…
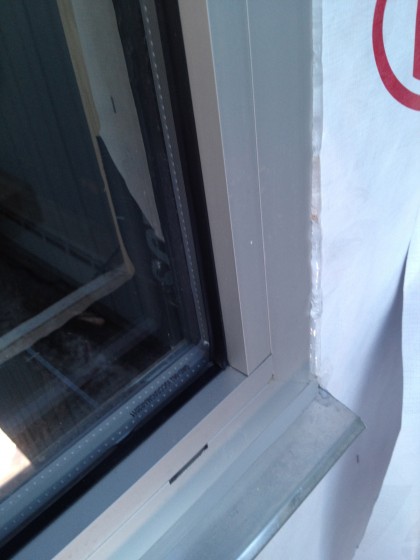
Glass panel installed.


Each glass panel has a low-e coating on the inner piece of glass (“lite” in technical jargon). It acts as sort of a one-way system for radiant heat — heat from the sun can come in but can’t get back out…
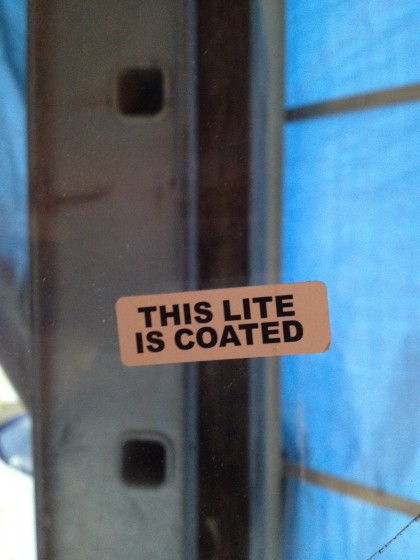
window2_6


The new sliders look great, perform great and slide like butter on a hot pan…
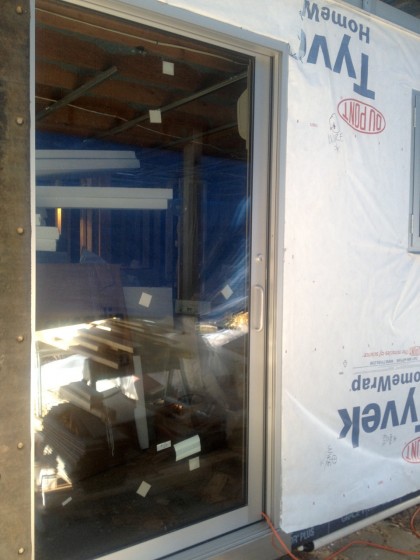
window2_9


A bump stop goes in at the top of the slider to keep fingers from being crushed…
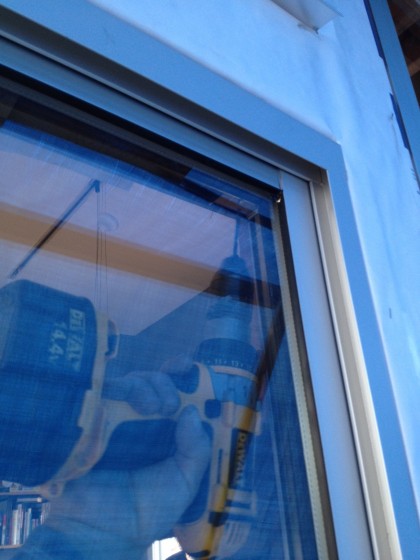
window2_5


Digging the nice, clean look of the door hardware…
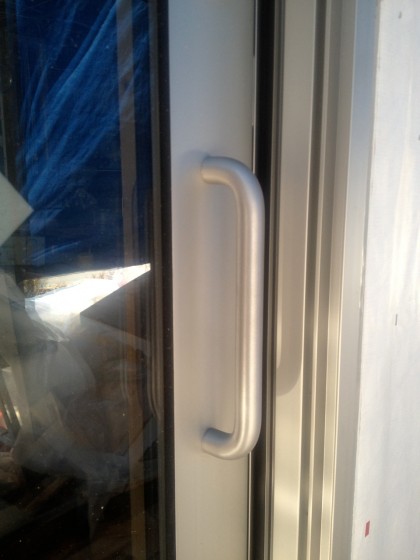
window2_10


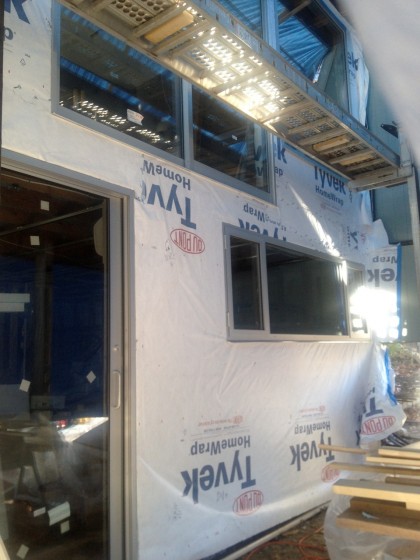
All in all, looking great from the outside…
window2_12


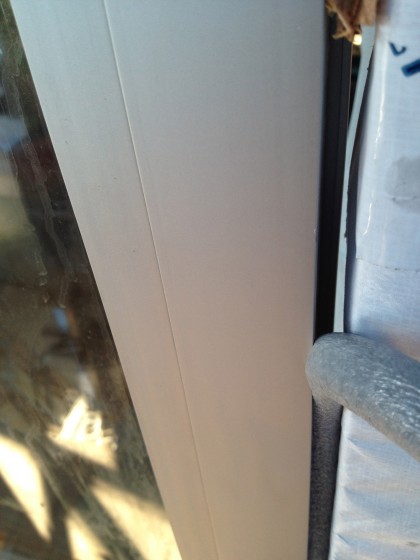
But wait — not done yet! The gaps between the window and door frames and the house need to be filled. Caulk can bridge small gaps just fine but bigger gaps require that foam backer rod stuffed in. This stops the caulk from falling in to the gap…
Backer rod saves caulk!


Joe picked up a tube of this at Home Depot…
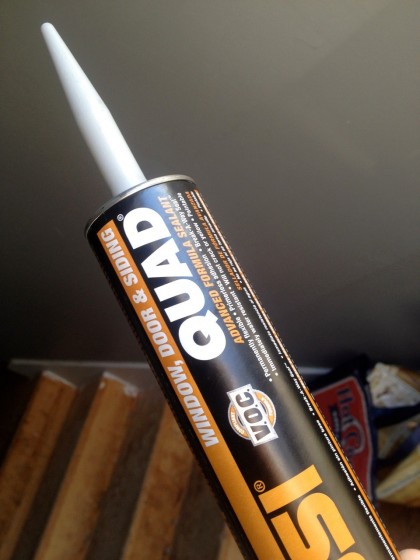
voccompliantmyass


DO NOT use this. It stank to high heaven and smelled up the whole house even though it clearly says “V.O.C. compliant.” Not good. I’ll find something braincell-friendlier for the rest of the project.

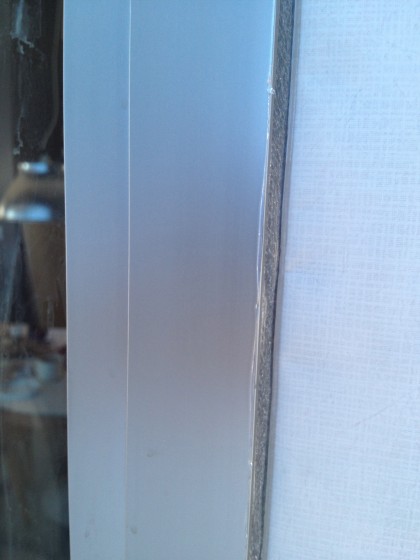
So here’s the finished caulking job. The caulk is clear so it’s hard to tell what’s happening but I promise it’s in there. You can clearly see the backer rod!
Clear caulk is freaky.


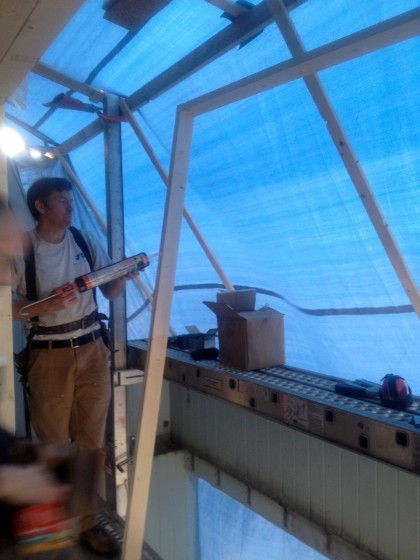
Backer rod didn’t fill the really big gaps at the tops of the two big windows so I put blue tape across them, pushed in a bit to leave room for caulk…
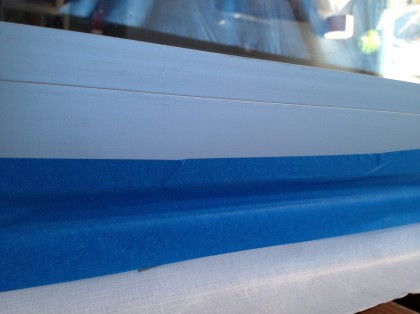
Blue tape has SO many uses.


Then I filled all the gaps with expanding foam from the inside. The smaller gaps now have caulk or backer rod and caulk to stop the foam. The big gaps have the blue tape for the foam to expand up against. Soon I’ll strip the tape and caulk them from the outside, easy peasy.
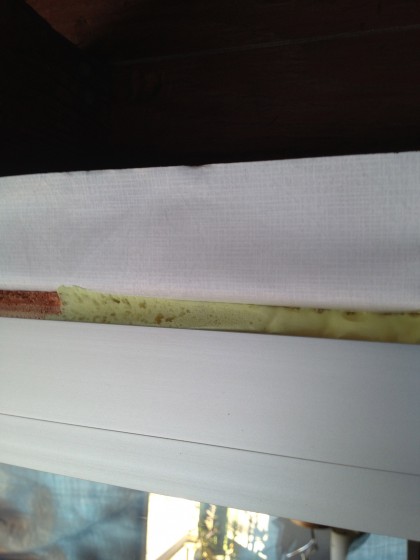
What did we do before expanding foam?


And that, my friends, was a long day.

window time: day 1

November 30th, 2011

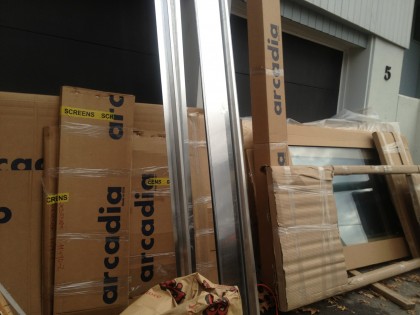
Back in the spring we started looking at manufacturers of aluminum windows and ultimately chose Arcadia. About three months ago, we put in our order for the first round of windows. As of yesterday morning, replacement of the windows and sliders on just the deck-end of the house finally kicked off.
Did I say “just”? It took four people from Rhode Island Glass to unload it all…

windows1


While the shiny new goods were unloaded, Joe and David got the window wall ready to go by removing the moldings holding in the old wood frames…

windows2


Goodbye, moldings. I will not miss you. You make no sense in an MCM house that wants a cleaner, simpler look…

windows3


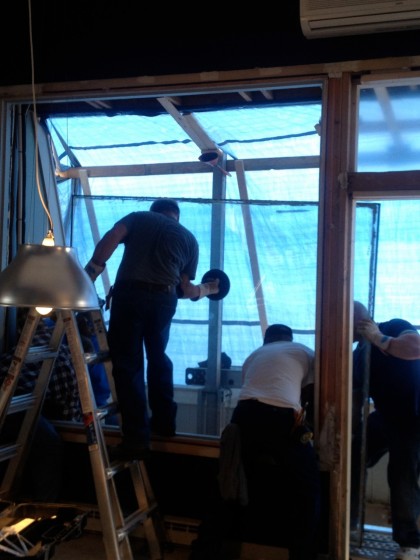
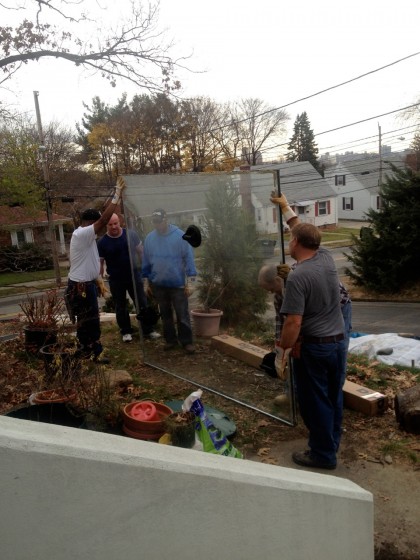
The crew from Rhode Island Glass carefully removed the old glass. Mind you, they’re standing on scaffolding one flight off the ground and the glass weighs a gazillion pounds…

window4


Like that’s not hard enough, the two panes started to separate from each other. Nice. Somehow they lowered it to the ground and carted the whole business up-slope without injuring themselves. Goodbye, cloudy old glass…

window5


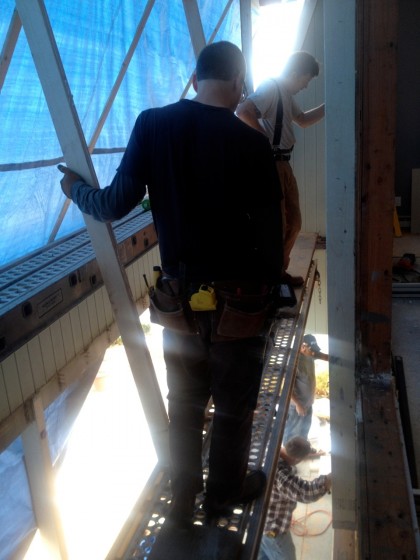
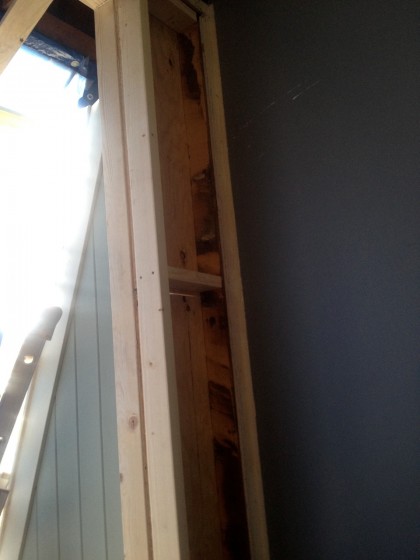
David and Joe worked upstairs, installing the wood frames to extend the openings out flush with the face of the 3″ foam+plywood, while the crew worked downstairs…

window6


Newly fitted window box complete. The giant windows on both sides of the central slider were resized about 12″ narrower in width…

window7


… to accommodate future built-ins planned to run along the walls of the upstairs livingroom. The cabinetry needs a solid wall to die into…

window8


Over the foam+plywood went a layer of house-wrap to keep out the elements. Joe carefully detailed the openings prior to windows…

window9


The house-wrap was then topped off by custom-made aluminum flashing…

window10


[The flashing deserves its own post — it’s pretty special.]

The downstairs slider went in and then the window. Full pics tomorrow…

window11


Before the day came to a close, Joe and David had all four of the upper window and door extensions fully adhered, leveled and screwed into place…

window11.5


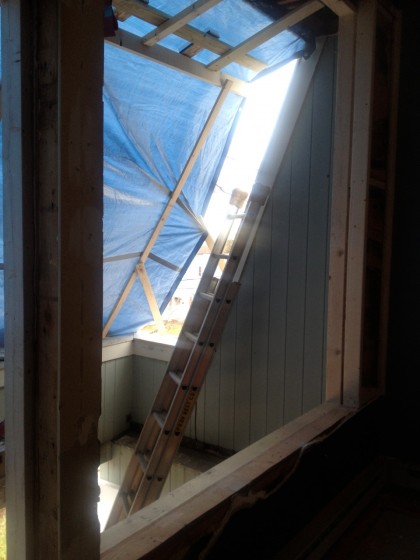
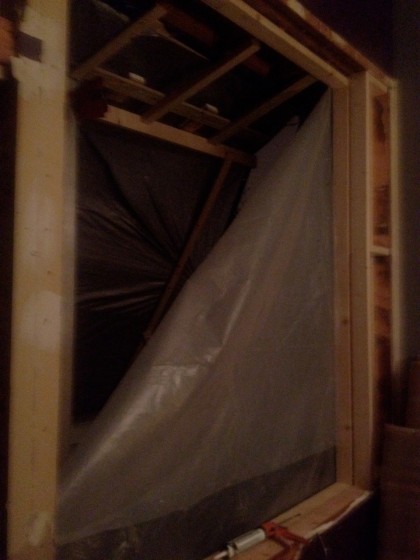
But there just wasn’t enough time to get windows and sliders in upstairs. Although David wrapped the openings in anticipation of last night’s storminess, at 1:30 the gusts, how you say, compromised the plastic…

window12


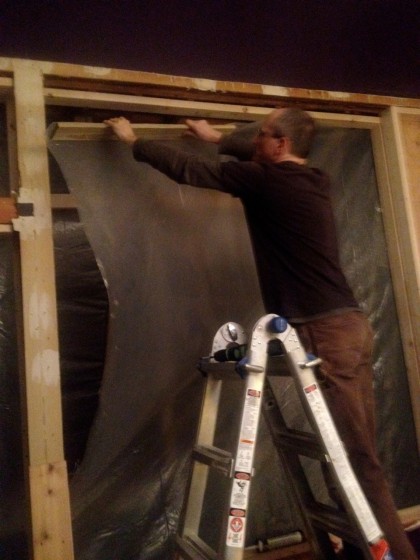
… and the storm found its way in. Nothing like fixing things in the middle of the night to make you tired for round two the next day…

window13


You can hardly wait to find out how it all ends, right?