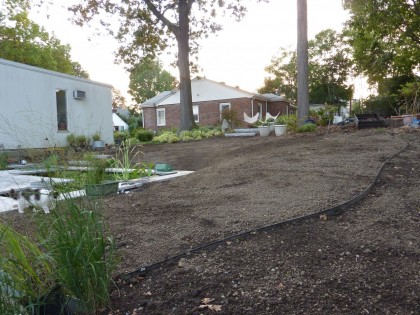
Nearly constant showers since the day the seed was put down. Prime temperature range. Anybody want to wager on when we’ll see green?
Posts Tagged ‘garden’
69 hours later
Tuesday, October 4th, 201142 hrs later
Monday, October 3rd, 2011ocd grass planting
Sunday, October 2nd, 2011Let’s review: Last spring, we planted a lawn. This spring, the lawn got torn up to make way for the new patio and koi pond. And now, I’m planting a lawn.
The last of the steel edging is finally in where I drew the boundaries between the future lawn and beds, and the composted topsoil is all raked out. Perty…
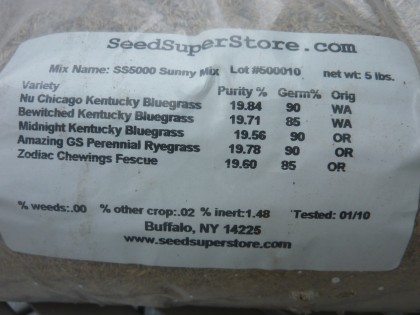
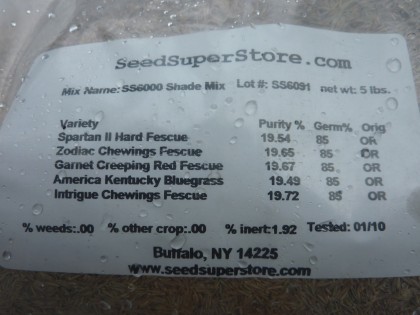
I seeded the lawn yet again, using the same grass seed mix as before…
As you can see, the seed is from last year. Hope it’s still viable. Fingers crossed. Did I add lime? No. Fertilizer? No. I want neither washing down into the pond.
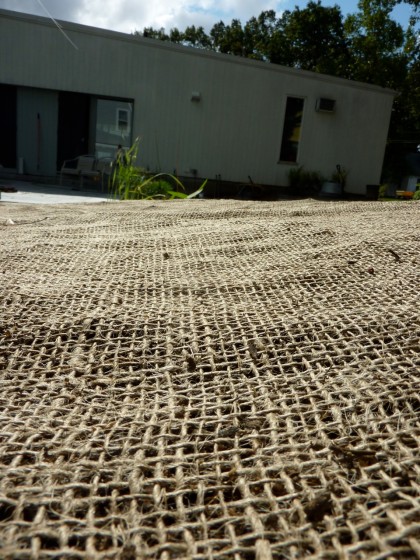
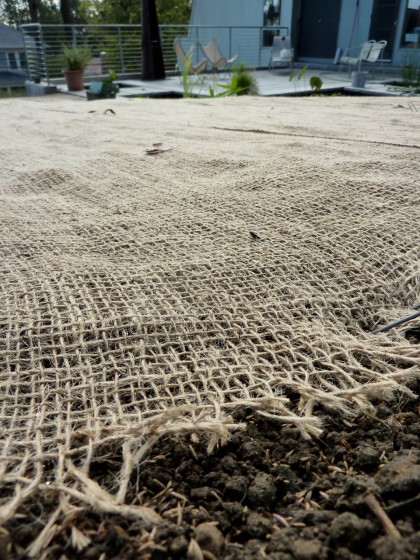
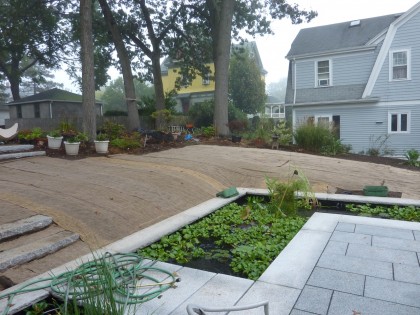
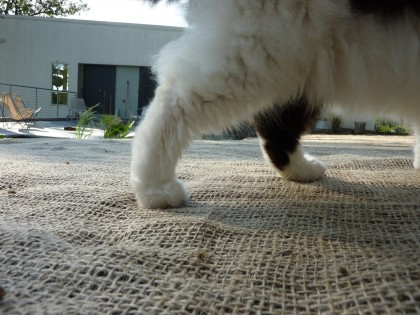
Because we’re on a slope and lost seed in the past each time it rained, I wasn’t taking any chances this time. Burlap to the rescue! It looks like I’ve got a Martha Stewart complex and went and quilted the whole backyard…
Half of it I rolled and stapled down in a mad rush during yesterday’s rainstorm. The burlap is biodegradable — so I could leave it down and let the grass grow right over it. Or, from what I read, I could decide to pull it up when the grass is at least 1/2″ tall. We shall see.
This project is Bambino approved.
gophers!
Tuesday, September 27th, 2011
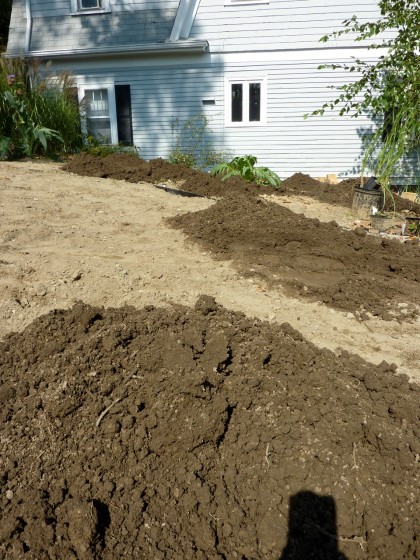
Okay, not really. Those are piles of new loam that the crew is laying down today so we can finally have a little bit of grass. Yay! No more dirt washing into the pond! We hope.
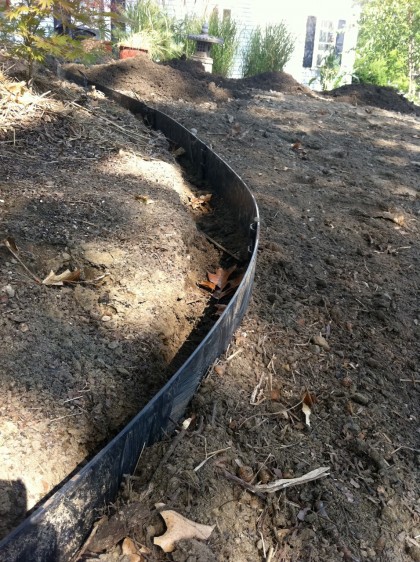
The last of the steel edging was put in to separate the grass from the planting area…
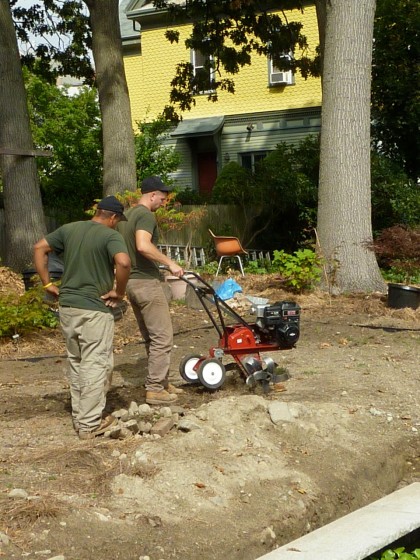
Before the screened topsoil and compost came roto-tilling — better aeration for fledgling grass roots…
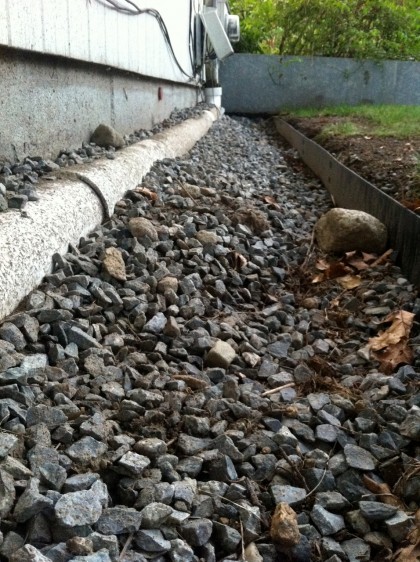
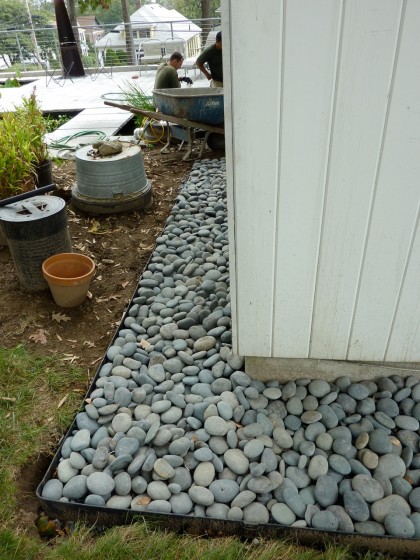
The border around the house is finally complete. It went from this…
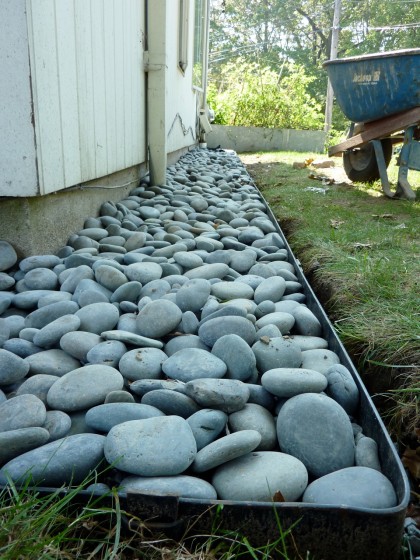
To this…
Mexican beach pebbles from The Stoneyard now top off the crushed stone. Picture this up against siding with a dark grey stain instead of light sage…
Looks great, right? Better shots when all the soil is in.
harvest time
Tuesday, September 20th, 2011We plant 10 to 12 heirloom tomatoes every year. When they ripen, there’s no way we can eat them all before they go bad, so I save them for winter and spring when grocery store tomatoes are pale and mealy. Do I can them? Naw. I found an easier way.
First, I pick a few giant bowlfuls of deliciousness…
I chunk up the biggest tomatoes but usually leave the cherry tomatoes whole, I seed and cut my peppers, then throw them onto a big cookie sheet (with sides) with a whole chopped onion. A drizzle of good olive oil over top. Salt and pepper. ..

I roast a pan (or two) at 450°F for 30 to 35 mins until it looks like this and smells insanely good…

After they cool, I pour it all into a pot and use a stick blender to make it smooth…

If you feel strongly about removing tomato seeds, this is the point at which you’d want to push the sauce through a sieve with a big spoon. If you’re lazy like me, you leave them in. I usually chuck in basil or tarragon from my garden, maybe a few cloves of fresh garlic, and blend that in, too…
So there it is, all blended and ready to divvy up into freezer-safe bags for the season…
I label them so I know to finish the oldest bags first. Our freezer is already full and there’s about another month of harvesting left. Uh oh..

Come January, I’ll have fresh-tasting soup, pizza sauce, pasta sauce and a good base for chili. Yum.
————————————————-
Before you ask, here’s our heirloom tomato list this year:
- Green Zebra (2)
- Brandywine (2)
- Mr. Stripey
- Sungold Cherry
- Black Cherry
- Garden Peach
- Peacevine Cherry
I could not locate Orange Oxheart plants this year. Sadface. They make the absolute best tomato soup ever. Will have to grow some from seed in the spring.
loving the way this looks!
Friday, September 16th, 2011walling in the beds
Friday, September 16th, 2011So. We live on a hillside with a steep grade. When it rains or snows, the soil travels downhill. My planting beds slowly migrate into the paths, which I am constantly digging out. How to solve this dilemma? Some sort of retaining solution, der.
In some places, the drop from bed to path is well over a foot, so off-the-shelf retainment has been impossible to find — believe me, I’ve considered everything from concrete curbing to galvanized roofing materials to gabions. Large rocks just looked busy and let soil through the gaps. We finally gave in and decided we’d have to make our own. And when I say “we,” I mean our landscaping friends from Land Design Associates.
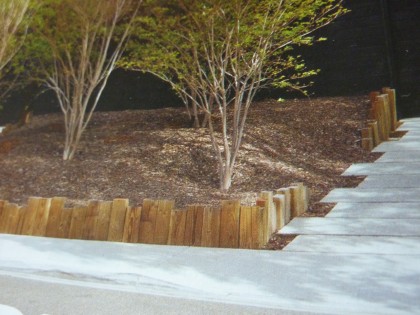
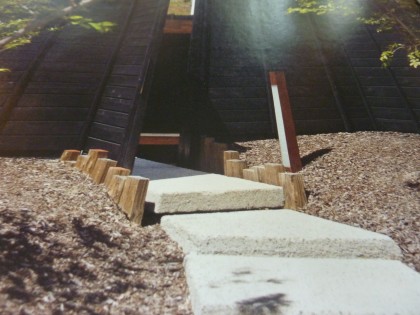
In the September Dwell (The Hidden Fortress), there’s a house that uses 4″ x 6″, Japanese-style wood pilings like so…
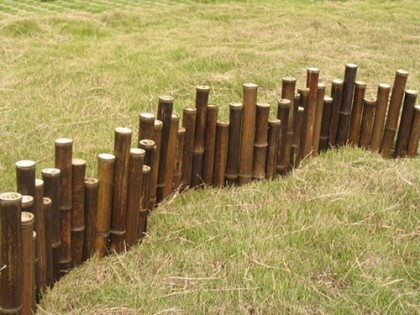
They’re staggered, wabi-sabi style. Imperfect, much like our topography…
You see that look frequently in bamboo edging…
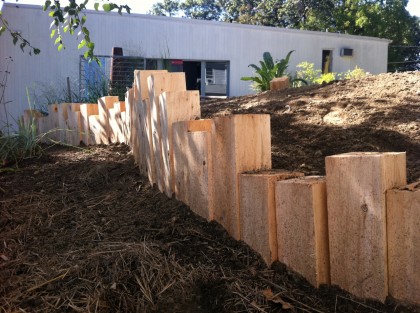
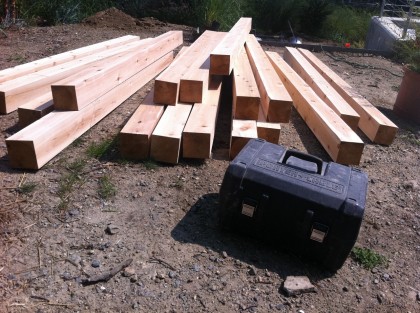
Bamboo isn’t beefy enough to actually hold back the hillside, so we’ve decided to riff off of the hidden fortress and use wood pilings. The boys showed up yesterday with a truckload of 5″ x 5″ white cedar fence posts…
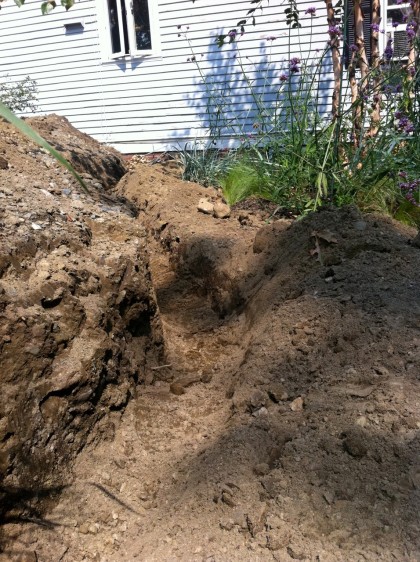
They started by digging trenches to accommodate the pilings…
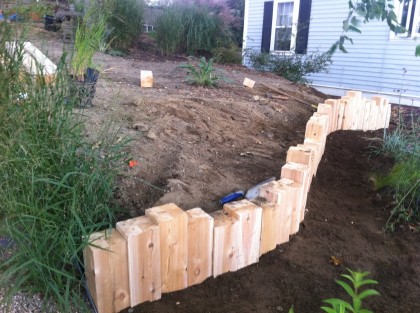
Then they cut the posts into random lengths and pounded them into place. One wall done!
dragons with wings
Monday, September 12th, 2011what the… ?
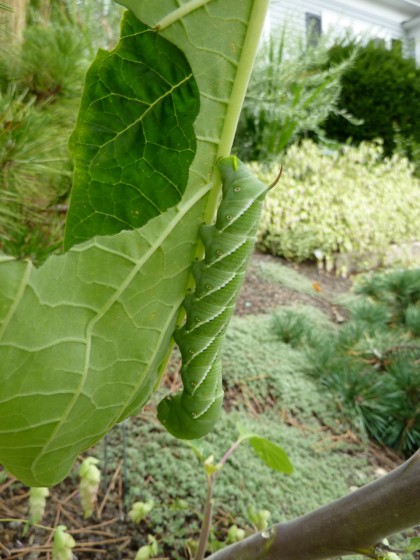
Tuesday, August 9th, 2011So what’s green, 5″ long and currently eating the heck out of one of my datura plants?
It’s the larva of a Night-Flying Hawkmoth! Yeah, I’ve seen these guys before, which is why I’m not killing it. It grows into a moth as big as a hummingbird! Better yet, at a glance it even looks like a hummingbird because it has a long “proboscis” that it sticks into the trumped-shaped datura flowers to pollinate them — check it out. So cool.
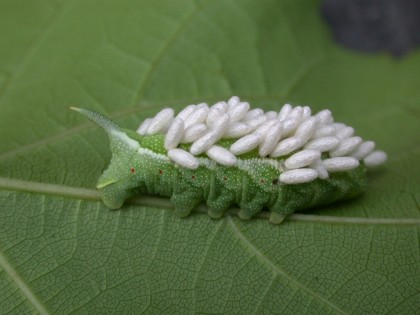
If you have tomatoes, you may have seen the larva before — it’s also known as the infamous tomato hornworm. I found one in our veggie garden last year but a braconid wasp laid its eggs on its back, just like the photo below. When the wasps hatched they finished it off. Ewwwwwwwwwwww. What a way to go. Don’t you wish there was a short video about the whole gory process?
how an arborist stakes a tree
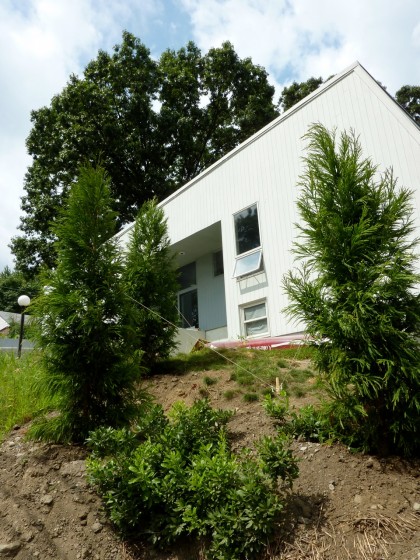
Friday, August 5th, 2011So, about those newly planted Cryptomeria japonica ‘Yoshino’ (Yoshino Japanese Cedar). Not to worry — they look happy. But at nearly 10′ tall, they needed staking before the coming nor’easter blasts topple them this winter. Shouldn’t be an issue next year when their roots have spread some to give them more support.
When you want things done right, it pays to know people who know people. Shiva hooked me up with Tim Lucksinger, an arborist out of Newport, RI. Nice guy. Curiously, he’s never tried karaoke even though he has the ideal name for it.
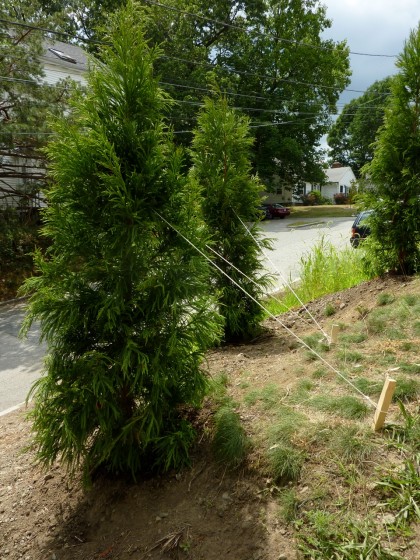
So how does a professional stake a tree? Like this…
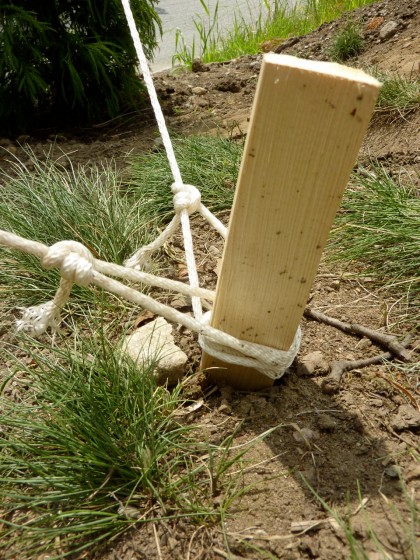
So it doesn’t seem too hard, honestly. All it took was some sturdy rope (or really super heavy-duty twine)…
A sturdy wooden stake, pounded into the ground at an angle pointing away from the tree so that the rope will hold with some tension. Obviously this man knows his knots…
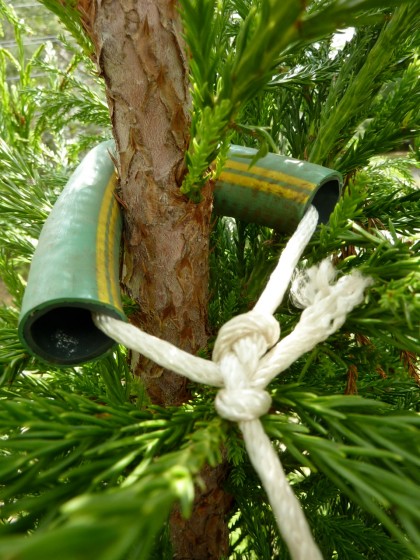
And then the rope runs through a section of rubber hose that fits around the trunk of the tree about 2/3 of the way up. Hose is a smart choice because it won’t abrade the bark and hurt the tree like rope alone would…
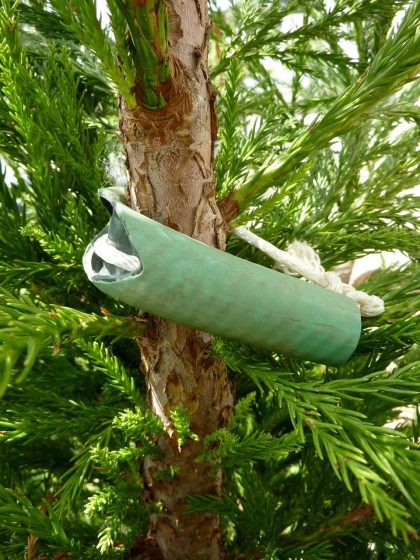
The hose is cut in the back to give it more flexibility…
And that’s that. The stakes come out in about a year. Thanks, Tim!
