Archive for the ‘projects’ Category

running the plumbing

Tuesday, October 18th, 2011

David will now show you how we’re getting closer to having a bathroom downstairs…

—————————————————————————————————

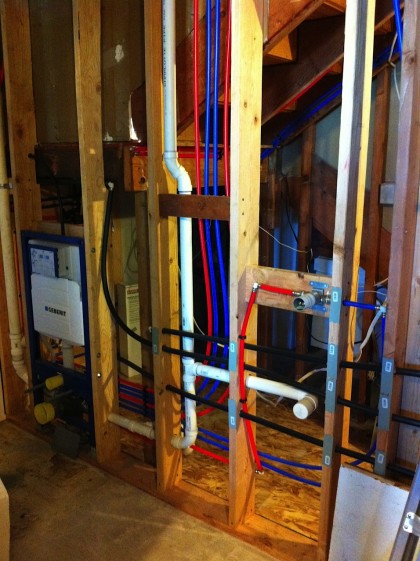
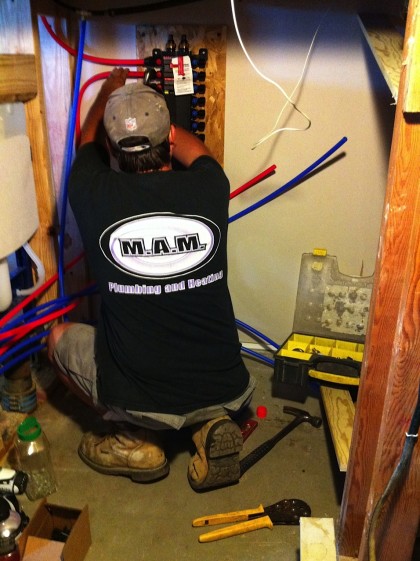
Things are really moving along down here. Once the bathroom framing was done, the plumber came in and ran all-new plastic pipe…

plumbing2

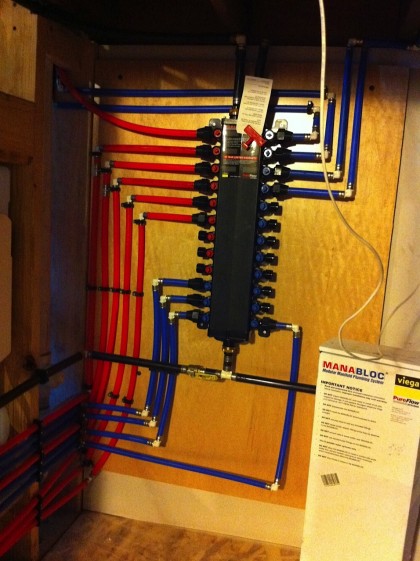
Rather than the traditional branch-style method of piping, with one shut-off for the whole house and individual shut-offs near some fixtures (but not usually all fixtures), we opted to have a manifold (think breaker panel for water) with all the piping in a home-run configuration. This means every fixture has its very own feed direct from the manifold and its very own shut-off…

plumbing4

Each of those little red and blue circles down the sides of the manifold is a shut-off. Eventually they’ll get labels so we know which is which.

There was just a sliver of space between our old, floor-mount toilet and the shower, so we’re going with wall-hung to gain some space back. That’s the precursor to our new Duravit wall-hung toilet on the left — its slim Gerberit tank (jah, German) hides away inside the wall framing…

plumbing5

The sink faucet rough-in with drain below is on the right.

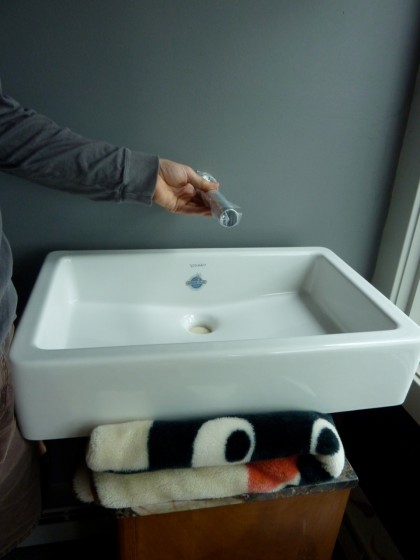
For the faucet above the sink, we also chose wall-mounted. You can’t resist playing with it when you open the box, it’s so cool….

playing with the sink and faucet


Modern. Simple. Not a bunch of fuss.

Then there’s the shower. Remember what it used to look like? Now we’re going for a much more minimal look. No more tub and the shower will have a partial glass wall with an open doorway for stepping in.

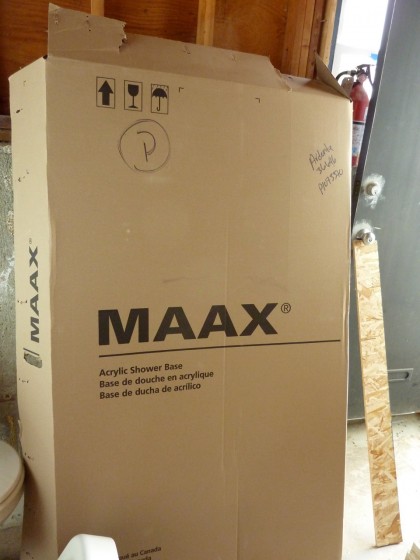
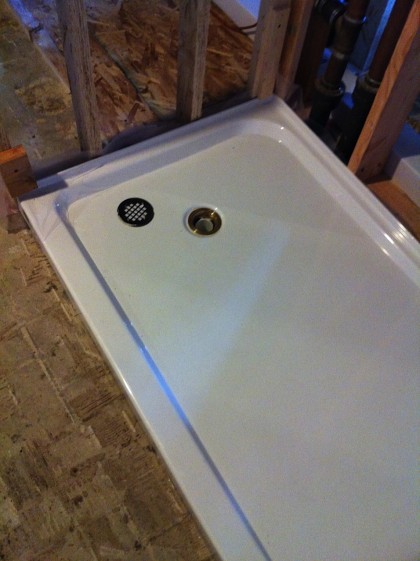
Brook wants a teak grid in the shower, so we went with this for the floor below it…

shower pan by Maax


The shower pan will save us big over having to create a tile shower floor. Comes already sloped for drainage…

plumbing3


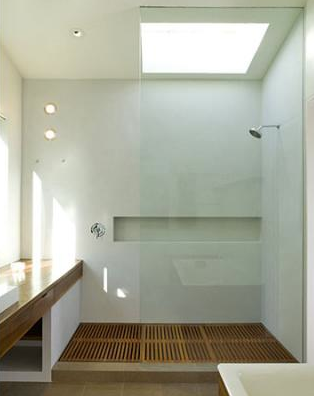
The plan is that the removable teak grid will sit inside the pan and look somewhat like this…

shower with teak floor, cary bernstein architect | houzz.com

shower with teak floor, cary bernstein architect | houzz.com


In fact, that’s pretty much the same idea we’re using for the glass wall, too. Should look very swank when it’s all said and done. Speaking of which, I should probably get it said and done right now!
 

back to the walls

Thursday, October 13th, 2011

More from David on the remodel progress…

——————————————————————————————-

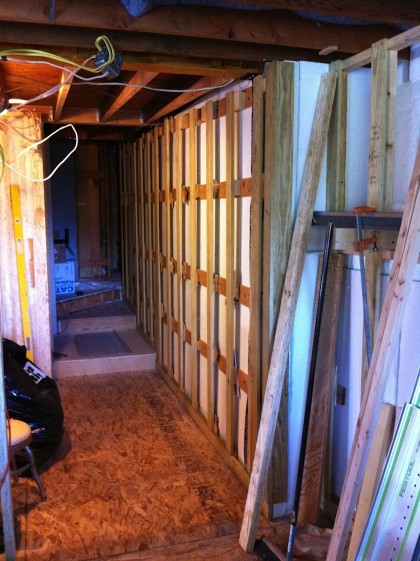
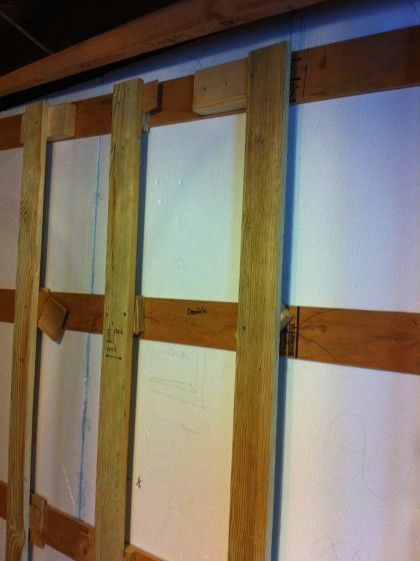
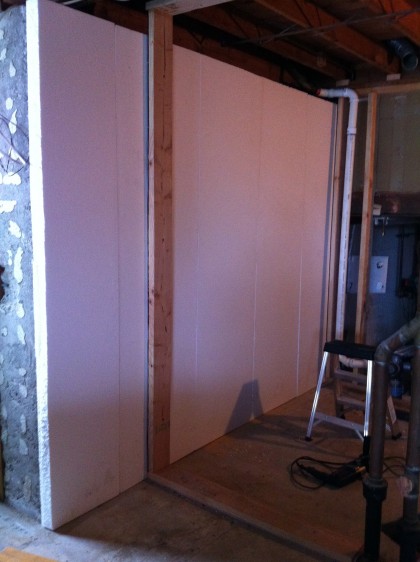
The walls downstairs are finally up and ready for the electrician to rough-in the wiring. Unfortunately, the foundation wasn’t poured dead plumb back in the ’70s (the crew was probably one toke over the line, if you know what I mean) so the furring had to be built out…

wall1


Seriously, take a closer look. I had to build out the blocking a full 1-1/2” in one place!
wall3


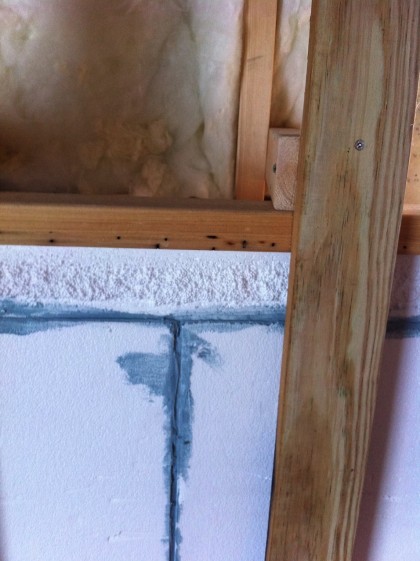
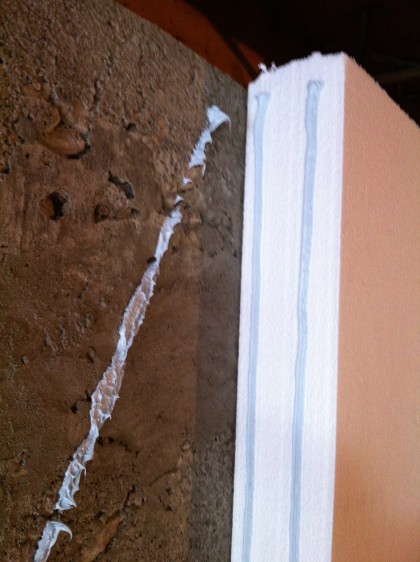
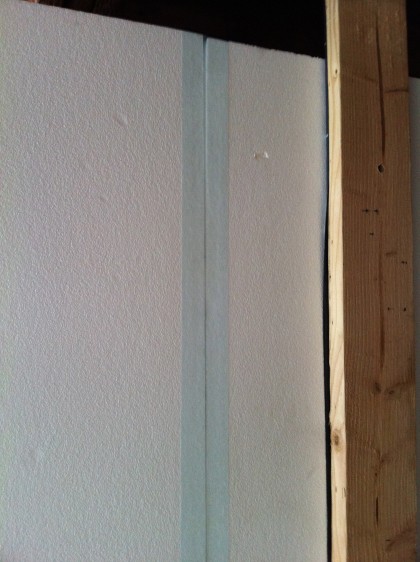
The special tape I was supposed to use for the Branch River Plastics EPS (styrofoam insulation) didn’t stick very well. By the time I’d pressed it down for the tenth time I realized I wouldn’t have access to it once the sheetrock was up. So I caulked all the joints with the PL300 I had used to glue it to the concrete and to itself…

wall2


That should keep the moisture in the concrete where it belongs. I know the system is working because I had to pull off a section to deal with a hole in the foundation that was leaking (well, shooting) water. So far, so good.

Want to know more about the insulation in those walls? It’s here.


rockin’ the double-denim ceiling

Wednesday, October 12th, 2011

This week, David Bettridge will catch us up on the downstairs progress. Drumroll, please…

———————————————————————————————————

When we moved in to this house, we noticed right away that sound travelled pretty well between the upstairs and downstairs. One of our goals is to fix that during the downstairs renovation. If you remember your physics, you know that sound travels as vibration. Usually we think of it as traveling through air but it can also be transmitted through other materials.

Working with Acoustical Supplies in Providence, we came up with a three-pronged attack on noise:

1. Insulation to absorb air-borne sound
2. Sealing to keep airborne sound from leaking through
3. Mass (weight) and mechanical separation to slow sound vibrating through the structure

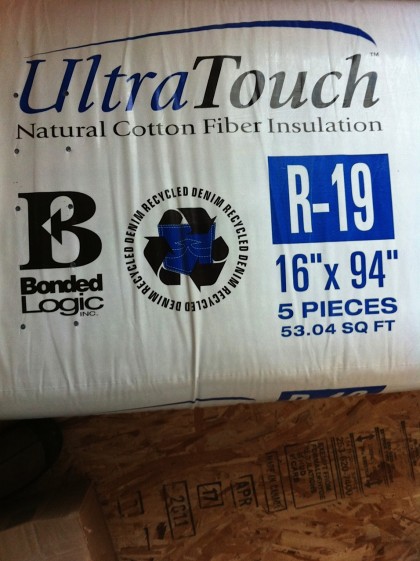
UltraTouch Demin Insulation batts have the same R-19 insulating rating as fiberglass but have a higher STC (sound transmission control) rating…

ultratouch denim insulation


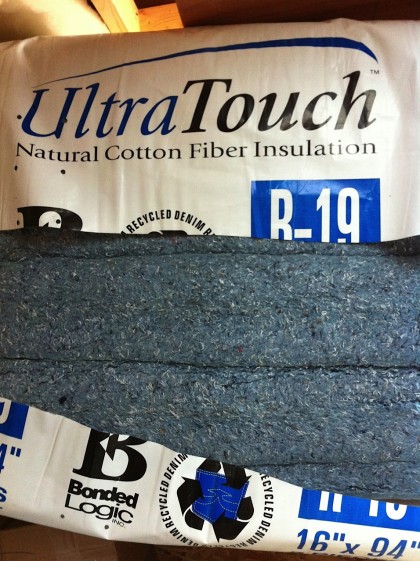
Being made of 80% post-consumer cotton, they also have several planet-friendly benefits — they don’t cause itching like fiberglass insulation, they don’t outgas formaldehyde or any other nasties and they qualify for LEED points. Plus it’s denim. How sexy American is that?

ultratouch insulation double denim ohyeahbaby


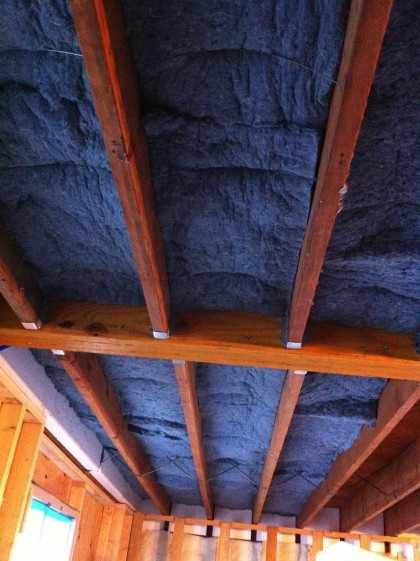
Once cut to the proper size the batts are pressed into place and fluffed so they aren’t too tight or too loose. Special wires are sprung into place to hold the batts so they don’t slip out of place…

ultratouch insulation in place


UltraTouch is slightly heavier than fiberglass. But the main difference between the two is the prodigious amount of dust generated when handling the cotton and the difficulty in cutting it. Fiberglass is easy to cut with a utility knife, even while installed in a stud or rafter bay. The UltraTouch requires fairly careful measuring because it doesn’t compress nearly as much as fiberglass. Actually, this is a good thing because over-compressed insulation doesn’t work as well.

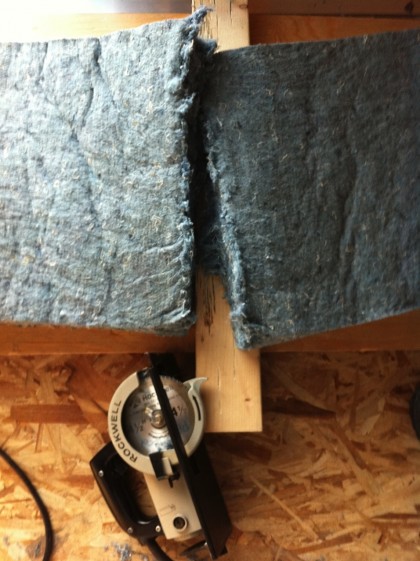
Bonded Logic, UltraTouch’s manufacturer, recommends several specialty tools for cutting it, but I didn’t plan ahead so was left trying their recommendation of a reversed fine-toothed blade in a circular saw. My grandfather’s old worm-drive trim saw fitted with a backwards plexiglass cutting blade works perfectly…

ultratouch and granddad’s circular saw


As the ceiling installation progresses, I’ll show two more methods we’ll use to control sound. In the meantime, my wife wants to know if this double-denim ceiling makes her butt look big?

followup: how’s that hillside?

Tuesday, October 4th, 2011

This is for you, Shiva, my dear!

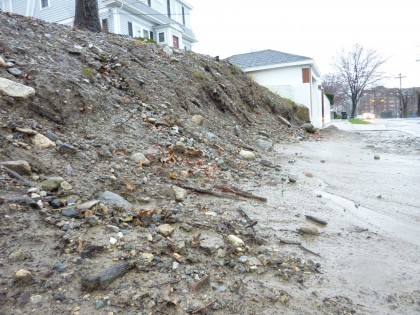
MARCH 30, 2010

hillside: march 30, 2010 a disaster after historically heavy rains


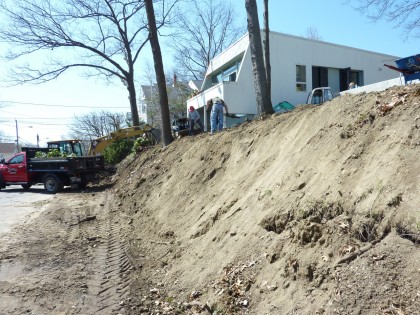
APRIL 3, 2010

hillside: april 3, 2010 reshaped with new soil


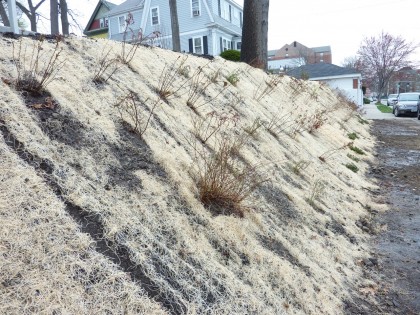
APRIL 5, 2010

hillside: april 3, 2010 biodegradable erosion control added


APRIL 6, 2010

hillside: april 6, 2010 brand new planties


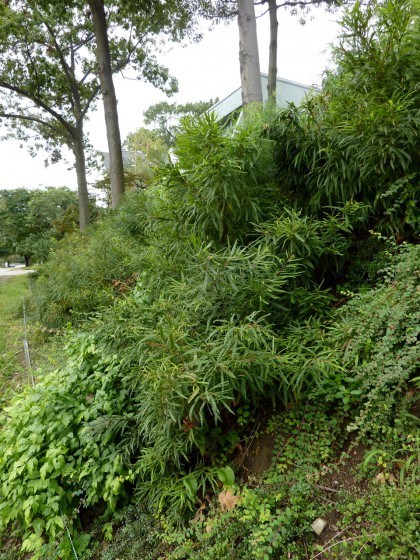
OCTOBER 4, 2011

hillside: october 4, 2011 first view


hillside: october 4, 2011 second view


hillside: october 4, 2011 third view/closeup of sweetfern


Not completely filled in but looking fabulous. No more erosion issues. Yippee!

If you’re interested in the plant choices, check this out. FYI, we ended up putting the Cornus canadensis (creeping dogwood/bunchberry) at the top of the slope in the shade instead of on the slope in the sun.

gophers!

Tuesday, September 27th, 2011

gophers!! okay, not really


Okay, not really. Those are piles of new loam that the crew is laying down today so we can finally have a little bit of grass. Yay! No more dirt washing into the pond! We hope.

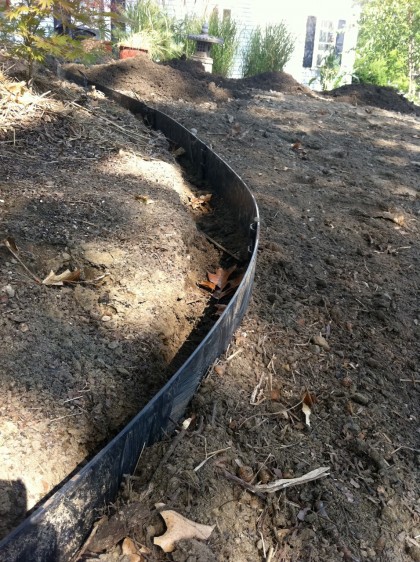
The last of the steel edging was put in to separate the grass from the planting area…

more steel edging


Before the screened topsoil and compost came roto-tilling — better aeration for fledgling grass roots…

rototilling the lawn area


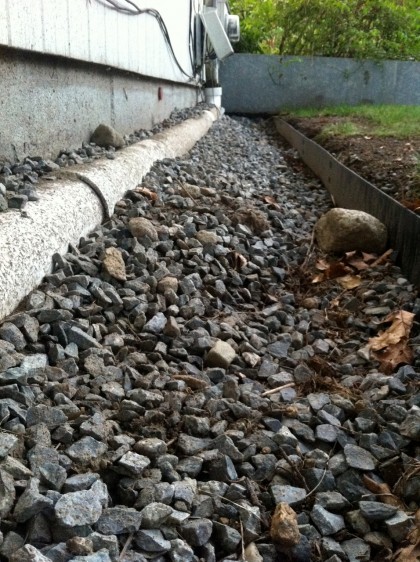
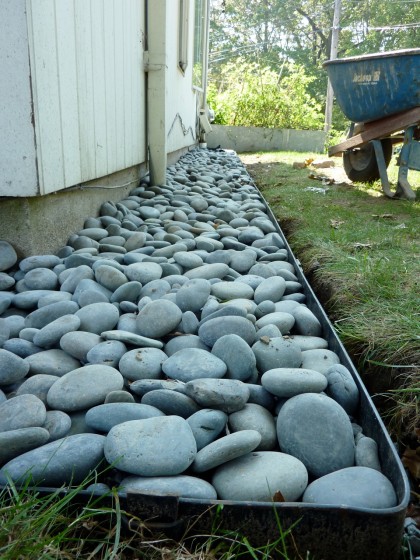
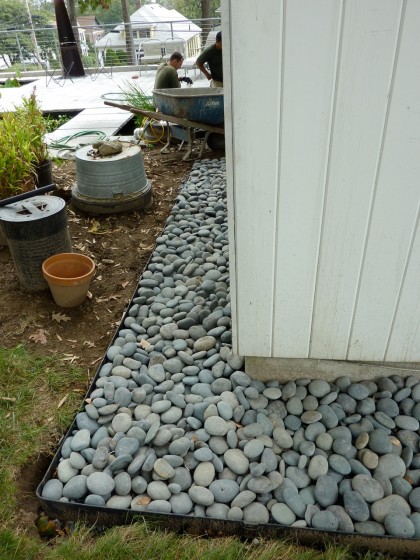
The border around the house is finally complete. It went from this…

border before


To this…

border after


Mexican beach pebbles from The Stoneyard now top off the crushed stone. Picture this up against siding with a dark grey stain instead of light sage…

border with pebbles


Looks great, right? Better shots when all the soil is in.

logging off

Friday, September 16th, 2011

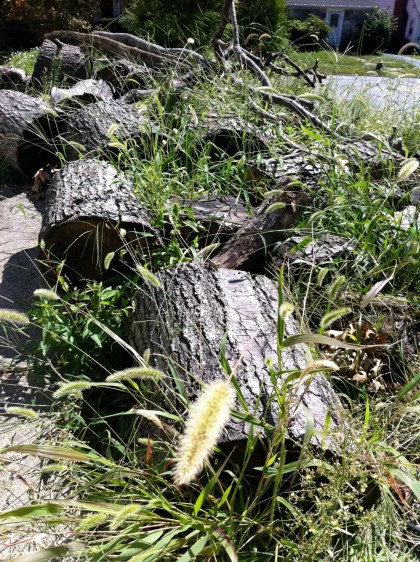
This jumble of oversized logs has been sitting in a vigorous bunch of weeds just outside our front door since the oak tree was chopped down in the spring…
the logs

 
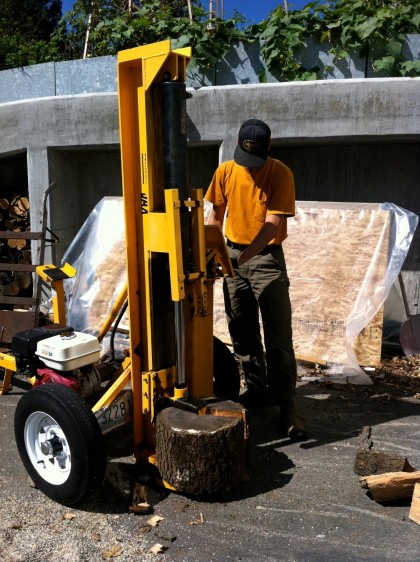
Makes a great first impression on those intrepid enough to approach our front step. Today, Mr. Bettridge rented a log splitter.
the log splitter

 
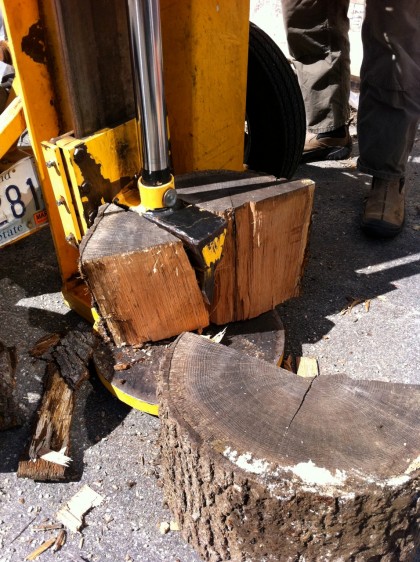
Slices through those giants like buttah. I am pleased to see them join the others in the wood pile. Next year, my friend… next year you keep us warm.
the log splitter splits


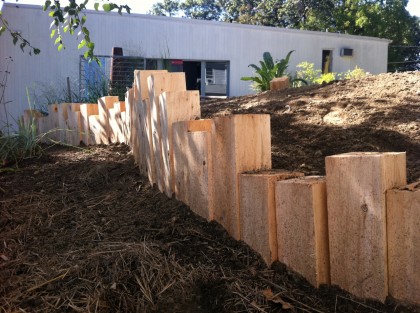
loving the way this looks!

Friday, September 16th, 2011

wall appreciation

Just wait until the wood turns a lovely silvery grey. Perfect.

marvin o’gravel balloon face

Friday, July 8th, 2011

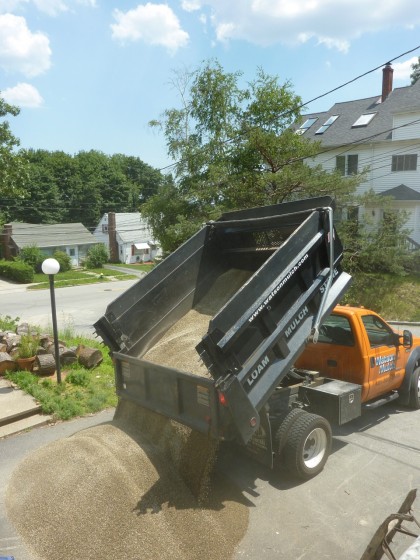
Get the reference? A few days ago, this arrived in our driveway…

gravel truck


Which means I can get some closure on certain areas of the yard. To start with, the veggie garden. We put down the steel edging to separate paths from plantings…

steel edging installed


another shot of edging


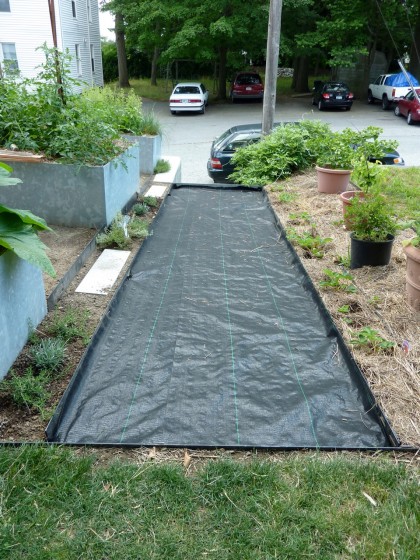
Then we layed down weedblocking cloth because I’m hella tired of pulling weeds…

weedblocker installed


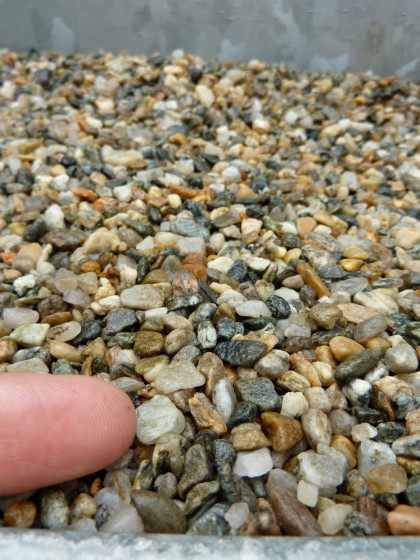
And then there was lugging the gravel up the steps bucket by bucket — the smallest gravel I could find, called “rice stone.”

rice stone closeup


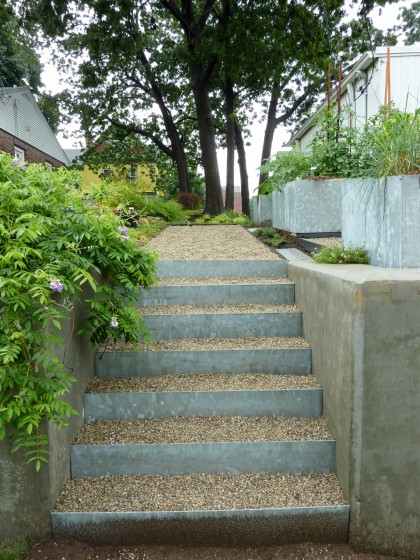
Will know soon whether that was a good choice or not. Am loving how it looks so far…

no more stairs of death!


No more stairs of death!

what’s in your walls?

Wednesday, June 8th, 2011

So back to the downstairs, which is now in motion. David will tell you what he’s up to…

—————————————————————————————————-

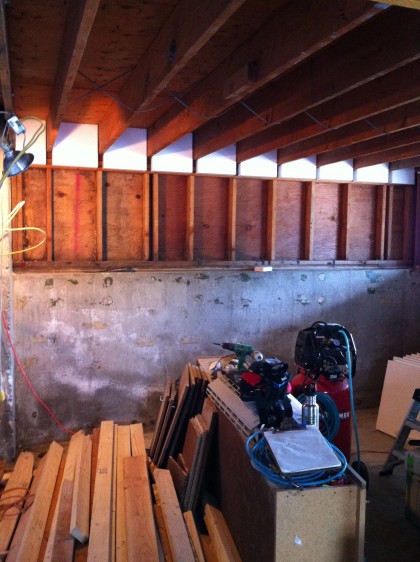
One of the aims of these renovations is to cut our energy use, ideally by 60% or better. How will we achieve that lofty goal? By making the house air-tight and by adding insulation. Lots of insulation.

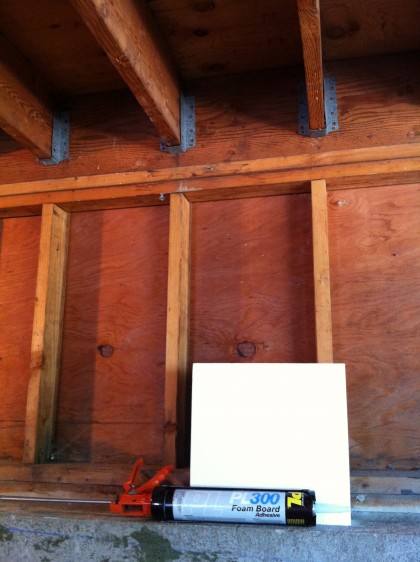
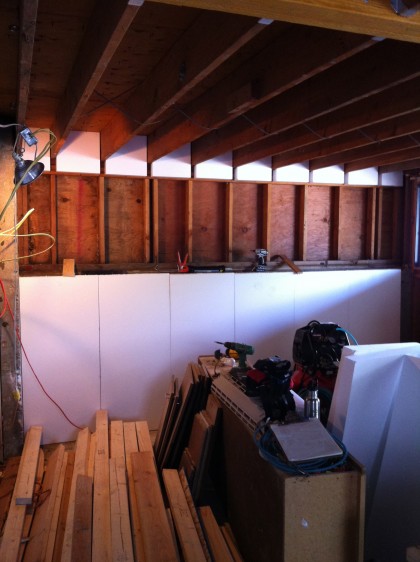
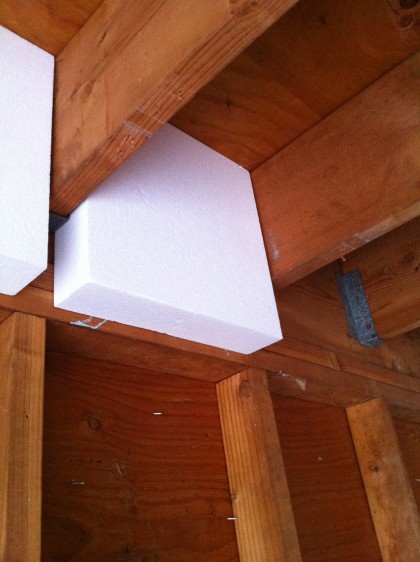
We ordered 3” of EPS (fancy name for styrofoam) made right here in Rhode Island by Branch River Plastics. Not only did it not have to ship from China, they make their foam in any size you like and they put boric acid in it to keep insects out  — which is handy seeing as we discovered there used to be termites in the walls. It weighs 2 pounds per cubic foot, so it’s denser than the shipping foam you’re used to. It is made with air instead of HCFCs so it’s better for the environment and holds its R-value over time unlike most other rigid foam insulation that slowly loses its effectiveness.

PL-300 adhesive holds it in place without dissolving it, don’t use anything that isn’t labelled specifically for foam…

foam glue


We had them cut pieces to fit between the floor joists…

rim joist foam

I wrapped it around the short walls on either end of the main space…

short wall before

short wall during

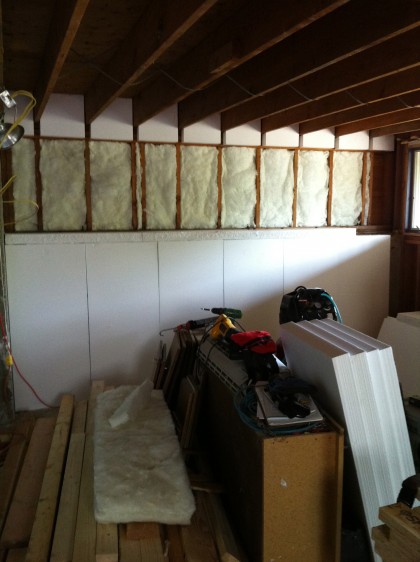
The wood-framed walls on top of the foundation receive two layers of un-faced fiberglass, here’s the first…

short wall after


When it’s done, the bathroom should be warm and cozy…

bath wall foam


I ran beads of the foam glue between the pieces to make them one big layer…

foam glue 2


Special tape seals the deal…

foam tape


I’ll be adding 3/4” furring strips screwed to the concrete. They’ll give us something to attach the sheetrock to, create a bit of air space to allow moisture to get out and give the electrician a place to run his wires. All that coming soon!


shades of deliverance

Friday, May 27th, 2011

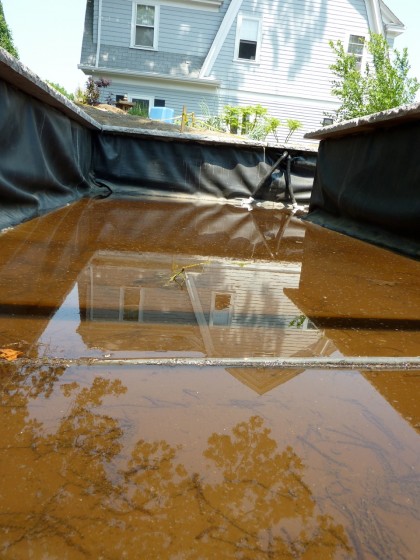
So is the koi pond up and running yet? Uh… well, not quite yet. What we have right now is more of a festering swamp than a pond.

our lovely swamp

The crew pumped out most of the rainwater a few days ago but we still have this mosquito-friendly bit left to deal with. Better get on that. Before the hillbillies show up.