Archive for the ‘projects’ Category

fyi on the a/v yo

Friday, November 25th, 2011

My home audio specialist and A/V club president, Mr. Bettridge, now brings you this public service announcement.

———————————————————————————————-

As long as the walls are open, I’m taking advantage of this opportunity to run all the wire we’ll ever need — I hope. So what does that include? Funny you should ask.

To connect the front left, right and center speakers, and the sub-woofer to the A/V cabinet, I ran 1” ENT conduit. Electricians call it Smurf tube because of its Smurfy blue color. Its real name is Electric Non-Metallic Tubing. It’s a flexible pipe that’s easy to install, easy to connect and easy to pull wire through.

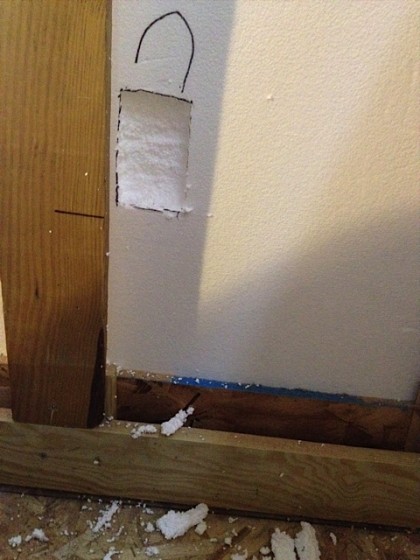
First, I traced the boxes onto the 3” foam insulation…

electric1


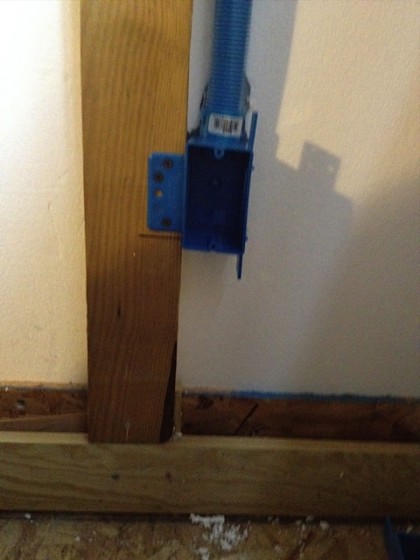
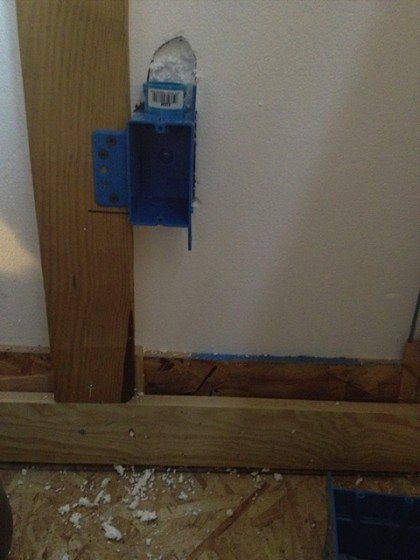
The box is mounted and a connector snaps into the box…

electric2


And the ENT simply pushes in to the connector. Easy peasy (although blurry)…

electric3


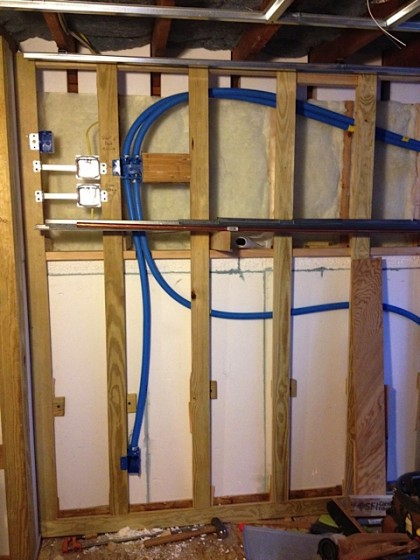
The four runs will enable us to experiment with different speaker wire at will, with everything hidden neatly behind the sheetrock — which I will be adding soon…

electric4


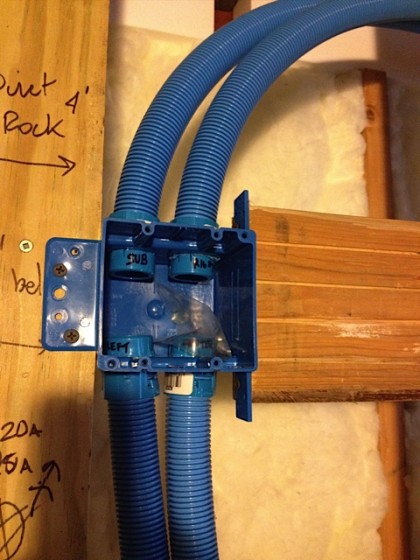
It’s a good idea to label everything to simplify things when you run your wire. Ya never know…

electric5


Joining this 4” square box (also known as a 2-gang box) in the A/V cabinet will be:

  • Two dedicated 20-amp electric circuits to provide plenty of power for 7.1 channels worth of amplification and the rest of the A/V gear.
  • Connections for in-wall speaker wire to the rear and rear surround speakers.
  • CAT-6 data wire to allow connection to a music server and the internet.
  • RG-6 quad-shield coaxial cable to carry cable TV, as well as TV and radio signals from an antenna (remember those?).
  • A 1-½” conduit that will allow running an HDMI cable to the TV. Most wire can have connectors installed after the wire is run to its destination but increasingly complex connections require wires to be factory terminated. Rather than burying the wire in the wall and hoping nothing ever damages it, or that the wire doesn’t become obsolete, I opted to run a conduit large enough to pull a complete HDMI cable and hopefully whatever cables replace HDMI in the future.

Hopefully all this will enable us to take advantage of current and future technologies without having to open up the walls or surface-mount wire.
our own TARP plan

Wednesday, November 23rd, 2011

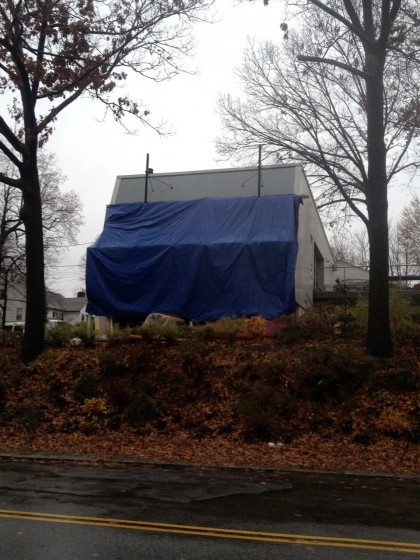
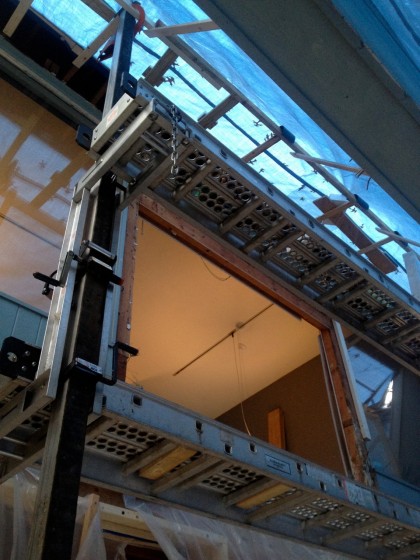
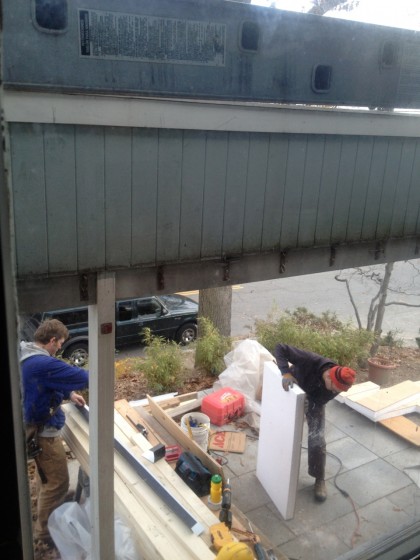
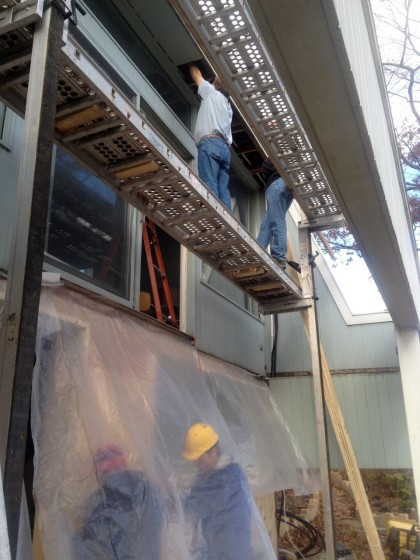
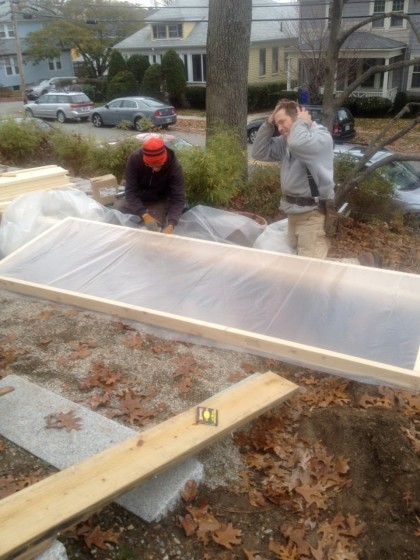
Rain and wind today. But will David and Joe let that stop them? Heck no. Those clever boys figured out a way to work in a bubble…

tarp from across street


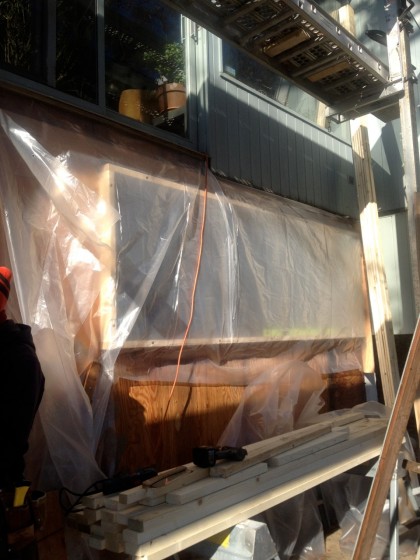
So what are they doing under there?

tarp from underneath


Good question. They’re really too busy to tell me. The missing slider that leads out to our missing deck is probably a good clue. The living room is very cold, so if you drop by be sure to wear a coat.

monday update

Monday, November 21st, 2011

Ooh, more construction than deconstruction today! Tell us how it went, David…

————————————————————————————–

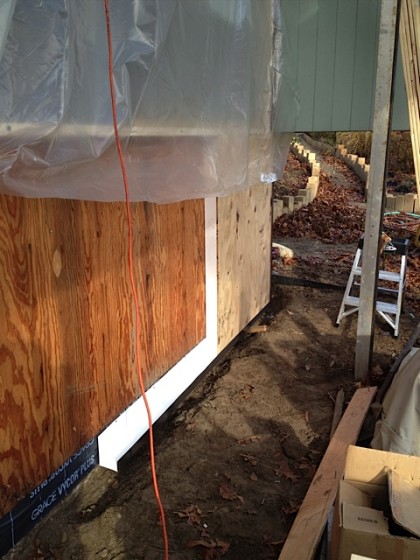
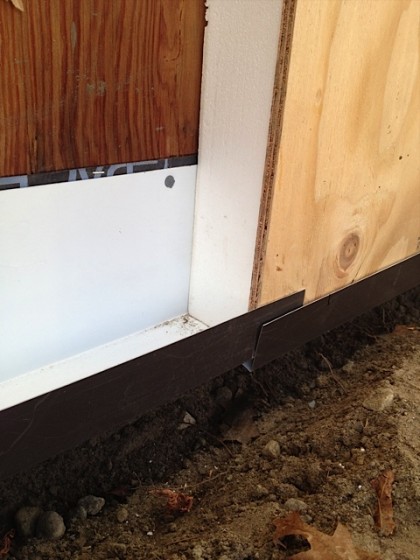
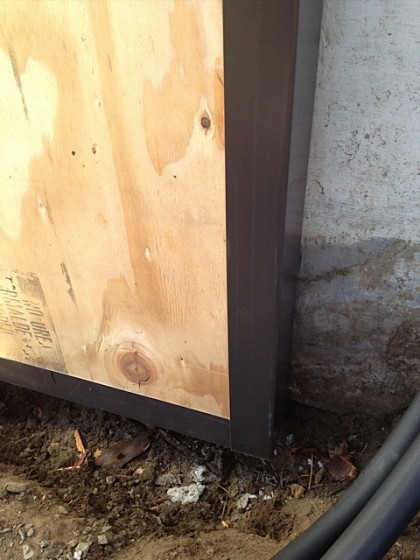
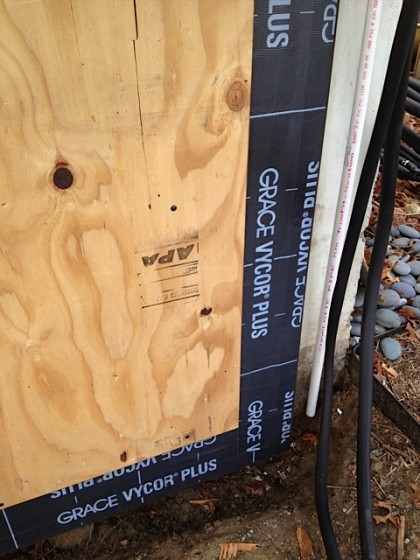
Today Joe and I started putting the end of the house back to together. First we caulked the uneven joint between the concrete slab and the old plywood sheathing and applied ice and water barrier (a special super-sticky sealing tape). Joe bent up some aluminum into a J-shape which we attached to the old sheathing with a bead of caulk and nails. Then we cut pieces to fit from the 3” foam/plywood panels…


monday update


… and slipped them down into the channel.

monday update 1


They got attached to the existing 2” x 4” framing with 5” screws. The aluminum protects the foam and plywood from attack by water, ants and termites…

monday update 2


We ran the aluminum up the sides of the new foam/plywood sheathing at each end of the wall…

monday update 3


Then we taped the aluminum to the new sheathing with more ice and water barrier…

monday update 4


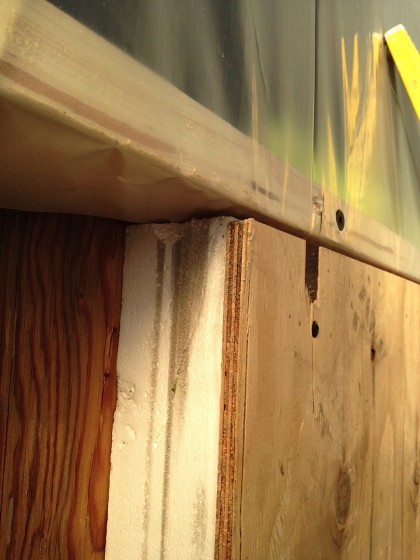
Here you can see why we added 2” x 4” frames around the window and door openings…

monday update 5


… we had to bring them out to the new face of the house, even with the new 3” foam/plywood sheathing!

Once the whole two-story wall has the foam/plywood layer applied, we’ll cover it with a vapor barrier. Then a layer of special breathable mesh goes on which allows air to dry the back of the siding and then the siding can go on. Whew.

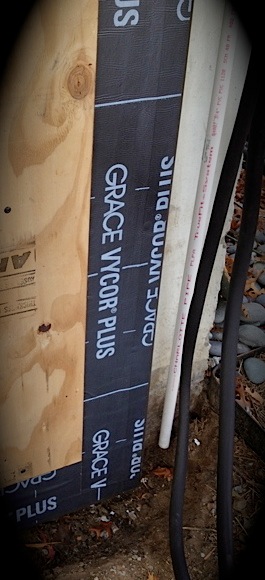
Those two black hoses you see trailing down the wall…

monday update 6


Those and the white PVC pipe are part of the new HVAC system which also went in today. More on that later. Man it was hectic upstairs and down…

monday update 7


In a good way.


friday update

Friday, November 18th, 2011
So what’s the word on this chilly, windy day, David?
———————————————————————————–
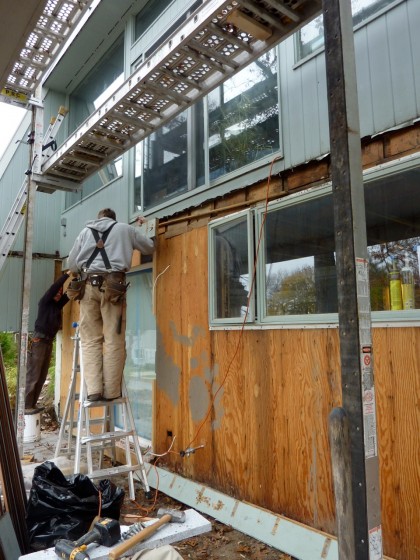
Yesterday Joe and I pulled off the vertical beveled tongue and groove siding. Then we pulled off the ledger board that held up the deck…
friday update 1
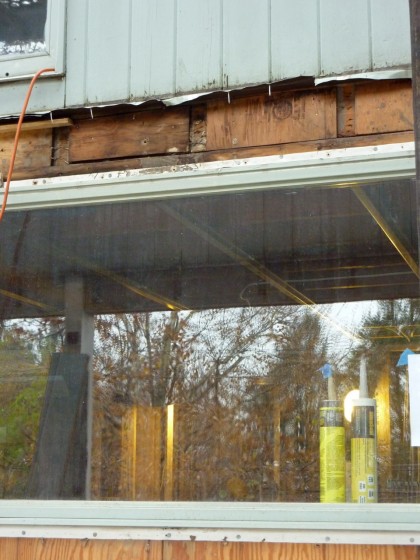
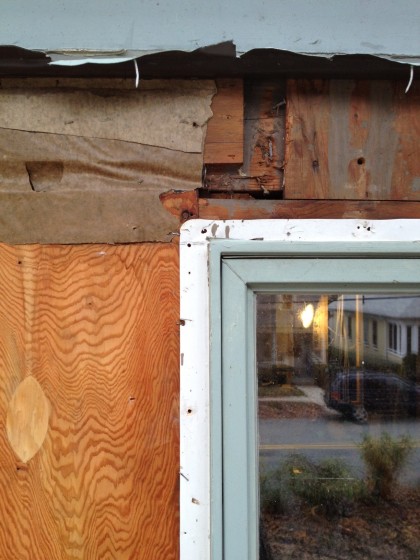
Behind was evidence of the old deck system that was replaced in the early ’80s. The house wasn’t very well sealed, which explains the dark spots on the wood there — that’s the beginnings of rot. Plus, the tar paper was not continuous and the detail around the big window was odd….
friday bad window detail
We pulled the window out…
friday update 2
… and then installed the new window opening on the outside of the old sheathing.
friday update 3
friday update 4
Next up? Insulating. Then the same procedure on the BIG windows and the slider in the living room. Oy vey.

what are the boys up to today?

Thursday, November 17th, 2011

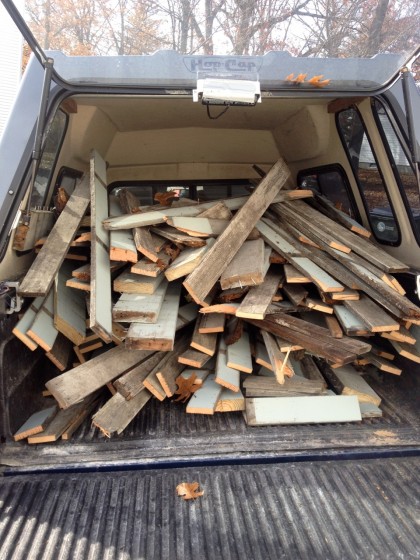
Started on Tuesday. Two days later, David and Joe are busy out there again. Our redwood siding is coming off. Take a look…

deck project on thursday


More later.

undecking EOD

Tuesday, November 15th, 2011

Where do rotting wooden deck boards go when they die?

deck headed to the dump


The dump, duh. Unfortunately, not much salvageable here.
undecking

Tuesday, November 15th, 2011

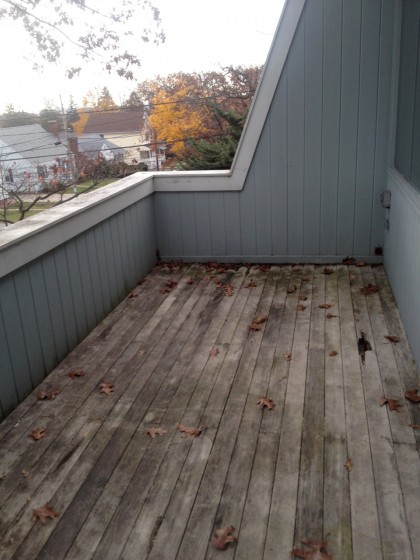
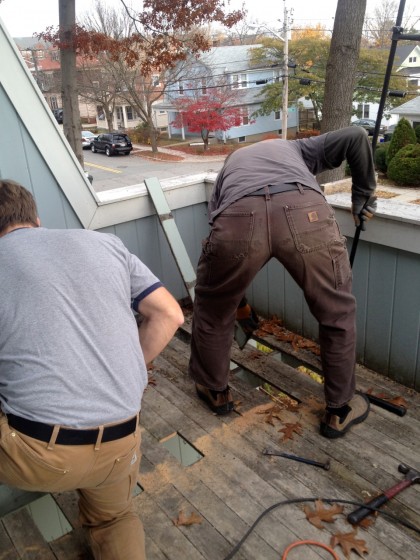
I mentioned ages ago, waaaaaaaaaaay back, that the floorboards of our deck are rotting away…

deck | before shot


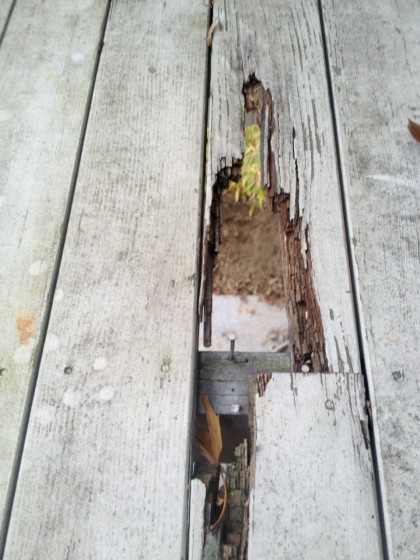
Is that a hole on the right there? Why, yes, it is…

deck | the hole


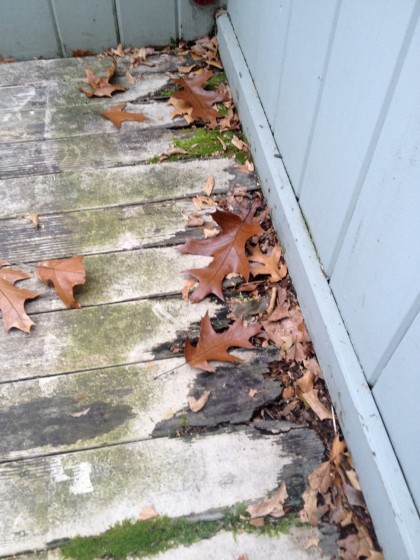
Other spots are getting pretty squishy…

deck | rot


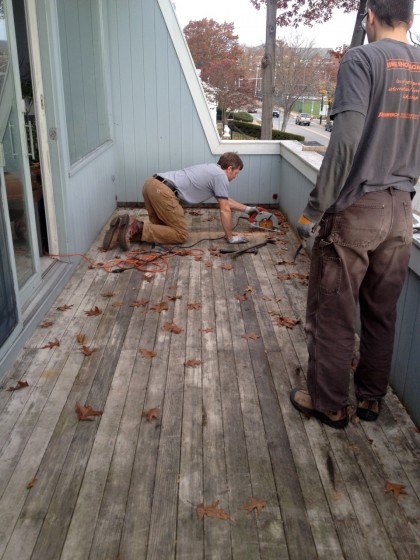
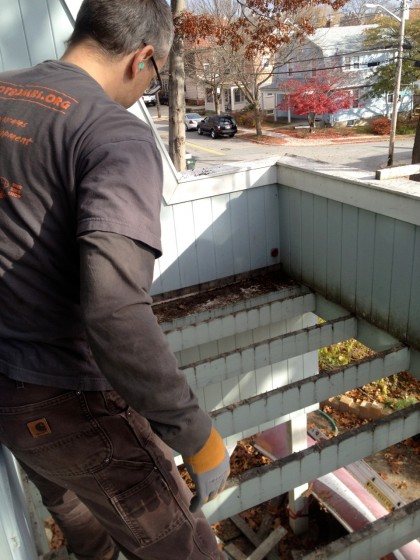
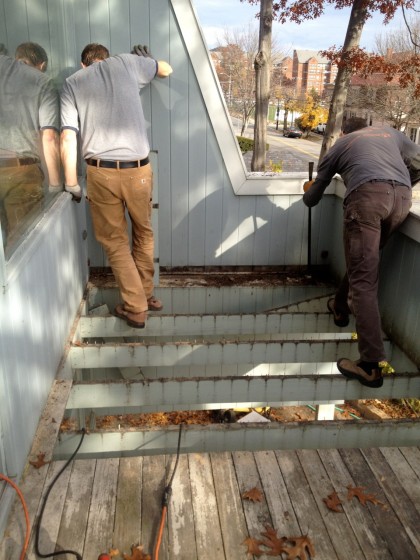
So this morning, Joe and David are deconstructing the deck…

deck | sawing


deck | pulling up the boards


deck | see-through!


deck | bye bye old boards


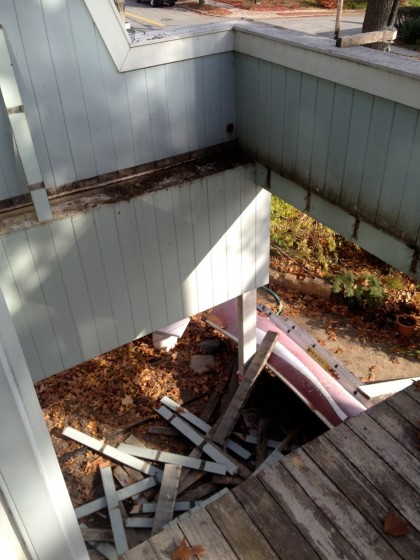
You may be asking yourself, hey, isn’t this…

deck | bottomless


… just one more distraction from all that work that needs to happen downstairs?

The answer is actually no. Windows for whole front of the house — upstairs and down — are coming soon, which means the siding will have to come off and the walls get insulated. The deck is in the way. So new deck gets us new windows!

In the meantime, the staging awaits…

deck | staging


prepping the bathroom floor

Monday, November 7th, 2011

David Bettridge will now catch us up on the downstairs bathroom as he preps for tile. Try to contain your excitement, okay?
—————————————————————————-

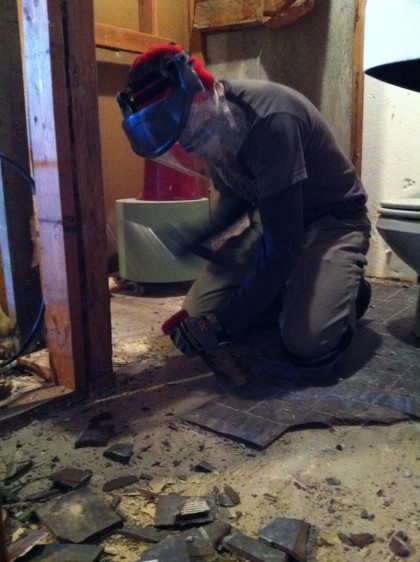
The majority of the downstairs floor is insulated and ready for flooring but the bathroom is its own special case. Way back in March, I removed the old tiles from the floor…
the floor during


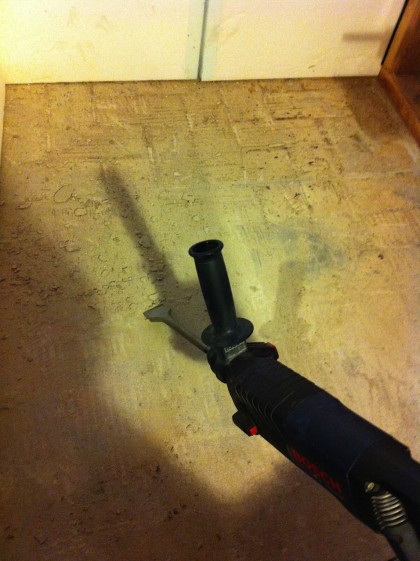
More recently, I removed the last of the thinset (tile ‘glue’, a kind of flexible mortar). A wide chisel bit in my trusty Bosch Bulldog made short work of it…

bathroom floor | bosch bulldog

The Bulldog is a light-duty rotary hammer that has settings for drill+hammer, just drill or just hammer. Hammer drills on the other hand only have settings for just drill or drill + hammer. The Bulldog drills into 40-year old concrete like a hot knife through butter.

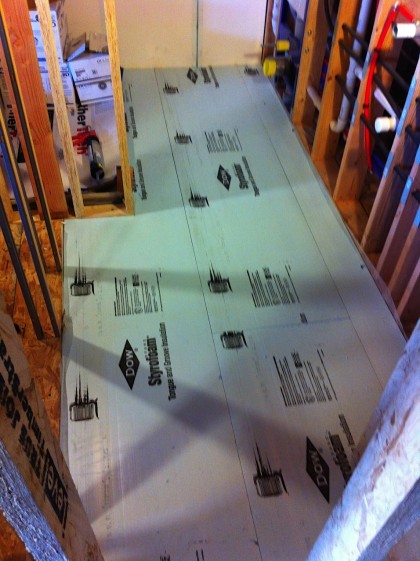
Once the slab was clean and smoothish, I layed down 1” tongue and groove high-density foam insulation…

bathroom floor | foam insulation


It will act as a thermal and moisture break between the new tile floor and the slab (and planet earth) underneath. This will hopefully keep the bathroom floor more comfortable underfoot and keep the basement dry. And it will help the bathroom be more energy efficient as well.

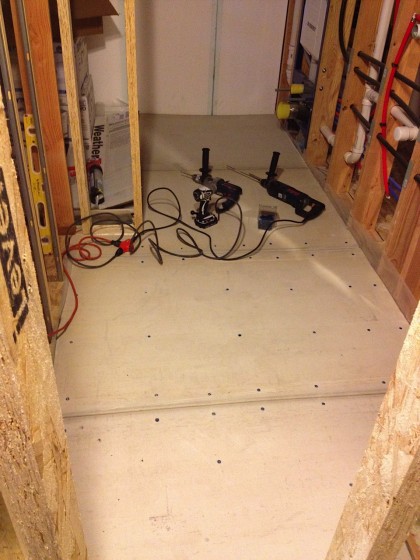
I layed 1/2” cement board over the foam and screwed it down to the slab underneath, using Tapcon screws…

bathroom floor | cement board


Due to their special threads and lubricated coating, they actually cut into the concrete when installed into a pre-drilled hole. Technology, gotta love it. I used a lot of screws so there would be no movement under the floor tile, and therefore no cracking.

Some lucky tile installer will trowel thinset onto the cement board, lay Schluter Ditra tile membrane down before troweling on more thin set, then setting and grouting the floor tiles. The membrane acts as another moisture barrier but more importantly it separates the tile from the floor which lets things move a little bit before any cracking takes place. Again, technology at work.

Schluter will also be providing all the metal bits and pieces that allow tile to be installed up against other materials like cork flooring, wood cabinets, mirror, etc. A small prep detail but an important one. Like they say, do it right the first time.

what’s underfoot

Thursday, October 20th, 2011

After a week of posts from Mr. Bettridge on the downstairs progress, we might just be caught up! Take it away, David…

—————————————————————————————————-

To make the downstairs more comfortable (and cheaper to heat) in the winter, we decided to insulate the floor slab. Our house scientist wanted 2” of foam, but we didn’t think we could afford to give up that much headroom, so we decided to use 1” instead.

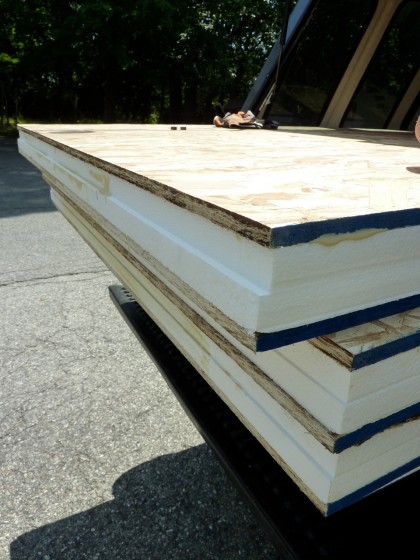
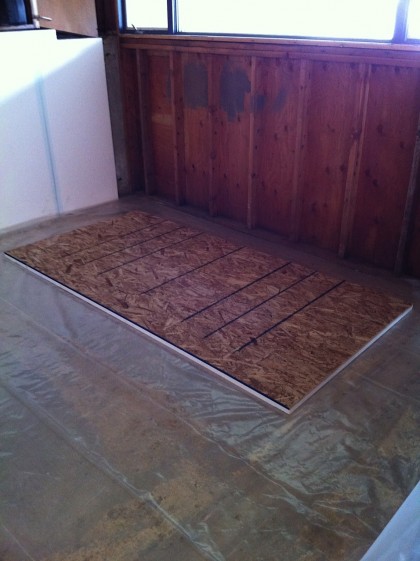
Then we became concerned that the foam alone might not be enough — its 20 psi load rating isn’t high enough to properly support furniture and whatnot. So we had local Branch River Plastics make us a bunch of these panels…

floor insulation panels


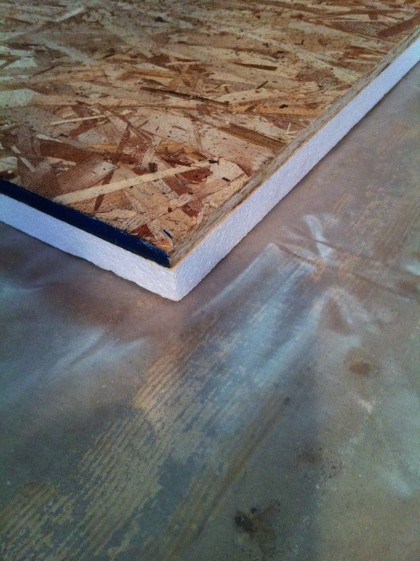
It’s the same EPS (styrofoam) we used at 3” thick to insulate the foundation walls, only these are made of 1/2” thick 4’ x 8’ OSB (oriented strand board) glued to 1” EPS….

floor insulation


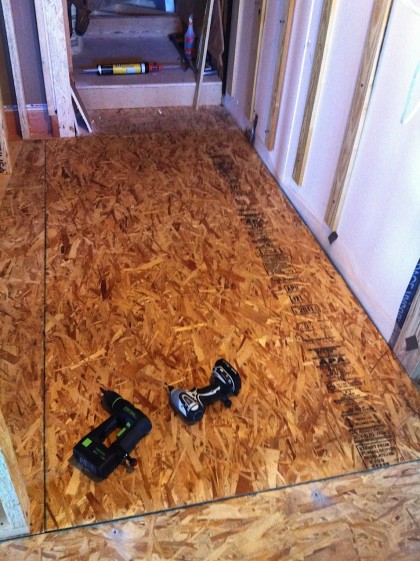
The non-formaldehyde, non-outgassing OSB spreads out the weight of people and stuff on top of it and provides a nice stable surface for the finish floor to rest on…

floor insulation detail


Underneath the foam is 6 mil plastic that acts as a vapor barrier, keeping moisture out of the floor system. Even in its not-quite-completed state, the basement is down to 45% humidity which is great.

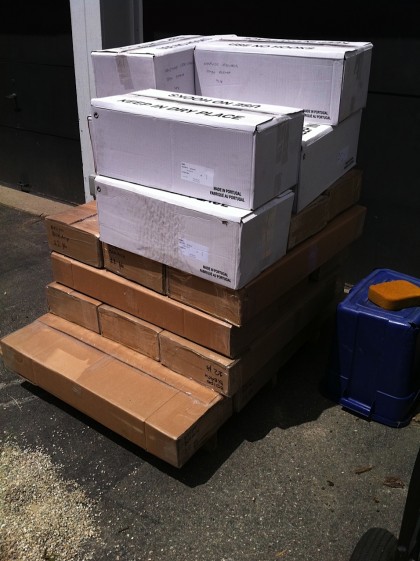
Eventually — well, soon — the cork floor planks will be installed over the top of the insulation panels. Until then, they wait…

cork tiles waiting in the driveway


Luckily, they’re no longer waiting in the driveway.

The last piece of sub-floor went in twice because of the leak in the foundation wall. On the right you can see the 6 mil vapor barrier coming out from under the sub-floor and up the wall. It got sealed to the 3” foam with non-hardening sealant (in that big caulking gun on the step)…

underflooring in front of steps


Give me a few more days and I’ll show you how we’re prepping the bathroom floor in a slightly different way.

getting into hot water

Wednesday, October 19th, 2011

Nope, no problems here. This is all about our new, high-tech, energy-saving hybrid water heater. Talk it up, David!

———————————————————————————————-

Some months back I told you about our house scientist and how we consulted with him on creating a greener, more energy-efficient home with this remodel. His recommendations resulted better insulation. But we’re also upgrading all of our equipment — starting with the water heater.

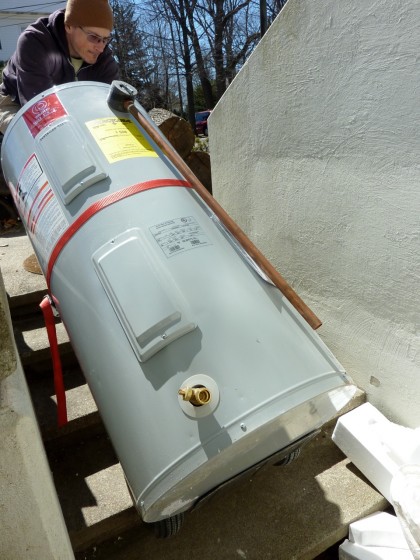
That meant out with the old and inefficient…

the old, inefficient water heater goes bye bye


And in with the new space-age unit we like to call HAL…

the new hybrid water heater arrives


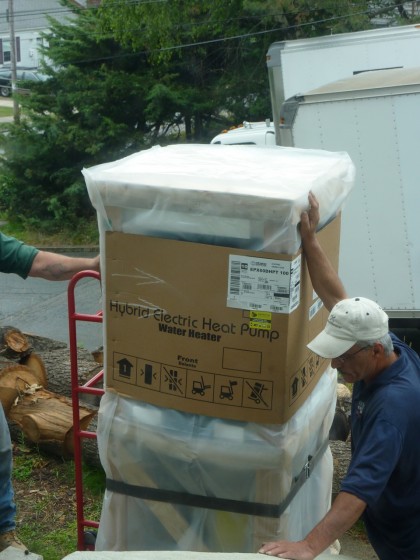
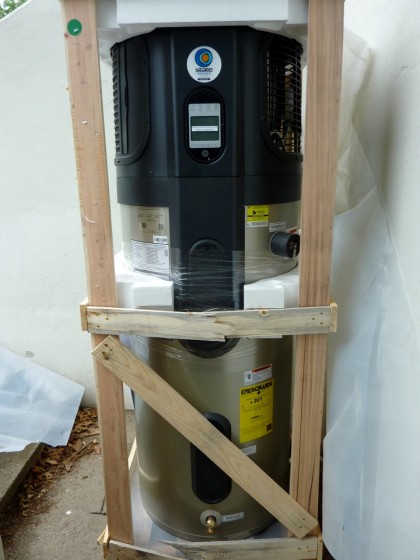
Even in its crate, you can tell this Energy-Star rated, State Industries Premier Hybrid Electric water heater is the future. It can use as little as 30% of the electricity of a regular unit…

the hybrid water heater in crate


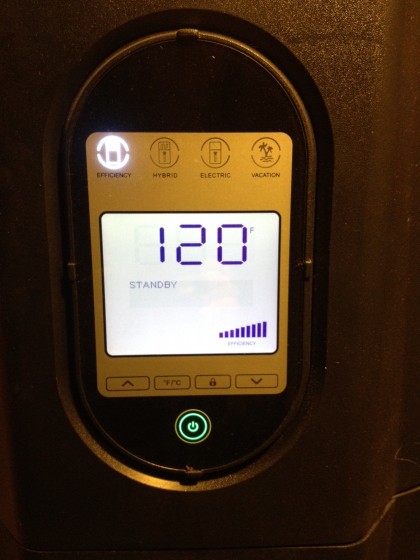
You can think of it as a traditional electric water heater with the addition of a heat pump on top. Or you can think of it as an electronic wizard of hot water, with multiple modes of operation…

electronic display on the hybrid water heater


Energy-saver mode: runs the heat pump to pull heat (and, bonus: moisture) out of the air and put it into the water inside the tank. Hybrid mode: uses the heat pump and the smaller upper electric coil to heat the water, still saving some electricity but giving a faster recovery time — handy if everyone needs hot water at once for some reason. All-coil mode: shuts out the heat pump and just uses the two heat coils like a traditional water heater. I guess it would come in handy if we had a house full of guests for a week. Vacation mode: go to the beach without running full-bore.

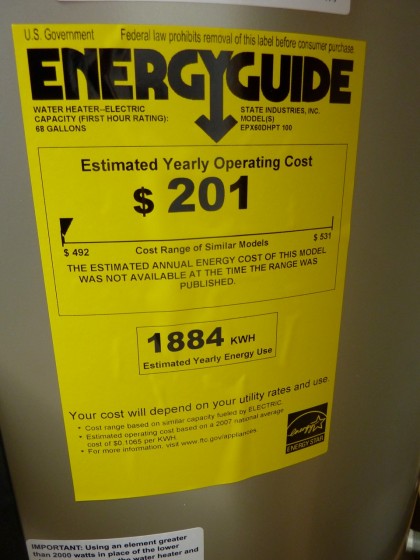
It has a 60 gallon tank — 10 gallons larger than we’d need with a traditional electric heater. Why? Because in energy-saver mode the recovery time (the time it needs to reheat the water in the tank) is slower.

hybrid water heater energy guide sticker


Hard to say at this point how much (if any) electricity we’re saving with the new water heater. However, I have noticed that it only runs once or twice per day for about an hour at a time. Its secondary function as a dehumidifier is working great though — it pulls the humidity down 2-3 percentage points every time it runs! That’ll be great when July rolls around.

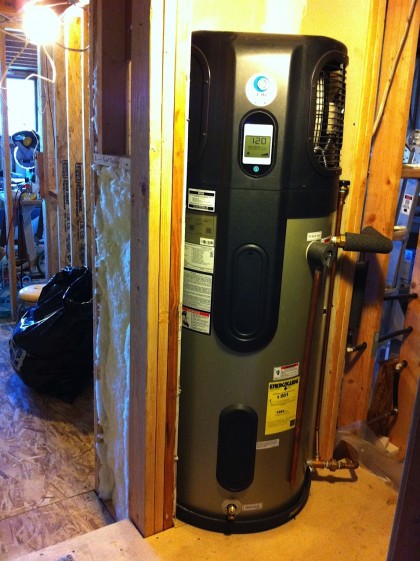
It needs 750 cubic feet of 50+ deg F air to draw heat from, but the pantry/utility closet we have it in is much smaller than that…

water heater in place


Don’t worry, we figured that out. See that opening inside the wall on the left there? That’s for a duct that will allow the heat pump to draw in warm air  from the larger main space. In fact, Joe just hand-crafted said duct from sheet-metal, mass loaded soundproofing vinyl and foam. And yes, pixie dust…

joe and his duct


That man is awesome. And now we pop it into place. Like buttah…

duct slides into place


The intake grille will be up at the top, offset from the unit’s intake. The foam and vinyl were added to cut the amount of noise getting out (the unit is noisy as the heat pump is basically an air conditioner).

Want more info on this hybrid water heater? You’ll find it here.