re-decking DONE

October 3rd, 2012

I apologize for my lapse in posting. Slammed with work again and it’s playing havoc with the bloggy. Let’s catch up, shall we?

David and Joe just wrapped up work on the deck. We left off with them installing the steel to cantilever the deck. This was the state of things immediately after…

deck walls await


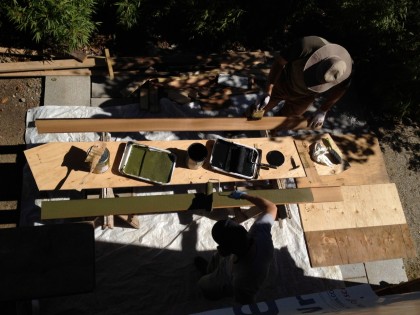
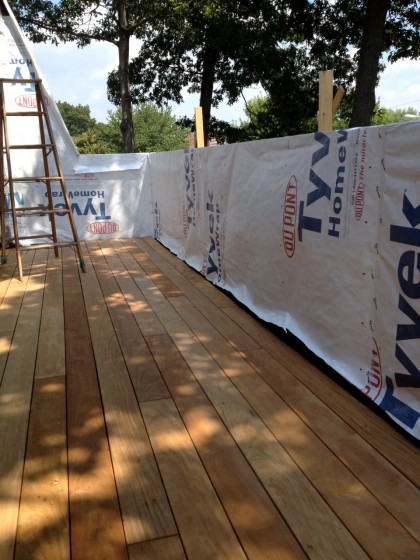
Time to replace the siding on the inside walls of the deck. The boys started by priming and then staining the cedar to match what’s on the walls below

the new replacement boards get primed before they get stained


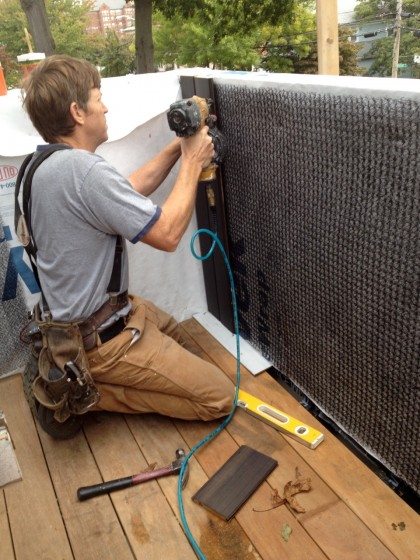
As before, Joe nailed on Cedar Breather, which allows the wood to dry from behind. Then, one by one, the freshly stained boards went on…

the Cedar Breather gets nailed on before the new siding


Before I show you how it all turned out, let me remind you of its former life in a dingy shade of drab.

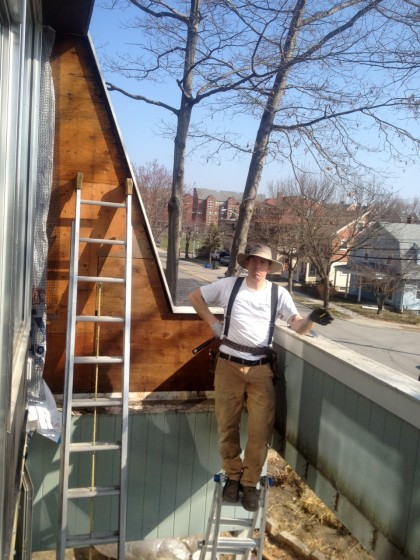
This is what it looked like out there in March as it was being deconstructed…

remember how it used to look? Joe removing the siding in March 2012


Now there’s a chance that powdery sage green looks great on some other house and just not on this one, I’ll grant you that. Having grown up on an Air Force base, I can tell you that this is a shade from my childhood, requisitioned by the military in bulk. It was everywhere. And clearly I am biased against it.

But I blather.

Let me show you how to do justice to this house…

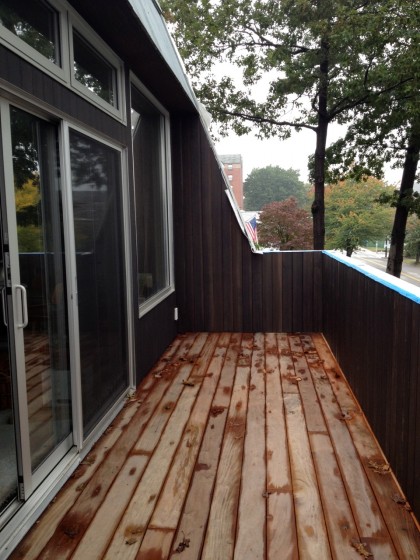
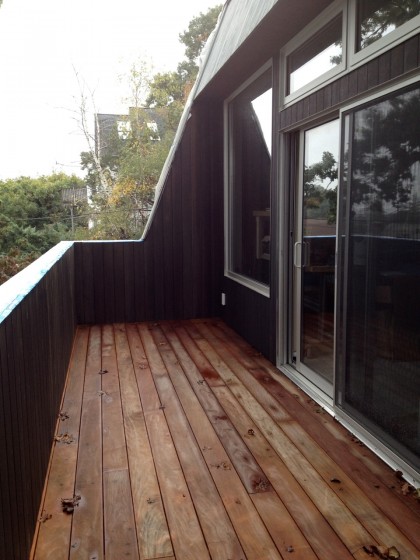
newly stained siding on the wing wall and railing


view from the other end


Wow. The beautiful wood now looks like beautiful wood.

Bulky, unnecessary trim is eliminated.

Crazy angular wing walls finally get the emphasis they deserve.

Great job you guys! Looks fantastic — and will look even better once that Garapa Gold decking fades to silver. Psyched. The cap on top of the railing (exact material TBD) will be added after the outside envelope of the house gets re-sided.

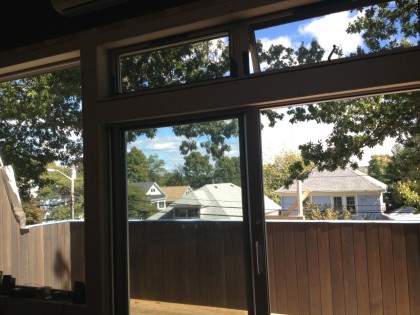
I like how the dark wood really grounds the house and frames the view now…

the new and vastly improved view from inside the house


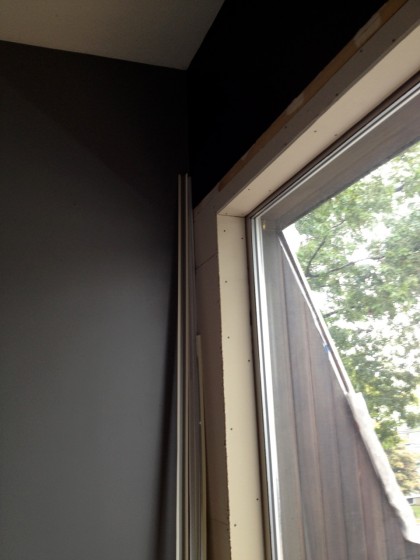
I’ve been picturing a future in which the walls of the living area are lined in dark walnut built-ins that blend (almost) seamlessly into the dark wing walls…

someday the inside wall will blend with the outside wall


I can see it. Can you?

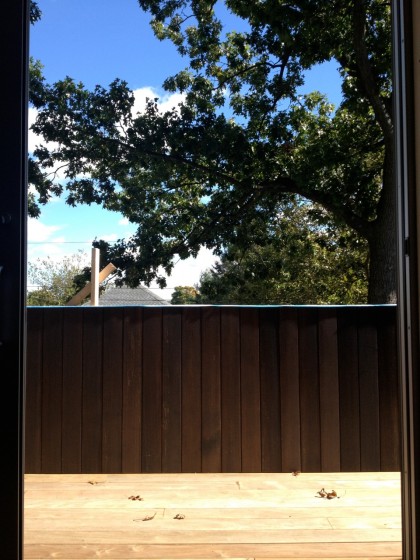
Now… who would like to join me for a toast on the deck?
view through the slider

cathedral of junk

September 27th, 2012

Ever wondered what the inside of our garage looks like? Not as good as the Vince Hanneman’s creation, that’s for sure.
back in the bathroom

September 23rd, 2012

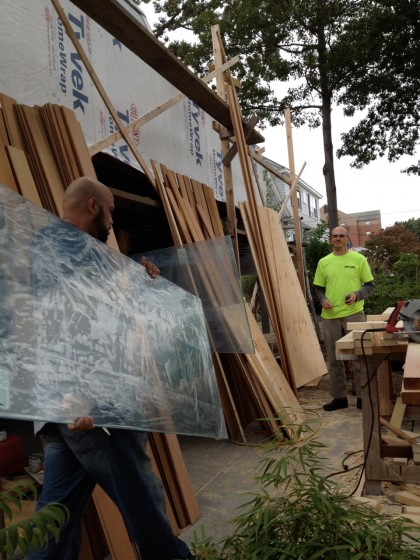
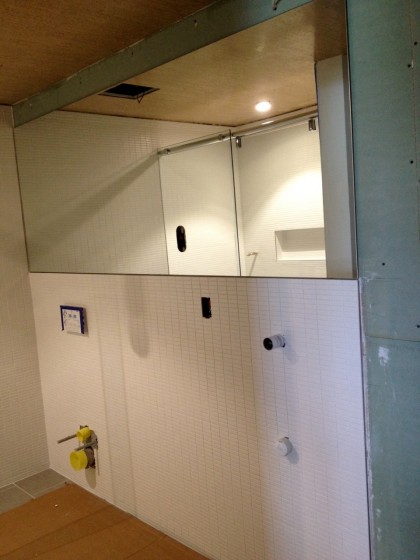
On Friday, RI Glass delivered and installed the shower glass and mirror for the downstairs bathroom…

the shower glass arrives


The bathroom mirror was installed atop an electronic mirror defogger. It has a heating element to keep the area above the future vanity from fogging up when you take a shower. That’s my clever boy for ya…

the bathroom mirror is in


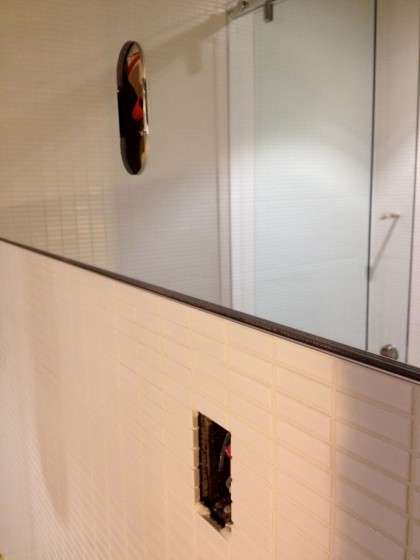
The oval hole in the glass at top is where the lit shaving mirror will go. Below that will be a regular electrical outlet…

electrical: lighted mirror goes above, regular outlet below


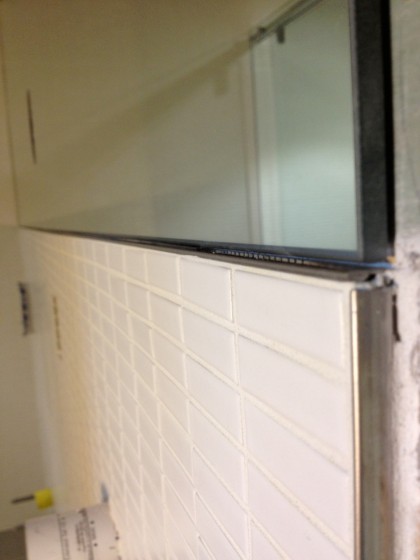
Nice, clean aluminum edge divides the glass from the tile…

aluminum edge between tile and mirror


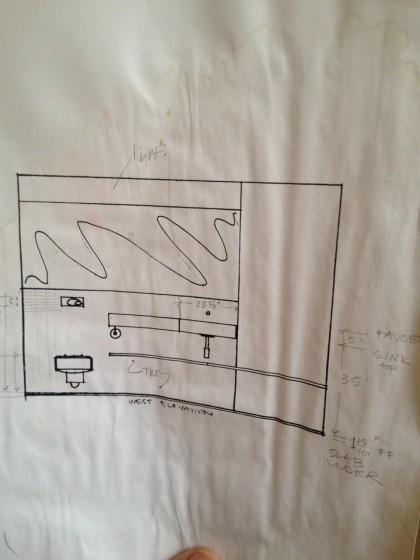
I think I posted this once before, but here’s a reminder of what this wall will eventually look like…

layout of sink area


At the risk of being repetitive, let me remind you of this:

A walnut box/countertop will be open on the end next to the toilet, so we can stash magazines and toilet paper rolls. (No toilet paper holder like in the drawing.) A walnut shelf will stretch from under the sink to the corner of the room where it becomes a bench. Behind the bench is a floor-to-ceiling wall of walnut with a few hooks up high for hanging clothes.

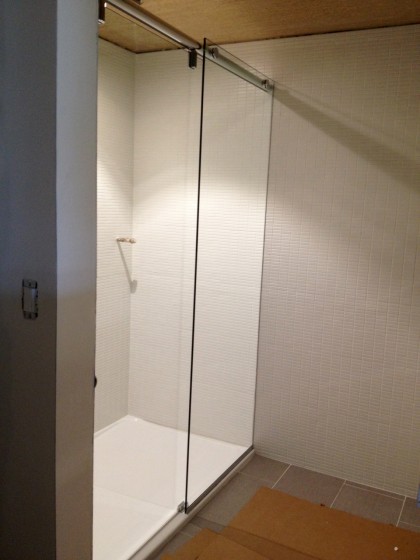
Over on the opposite wall, the shower got its new frameless shower glass. Hard to get a decent shot in this small bathroom but you can see it’s finally looking like a bathroom!

it finally looks like a shower!


The shower base still needs to be topped by a teak slatted shower tray. Actual shower hardware not installed yet.

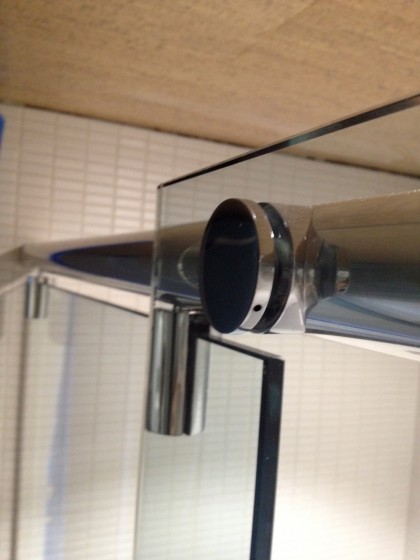
As always, tried to keep it fairly minimal in here, which is why we went with a frameless design. The metal bar is bolted to the header to keep the heavy sliding door setup sturdy. Closeup of the hardware at the top…

closeup of the hardware at the top


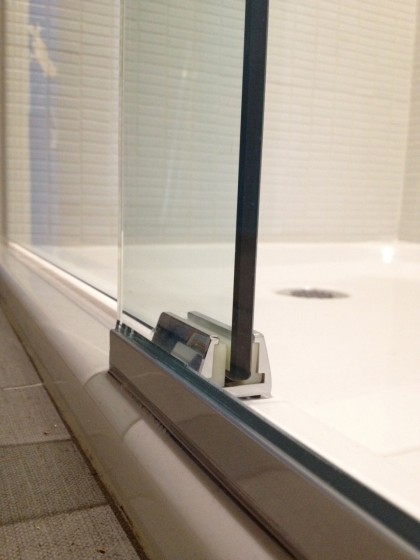
Closeup of the sliding door track at bottom…

closeup of the bottom


The fixed glass is silicone-mounted right to the tile…

shower glass wall siliconed to the tile


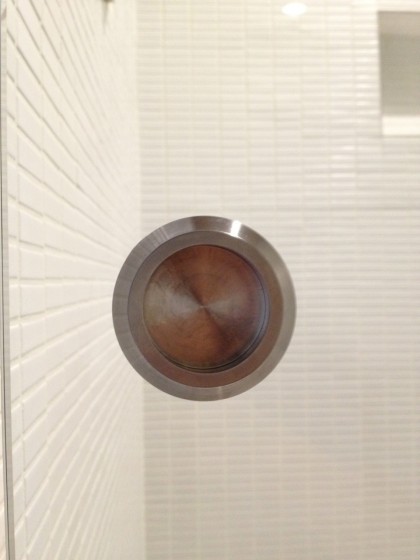
Finger-pull on the sliding glass door. No handle to extend into the skinny room! Have I mentioned lately how much I love this tile?

fingerpull on the sliding glass


The plumber comes next week to make the shower a working thing and install the wall-hung toilet. Woohoo!

hey, look who’s in the shower!


cantilever is so happening!

September 18th, 2012

This is it. The rotting deck is rebuilt, the house has been prepped and waiting for the steel for the last month, and now comes the big climax. That cantilever we started talking about in May is on, baby!

Before David explains, let me remind you of this…

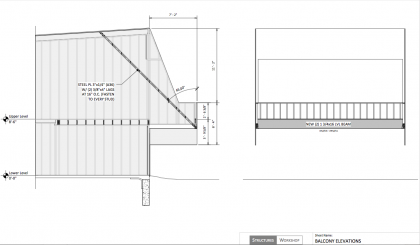
engineering drawing | deck, 04/02/12


That’s the drawing our engineer provided (click to biggify it) as a way for us to remove the posts and cantilever the deck. To recap a previous post:

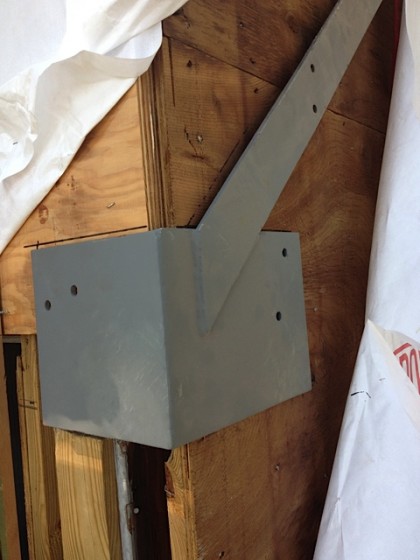
  • Two steel brackets (or cups) will tie all the wood together at the outside corners of the deck.
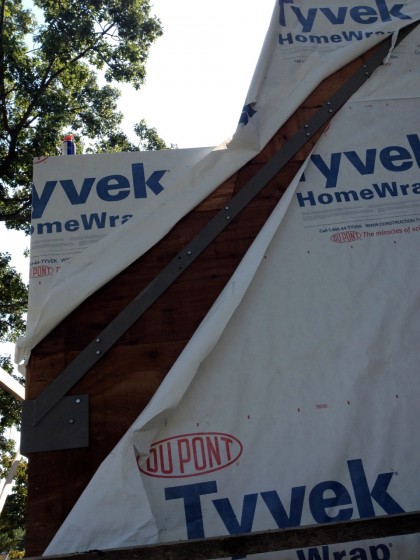
  • Two long steel straps bolted to each framing member they cross will support the outside corners by spreading the load across the sides of the house.


So, can I introduce you to the steel?

Steel, reader.

Reader, steel…

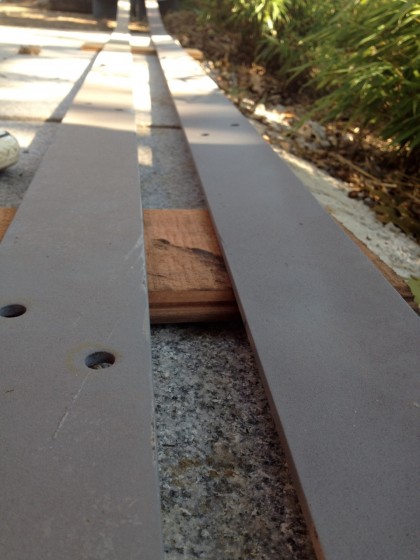
closeup of the steel


Now that the niceties are out of the way, take it, David!

—————————————————————————————-

Rhode Island Welding custom-made the steel our engineer specified for us (complete with pre-drilled holes as you can see above), and last week Joe and I installed it.

First, we drew exactly where the steel brackets (or cups) would fit into the existing deck structure…

drawing notes where future steel will anchor deck


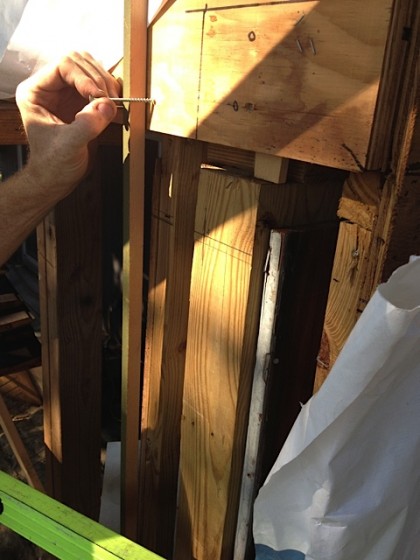
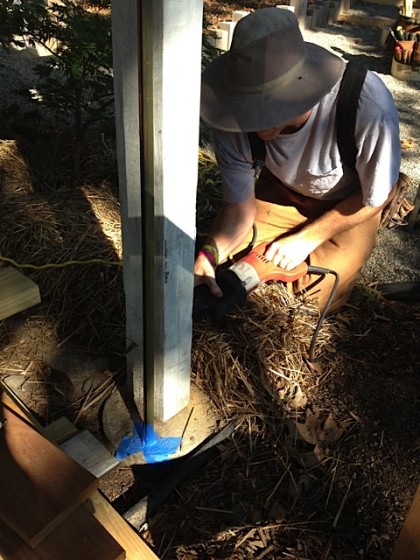
Then we put up a story pole — the 1”x1” stick that Joe’s about to put a screw next to — that would serve as our marker for the proper height of the deck structure once the posts were cut away.

Here’s Joe cutting the 4” x 6” post so that we could jack the deck up slightly — we want the deck to settle back down to its original height after we set it on the steel. The bottom of the story pole is taped to the concrete footing with blue tape…

cutting the first post


After that, installation went fairly quickly.

Once in, the steel cup catches the bottom of the deck and the strap transmits the load up and spreads it across the house framing…

steel corner in place


32 galvanized bolts, each ⅜” diameter by 4” long, hold it all together across each framing member as planned…

installed! job well done, boys!


This week, Joe and I will take out the remnants of the posts and the deck will be fully cantilevered as originally intended!

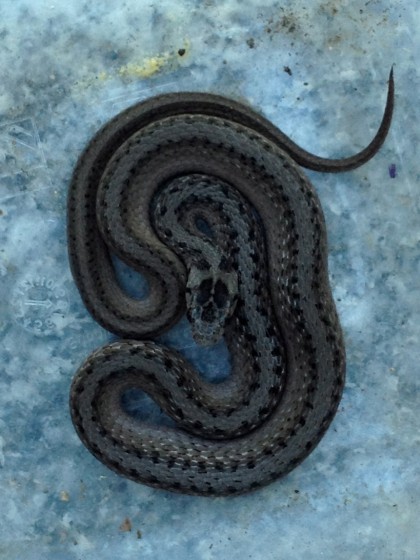
this week’s urban wildlife

September 14th, 2012

Rhode Island Brown snake


cicada proboscis

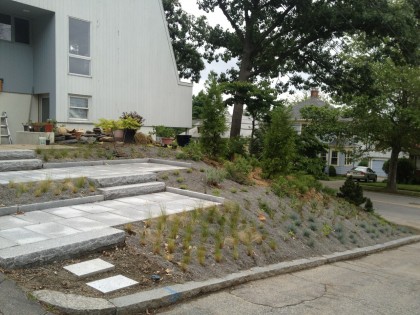
the front hill, 9 wks later

September 6th, 2012

It’s been a little more than two months since the front slope got planted. Here’s what it looked like at the end of June (click to biggify)…

front hill, immediately after planting


And here’s what it looks like at the beginning of September…

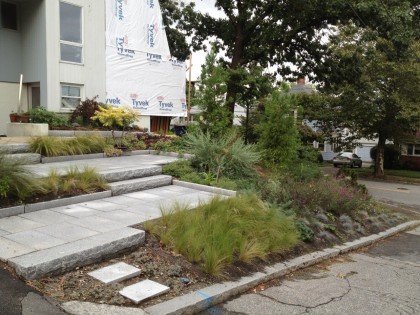
the front hill in september, 9 weeks after planting


Not bad, I suppose. I haven’t lost any plants yet, so that’s a plus. Off to a decent start — must constantly remind myself to be patient — but still needs a year or two to grow in completely and begin to resemble a meadow. Next year it will look fabulous. The third year, golden.

Want a closer inspection? Rollover the images for deets…

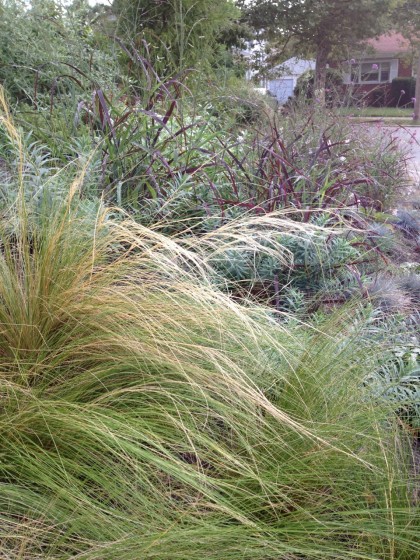
Nassella tenuissima blowing in the breeze

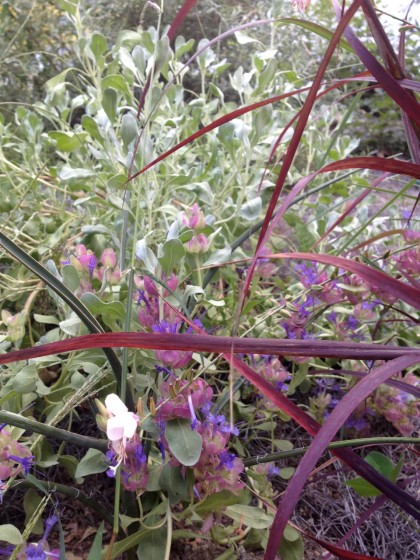
the grasses are finally filling in... Panicum virgantum ‘Ruby Ribbons’ with Euphorbia ‘Blue Haze’ and Salvia pachyphylla 'Blue Flame', Gaura lindheimeri ‘Whirling Butterflies’ blooms behind


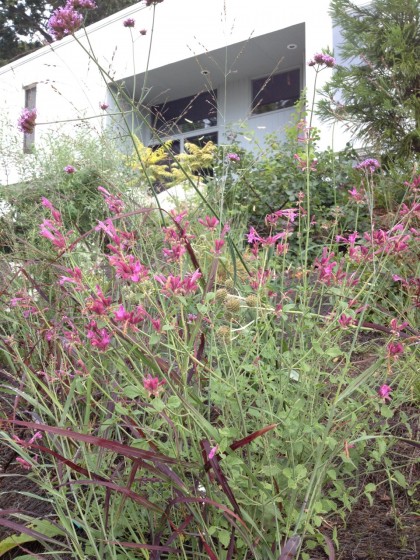
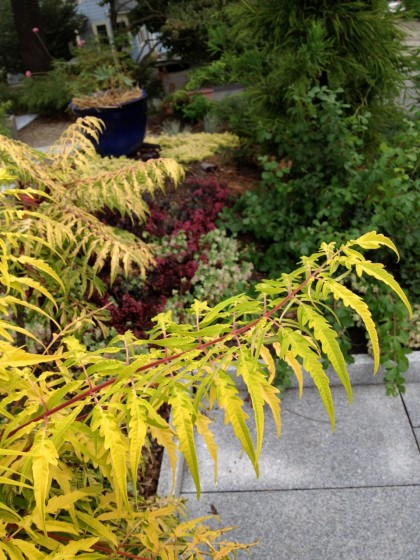
Agastache ‘Ava’ and Panicum virgatum ‘Ruby Ribbons’ with a bright Rhus typhina ‘Bailtiger’ behind


Verbascum ‘Album’ blooming but still small after just a few months in the ground

Salvia pachyphylla 'Blue Flame' beginning to bloom behind Panicum virgatum ‘Ruby Ribbons’


The alien-looking Eryngium yuccafoliums (Rattlesnake Master) really stand out; Comptonia peregrina (Sweetfern) behind


Rhus typhina ‘Bailtiger’ in the foreground with pale green Origanum ‘Kent Beauty’ and dark Sedum telephium ‘Sunset Cloud’ behind; Rhus aromatica ‘Gro-Low’ adds some green with Cryptomeria japonica ‘Yoshino’ rising up behind it


a closer look at origanum ‘Kent Beauty’ and Sedum telephium ‘Sunset Cloud’


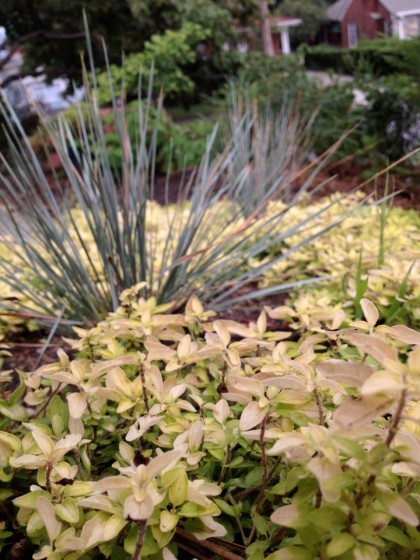
Helictotrichon sempervirens ‘Saphirsprudel’ and Origanum vulgare ‘Aureum’


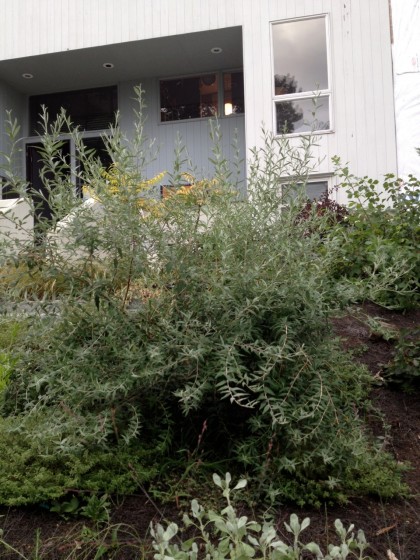
Buddleia alternifolia ‘Argentea’ is now 4' tall and a little wider than that


Remember this shot from back in June?

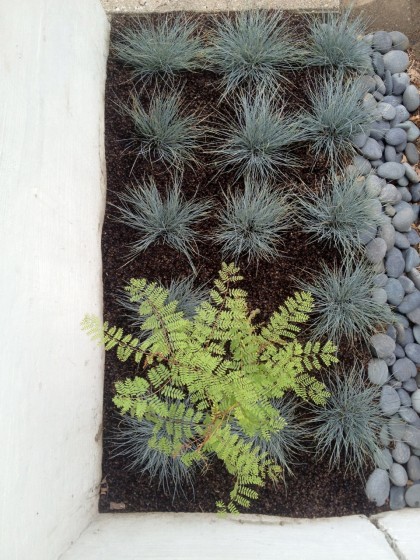
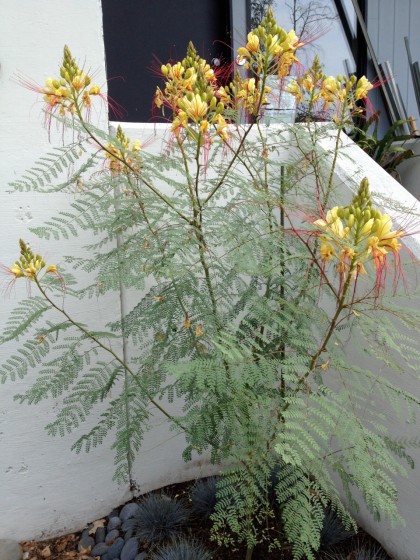
Festuca glauca ‘Elijah Blue’ and Caesalpinia gilliesii (Yellow Bird of Paradise) back in june


That Caesalpinia gilliesii (Yellow Bird of Paradise) has come a long way. She’s now taller than I am!

Caesalpinia gilliesii (Yellow Bird of Paradise ) in all its crazy glory, late August


The crazy looking blooms, whose scent on a warm evening remind me of Indian food, are generally swarming with bumbles. But I shot this right after a big rain and the bees were nowhere to be seen…

Caesalpinia gilliesii (Yellow Bird of Paradise) bloom, closeup... very Dr. Seuss


For those who care to obsess, you can find my entire front hill plant menu here.


bucolics anonymous

September 5th, 2012

The hiatus is over. Just got back from a relaxing, summer’s-last-gasp escape to upstate New York, where reliable wifi is rare, the views stretch on into eternity, the sun is toasty and the crisp alpine air is heavily scented with spruce…

lake placid as seen from the top of whiteface mountain


Lake Placid is… well, as you can clearly see, placid.

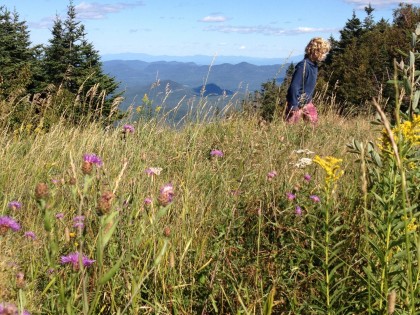
There was lots of this…

tramping through the wildflowers


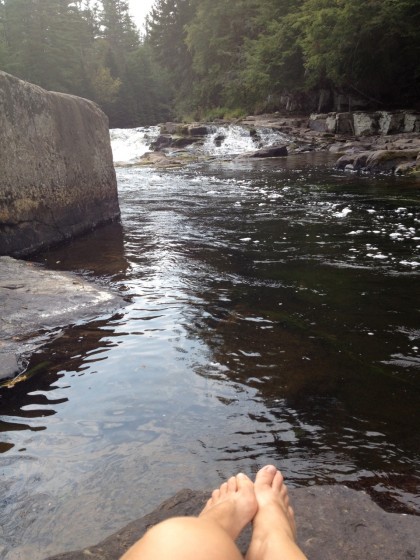
And this…

dipping my feet in the chilly AuSable River


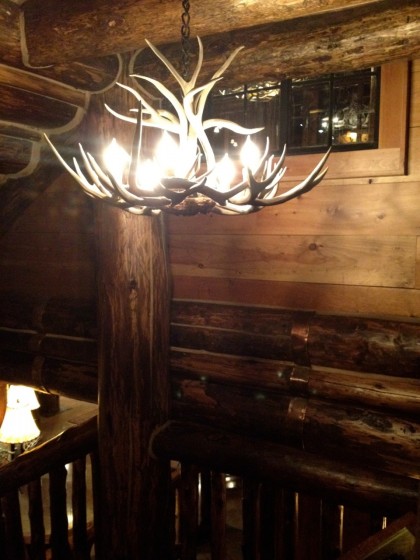
And since these are the Adirondacks, there was plenty of this (as one might expect)…

antler chandelier in the Adirondack style, of course


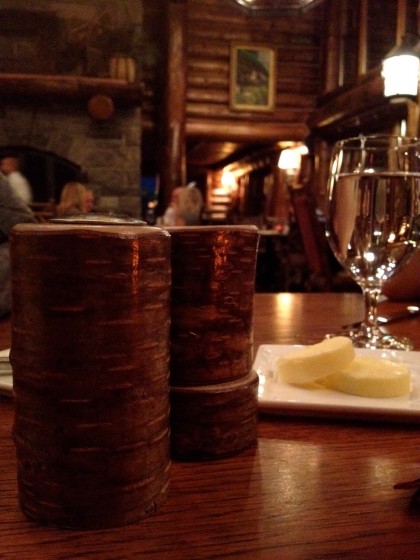
Everything here is rustic, hewn from logs by hearty mountain men. Even the butter…

woody salt and pepper shakers at Kanu


So now it’s back to the remodel, back to our urban mess, back to life. But not before we take just a moment to listen to the Log Song…

updates to the yard

August 27th, 2012

At the end of last week, our friends at Land Design Associates called to say they had two empty days in their schedule and they could tackle a few projects we’ve had waiting for them. This time around: paths!

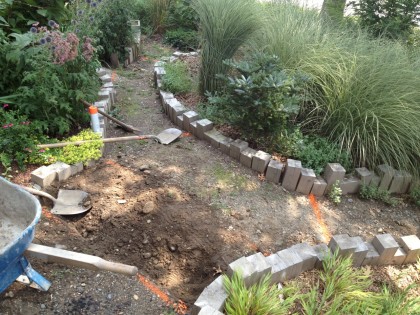
Out back we started with this, knowing that eventually we’d add steps the same rice stone we’ve used elsewhere:

the paths out back when we started


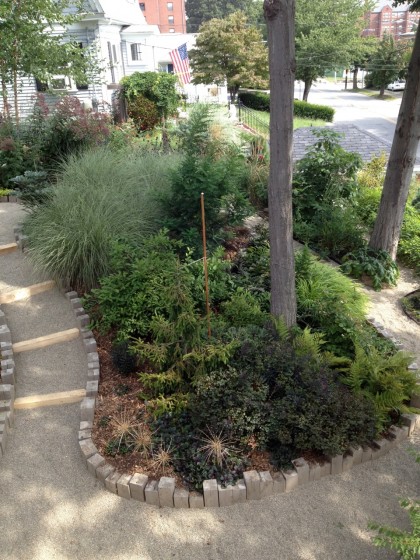
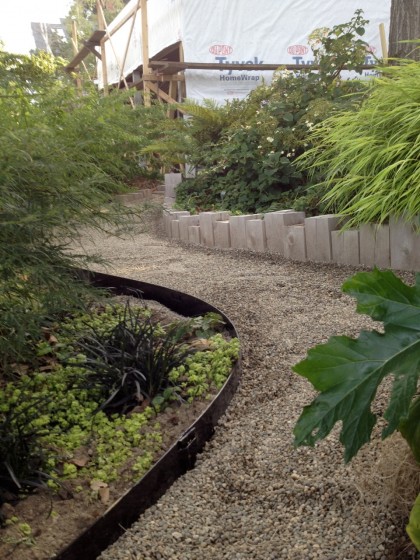
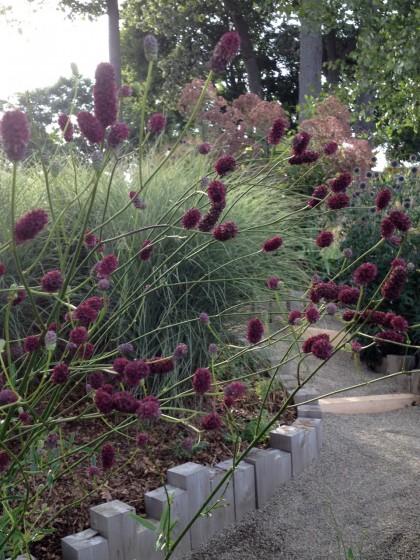
And now we have this:

back paths from above


My goal was to finish containing the slope — which we started when we put in the posts around the planting beds last fall — and slow the rain runoff and erosion. This should finally do it!

back path 1


steel edging added here and there to hold the gravel


Can I get a hell yeah for no more slipping and sliding down the hill + no more mud tracked into the house?! Hell yeah!

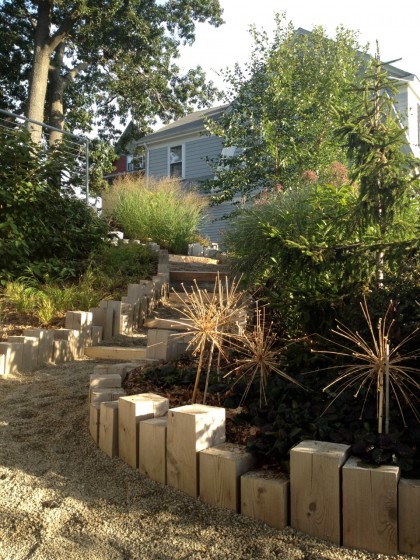
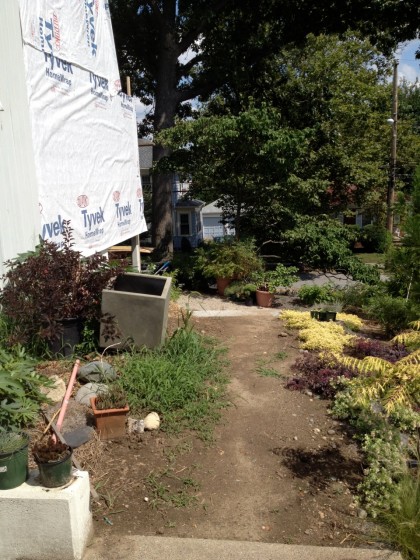
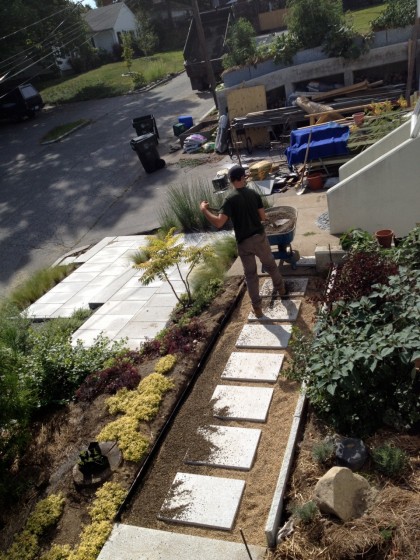
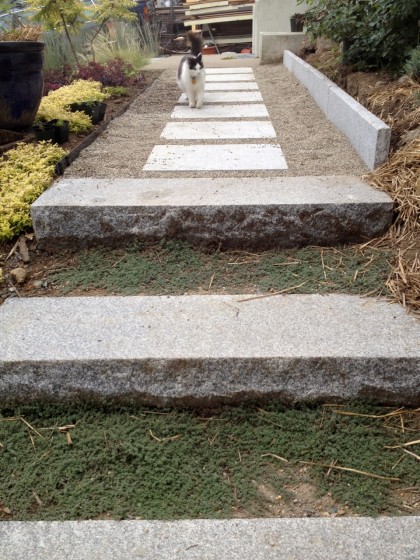
Out front, we envisioned adding stepping stones here:

the path out front when we started


And now we have this:

front path with stepping stones


Pleased to inform you that the stepping stones are Bambino-approved…

front path with cat


Wow, that looks so… grown-up. So there you go. Inside the house may be a mess but outside the paths are done!

butt-thra babies!

August 25th, 2012

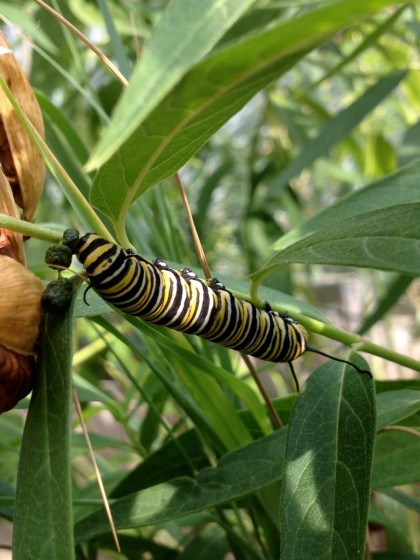
You’ll never guess what Bix and I discovered this weekend! Butt-thra, our monarch butterfly, had babies!

butt-thra baby: one of the monarch caterpillars looking for lunch


Here it is just 20 days later and the eggs that she laid on our butterfly weed have already hatched and grown. I had no idea it all happened so quickly!

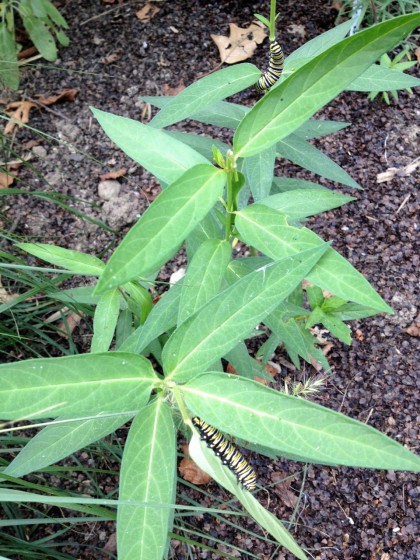
After I spotted the one above, I came across a few more babies a little while later…

butt-thrababy: more monarch caterpillars!


What you don’t see is a tiny caterpillar who hasn’t made its way into view yet. So four babies counted so far!

From what I’ve learned, there are three generations of monarchs during the warm season. The last generation — the one born in August-September — is the one that makes the 2,000 mile flight to Mexico. That makes these fellas future travelers.

Isn’t that exciting?

the not so big wallpaper reveal

August 20th, 2012

It may seem like I’ve been on vacation but no. August projects have just been slow to pick up momentum. However, this week it looks like I’ll have new things to show you.

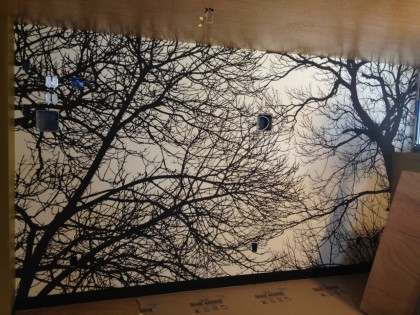
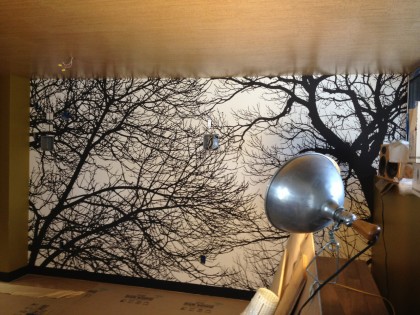
The first: the wallpaper is up!

Shall I get right to it? Remodel detritus blocking the full view, sorry I can’t get a better shot. As always, click to biggify…

view from the left


view from the right


So there you have it. A black and white photo mural from SurfaceView — Brushwood, from Ella Doran’s Trees and Leaves collection. It unites my split personalities, organic and modern. Dramatic without being overwhelming. Can’t wait to see this with the TV on the wall and furniture in the room.

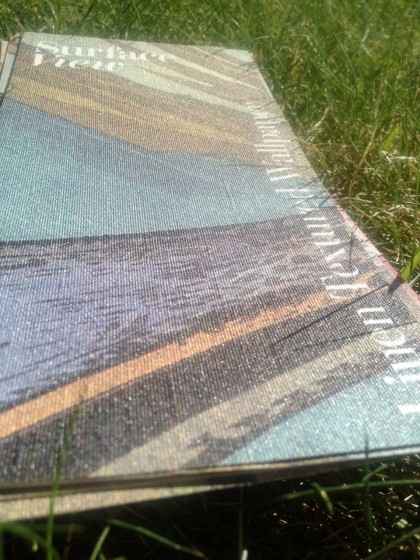
I selected the linen texture to keep it from being too flat and reflective…

Surface View linen texture sample


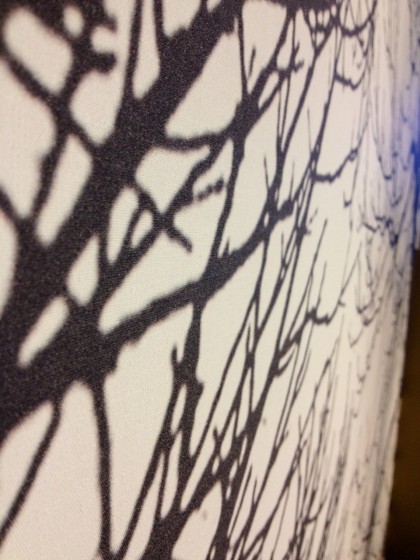
Mmmm, nubbly. Looks great closeup…

wallpaper closeup


Soon I’ll have more to show you downstairs. Keep your pants on!